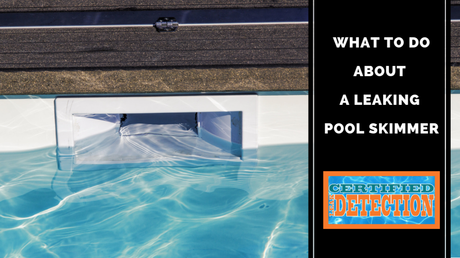
If you’re like most swimming pool owners, you don’t think much about your pool’s wall skimmer. It sits there, quietly doing its job of catching floating debris so that leaves, twigs and insects don’t sink to the bottom. It’s usually so quiet that you may not immediately consider it as the reason your pool’s water level is dropping and/or your water bill is rising. But like an old-time murder mystery where the culprit was the one person no one suspected, the skimmer may be guilty. If so, you can literally catch it red-handed – more on that later!
As regular readers of our blog know, we at Certified Leak Detectors believe that knowledge is power when it comes to preventing and repairing leaks wherever they occur on your property. In addition to the aforementioned wasted water and increased water bill, leaks cause damage that only becomes more extensive and expensive to repair the longer they go undetected. For example, a leak in your bathroom can damage your floor, a sewer leak can cause a crack in the foundation slab or even lead to a sinkhole, and a driveway leak can lead to flooding. Pool leaks are no different.
How to tell if the skimmer is leaking

To locate the source of the leak, shut off the pool pump and pour a few drops of red food coloring around the skimmer. You should see the coloring flow into the skimmer. If it flows into the seams around the skimmer, the skimmer is the source of the leak – and the earlier “red-handed” reference. Take note of where along the seam the coloring is flowing into, as this is the area to be repaired.
How to repair the skimmer
If you’re going the DIY route, follow these instructions:
- Shut off the pool pump; look at the water level and add water if needed – Make sure that the water level is one inch above the skimmer box.
- Remove the cover of the skimmer – The cover may be attached by screws, plastic handles or snaps; disengage and remove the box.
- Apply pool putty or two-part moldable epoxy – Press the repair material into the area along the seam of the skimmer where the leak is located. There are differences between pool putty and epoxy, with experts tending to favor the latter to repair skimmer leaks. Follow packaging instructions for best results. After the repair thoroughly dries (refer to packaging for recommended drying time), turn on the pump and replace the skimmer box cover.
If there are no other leaks in your pool, the water should stop dropping and remain level – case closed! However, we know that not everyone is willing or able to do the detective work and/or perform repairs. Contact us if you suspect your innocent-looking pool skimmer is leaking. We know how to locate hard-to-find leaks – including slab and fountain leaks – and provide the highest quality repair.

