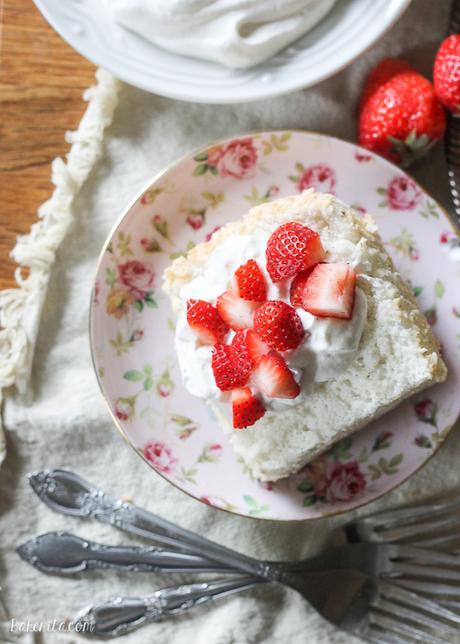
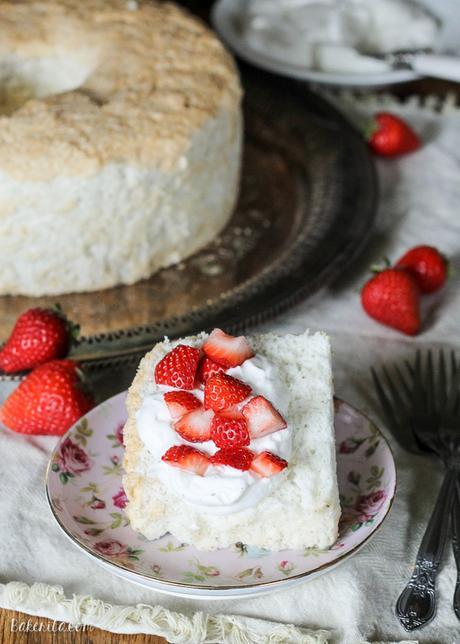
This Vanilla Bean Angel Food Cake is light and airy, with a pure vanilla scent from the vanilla beans flavoring the cake. It’s the perfect light dessert when served with berries and whipped cream.

My thesis class, strategic consulting, was pretty unique in that we consulted with actual businesses. We were in teams of three and consulted with companies, big and small, and developed strategic recommendations for their businesses, for them to actually implement. It was an incredibly cool process and so valuable to be so hands on with a company.

Fast forward: my friends in the Lafaza group mentioned Bakerita to their clients, and they offered to send me some of their products to try! I needed to try that vanilla powder, so of course I said yes.

Angel food cake was the perfect way to showcase the delicate vanilla flavor, and I knew the vanilla bean seeds would look gorgeous studded throughout the soft fluffy white interior of the cake.

1) Keep the pan ungreased! The batter needs something to cling to (the sides of the pan) in order to rise, since the egg whites are the only leavening agent.
2) Fresh eggs, always. Egg whites from the carton are a tempting shortcut, but the pasteurization process inhibits their whipping ability. It’s worth the time investment to crack the eggs yourself, and whip just to medium stiff peaks.
3) Invert while cooling. Even if you did everything right until now, your cake won’t be as light and fluffy as possible unless you let it cool upside down. My pan has little legs that hold it up upside down, but if your doesn’t place the center over a bottle or funnel.

The resulting angel food cake is soft, light, airy, and perfect served with freshly whipped cream and strawberries. This cake is the perfect dessert for a spring or summer evening, and will hold up to all sorts of delicious fruits and toppings. I love how it pairs so simply with the strawberries and the whipped cream though – it’s perfect in it’s simplicity. Enjoy!


- 1¼ cups cake flour
- 1¼ cups white sugar
- ¼ teaspoon salt
- 1½ cups egg whites (11 eggs whites for me)
- 1 teaspoon cream of tartar
- ½ teaspoon vanilla extract
- 1 vanilla bean, scraped
- Beat egg whites until they form medium stiff peaks, and then add cream of tartar and vanilla extract.
- In a separate bowl, combine vanilla bean seeds and sugar. Rub the vanilla into the sugar with your fingers. Add the flour and salt and whisk together thoroughly until all clumps are broken up and the flour and sugar are fully incorporated.
- Gently fold the dry ingredients into the egg whites, making sure the flour is fully incorporated, and then pour into an ungreased 10-inch tube pan.
- Preheat the oven to 325°F. Cook for about 45 minutes to one hour, or until cake is golden brown.
- Remove the cake from the oven, and place it upside down on a bottle or metal funnel to keep from crushing the top. Let the cake cool for 1½ hours. This cooling period sets the structure, and keeps the cake from collapsing.
- Loosen the edges of the cake with a knife, and remove it from the pan. Serve with freshly whipped cream and strawberries.


Hungry for more? Check out some of my similar recipes!
- The Whiteout Cake: White Layer Cake with White Chocolate…

- Oreo Cake

- Browned Butter Banana Cake with Chocolate Ganache

- Fluffy White Cake with Vanilla Buttercream

- Lemon Meringue Cupcakes

- Mini Chocolate Strawberry Layer Cake

