Now that I have settled back in California, it’s time to rebuild my Bonsai collection! For the past 6 months, I have been slowly rebuilding the Bonsai business I left behind and have worked with many terrific people. I have study groups that have formed throughout California and even in other States! You can say that I’m living the Bonsai dream! I hope to play my part in helping the promotion of bonsai in the United States and get good information out there to those that want it. My other goal is also to build a quality bonsai collection for myself and not just enjoy the final development of the trees, but the journey as well.
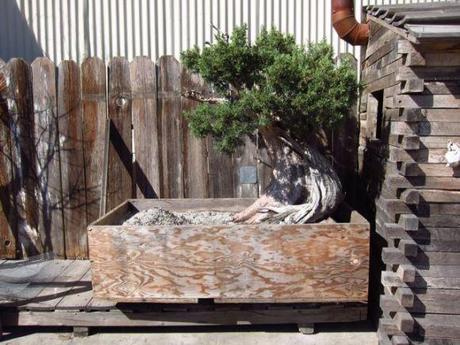
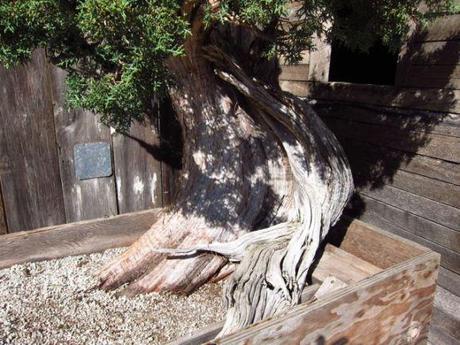
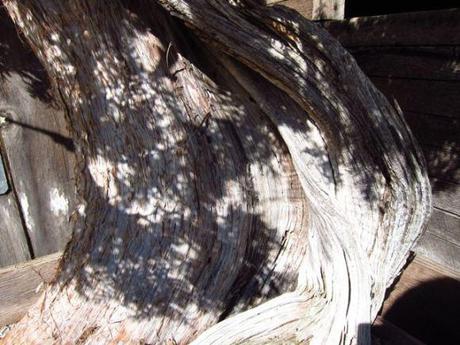
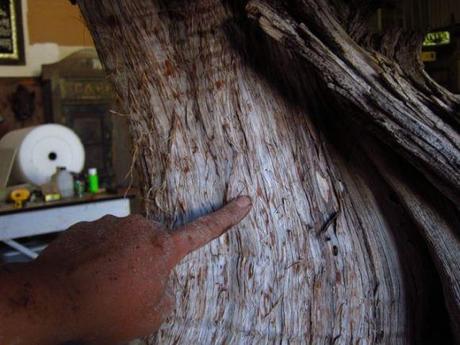
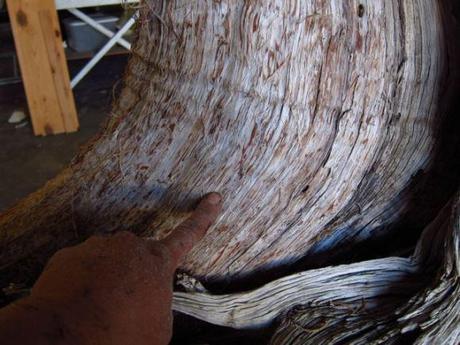
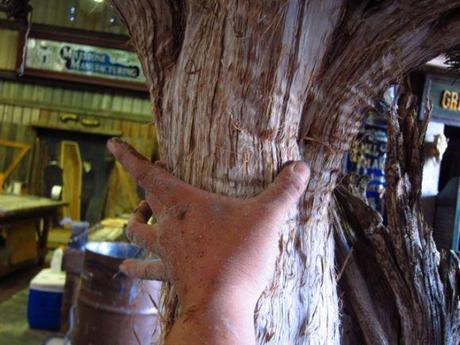
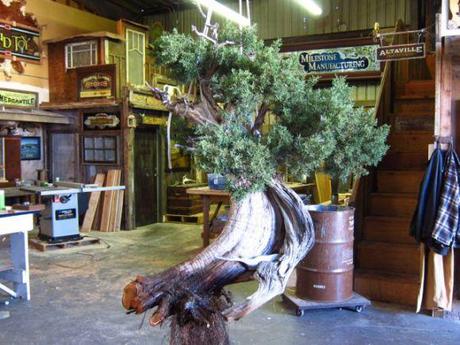
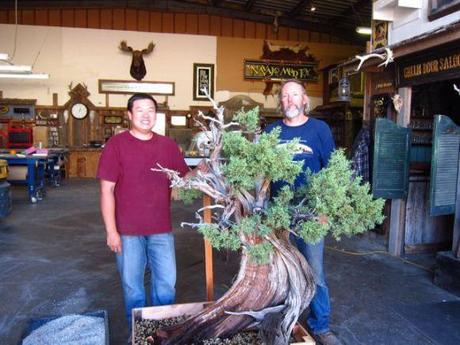
That brings us to the tree that you see below, known by some (mainly the collectors) as, “Big Sexy.” There is no doubt that this tree is big, though I didn’t buy it just for the size. The tree has some very interesting characteristics and I saw it as a long-term project for myself. This post will be the first of many where I will document the development of this collected Utah Juniper and the journey (techniques) it will undergo to produce a (hopefully) great Bonsai piece. Here are a few pictures that highlights the interesting trunk.
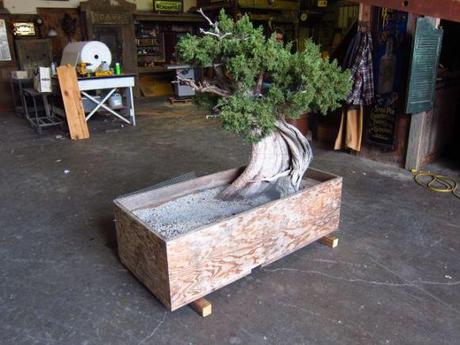
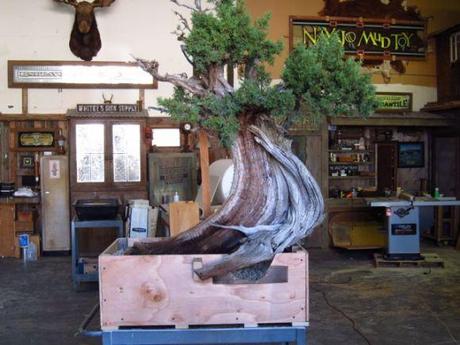
This is what the tree looked like when I first saw it. It’s planted in a huge 5 foot long (152 cm) box. The soil medium used is 100 percent pumice. The tree was collected in California, though the foliage told me that it was more similar to Utah Juniper than California Juniper. California juniper foliage is normally not this dense or soft.
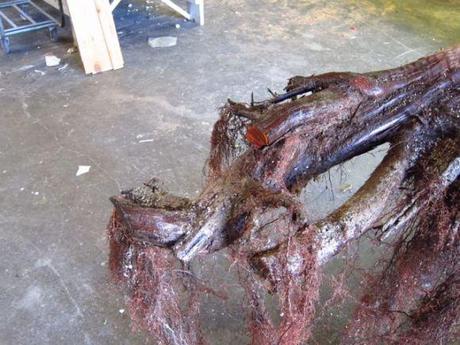
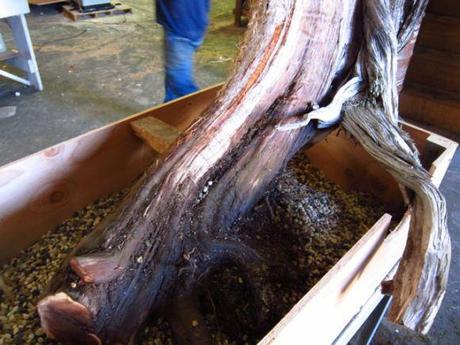
Here is a closer look at the trunk. It’s got a pretty good size blade of deadwood to the right. What really caught my attention is the large piece of deadwood attached to the blade that comes out to the front. That’s the main reason I bought this tree.
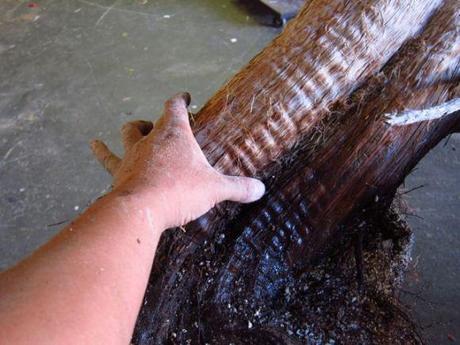
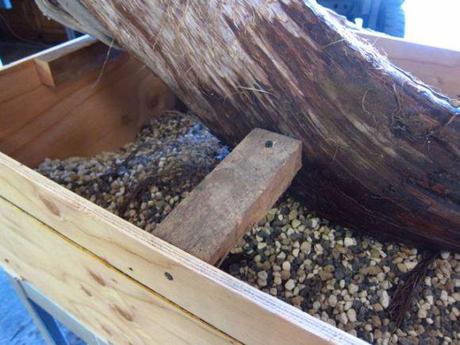
Here’s an even closer shot to show some of the textures of the deadwood. It’s all pretty messy now but the clean up process will be for another blog post in the future.
History
Before we get start on the work; here are some pictures of the tree when it was first collected in 2010.
Here is the tree fresh from the mountains. All wrapped and ready for repotting.
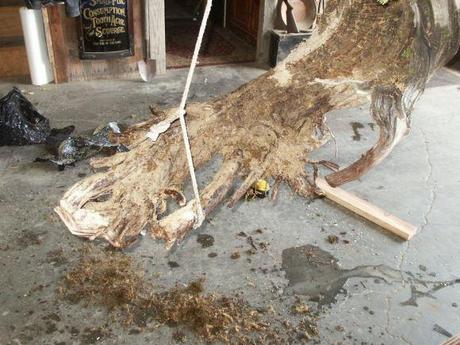
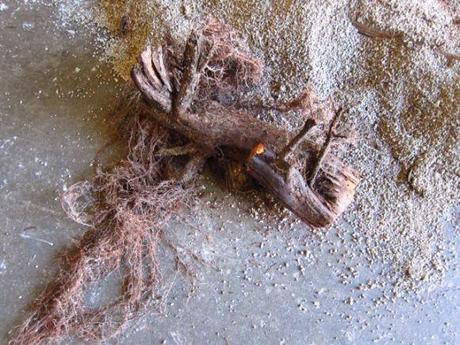
This is what the root ball looked like when collected. Not much roots at all.
Nice thing about having a hoist is that you can hold the tree up and just roll the box under it!
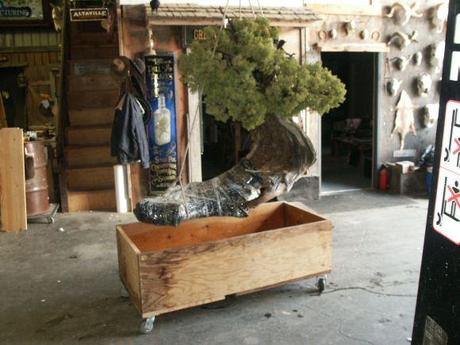
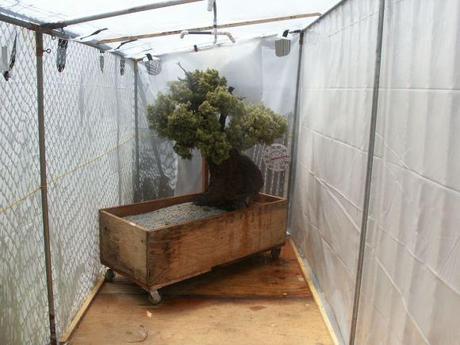
Once the tree was potted, it stayed in a misting house for about a year before it was moved outside. Quite impressive that the tree lived since it had so few roots. This only highlights the collectors tree growing abilities.
Repotting
The first thing I needed to do with this tree is to repot it. I want to get the tree into better soil so that the roots will grow more vigorously and to examine the root ball to see if it’s possible to get the tree into a smaller pot. There are some really big trees in Japan, but a 5 foot long pot is just too big for Bonsai.
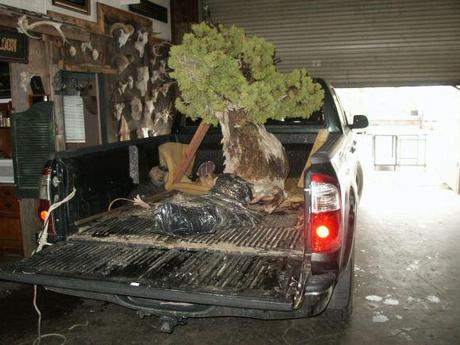
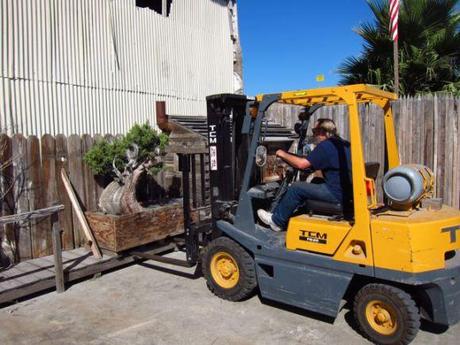
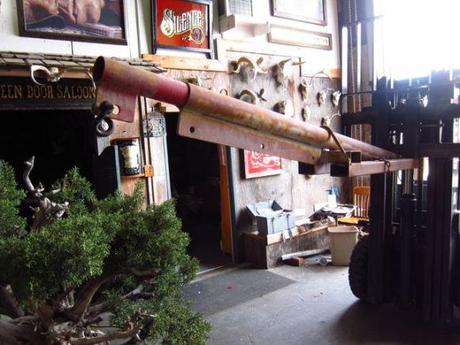
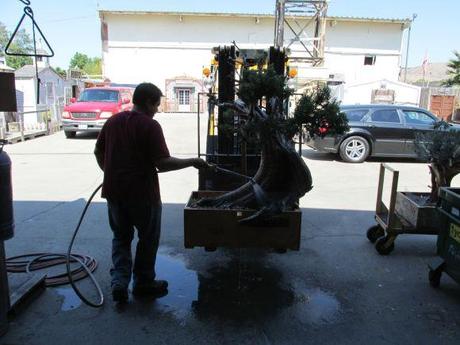
Luckily a my good friend Larry has a fork lift to help move the tree around.
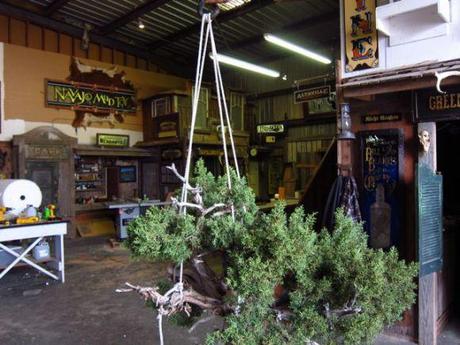
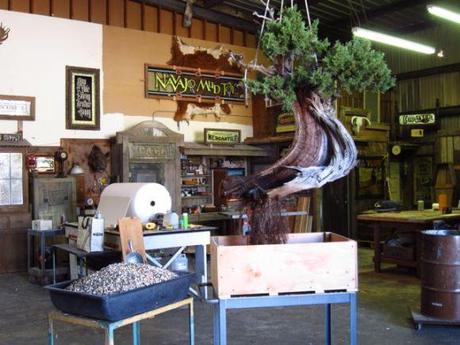
Here is the tree in Larry’s shop. Once we got it inside, the tree seemed to have gotten bigger!
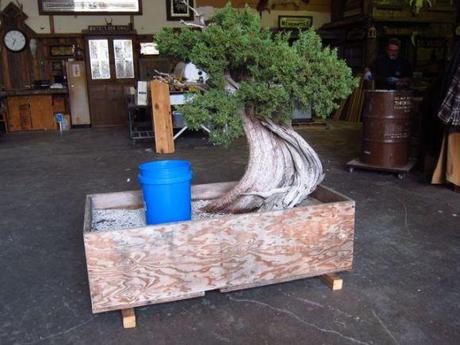
Here’s a photo of a 5 gallon bucket sitting inside the box to give you an idea of the size of the tree.
Here’s a shot of me telling the tree that it’s going to be okay.
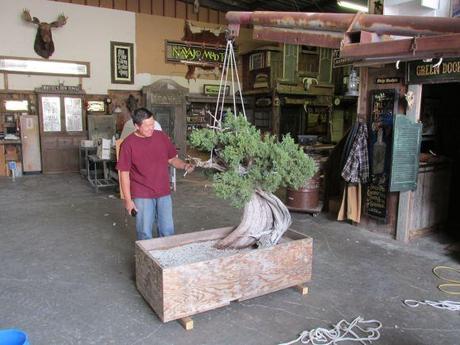
Because the tree is so heavy, we had to set up a hoist to help hold the tree up while we work on taking apart the box.
Larry and I got some rope and tied them to some strong heavy branches.
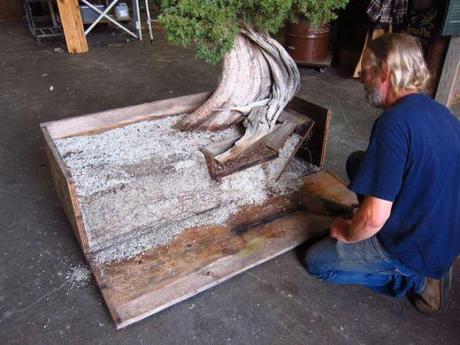
Here we take off the front panel of the box. This picture gives you a better look at the large deadwood piece in front.
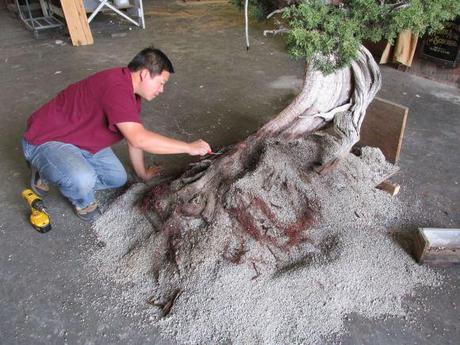
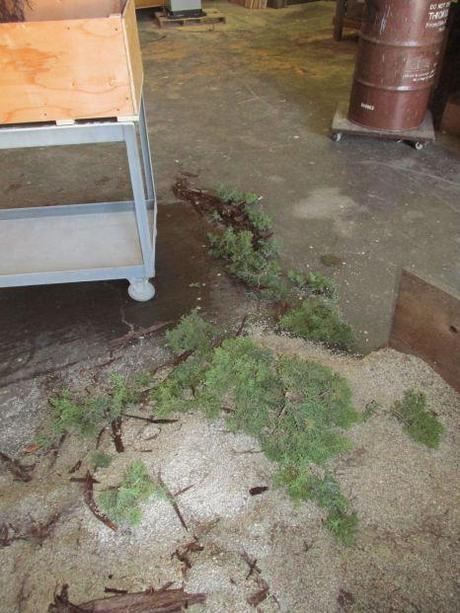
As we removed the rest of the box, a lot of the pumice started to fall away. I slowly and carefully raked the pumice out of the roots. I wanted to do as little damage to the roots as possible.
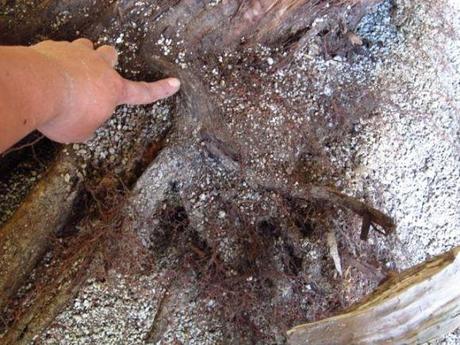
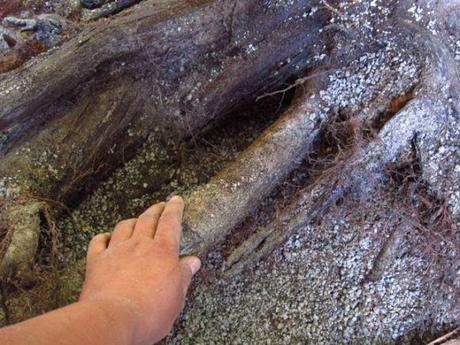
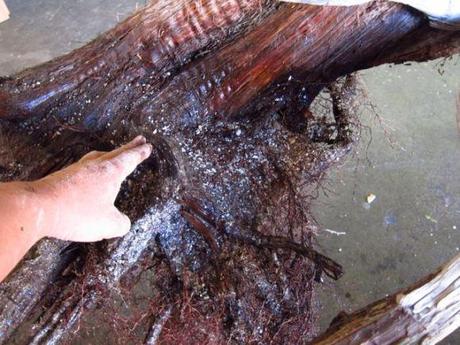
On junipers, certain roots do feed certain areas of the tree, it’s good to examine the roots and find out which roots are feeding which branches. This is also a good time to find out which big roots are actually alive. In this photo, my finger is pointing to a large root coming off the trunk that has a lot of feeder roots attached to it. This is an important root.
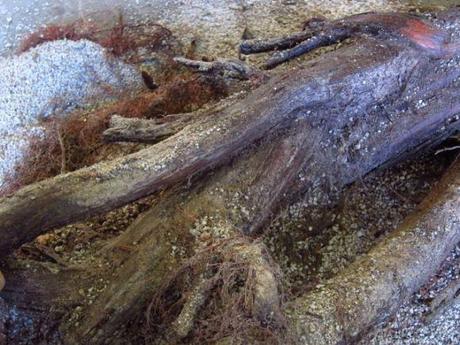
Large roots like this one, further down the root ball was cut during the collecting process and died off. No feeder roots growing here so it’s a candidate for removal.
This large root is the reason the tree needed to be in such a large box. Now I need to figure out what part of the tree this root is feeding. Something has to be done about this root if I want to get the tree into a smaller pot.
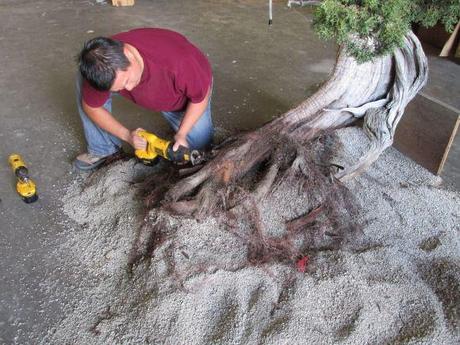
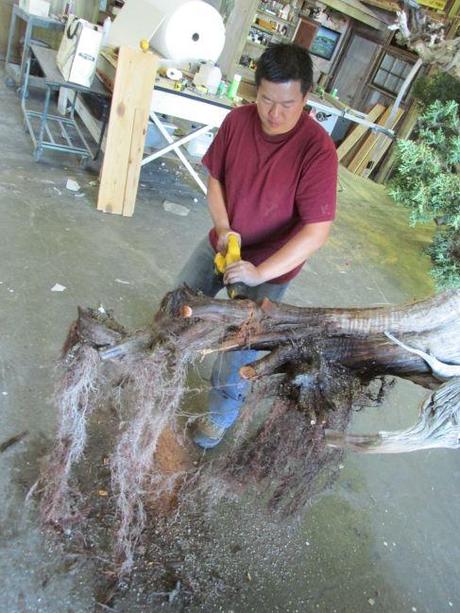
I started by removing large roots that I knew were dead. An electric reciprocating saw is very useful for this sort of work.
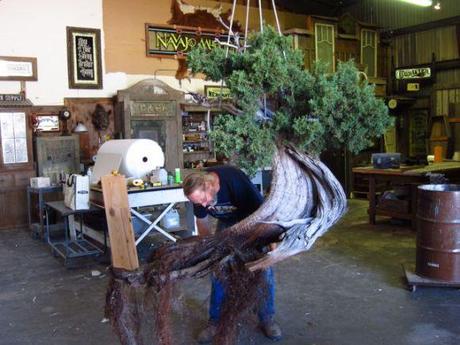
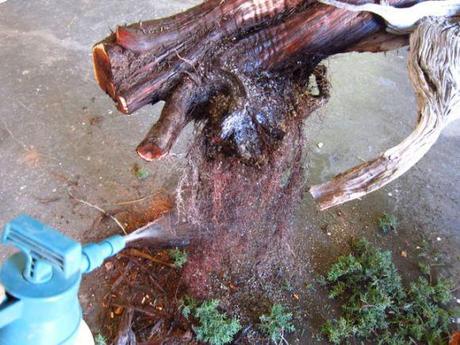
Here is the tree held up in the air with all the roots exposed. Notice that there are two separate root masses. One closer to the trunk (right) and one further from the trunk (left). Something you may have noticed also is that I removed all the soil from the roots. This is not a normal practice for junipers and is very risky to the health of the tree. In this case, I couldn’t help it because the soil just fell away. If you find yourself in these circumstances, be very careful with the roots and don’t cut any of them. Normally, I would clean only a portion of the root ball and keep another portion undisturbed. That is a much safer way of removing unwanted soil from a collected tree. Then the next time the tree is repotted, I will address the undisturbed area. As we were working on the tree, we misted the roots with water periodically so they wouldn’t dry out.
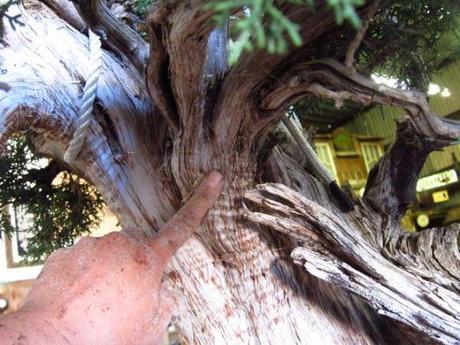
Now to figure out which root system is feeding which branches. In this photo, I’m pointing to the large branch that I intend to keep in the design of the tree. You’ll notice that there is bark on the branch with vertical lines. These lines can help in determining where the line is going. So I follow them down towards the roots.
Here I’m following the line down the trunk.
I continue to follow the line down towards the root.
Here it looks like the line I’m trying to keep is attached to the root system closes to the trunk. That works out great! Now lets see what branches the other half of the root system is attached too.
This wide live area is what’s connected to the rest of the branches on top.
Here I’m continuing to follow the life line down to the roots.
It turns out that the section of the tree that I don’t plan on using is attached to the root system that is farthest from the trunk. This is very fortunate for me because I now know what to do to get this tree into a smaller pot.
I decided that I didn’t need the second root ball and started to cut. It took me awhile to develop enough courage to cut this large root off. After about 10 minutes, I decided that it had to be done, and went for it!
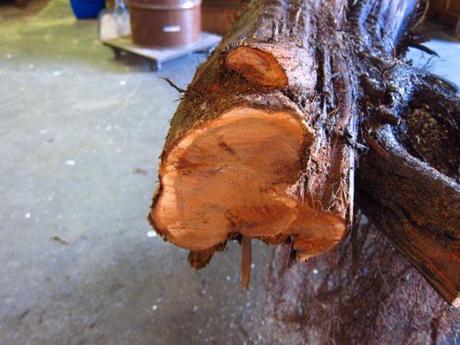
Here’s the face of the root that was cut. You can see the areas that are alive and the areas that are not.
Here’s the large root laying on the floor.
Now that the second root ball is gone, we can definitely put the tree in a smaller pot! YES!
During the repotting process, I went through the tree and cut a few branches off so that the roots don’t have to work as hard to support the foliage. Balancing the root mass to the foliage mass is very helpful when working with newly collected trees. This could be the difference between life and death of the tree.
I gave the roots one more spray to keep the roots wet before I started to mix the soil.
Wait! But what if?…
So in this case, I was fortunate that the roots I wanted were in a good location. But what if they were not? What if the roots were reversed and I needed the root ball that was extending far to the left? In that case, my next option would be to perform several root grafts in the desired locations. After 1-2 years, the graft will have taken and I can then cut off the long heavy roots during the next repotting. This is a much easier and faster alternative then to try to separate life lines and bend them around in the pot.
The Box
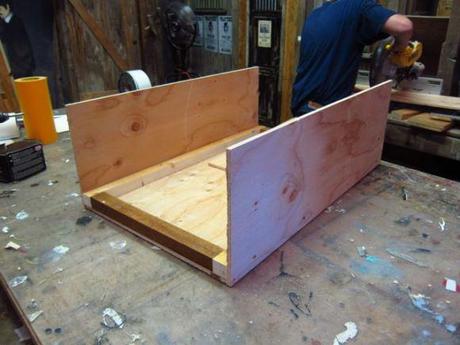
The best way to house a collected trees is to build a custom sized box. Once I get the root ball down to a more appropriate size, then I’ll look for a ceramic pot. A plywood box will last for many years.
The box is made with scape pieces of 1 inch thick (2.54 cm) plywood.
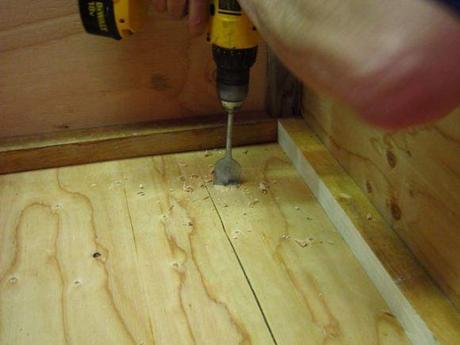
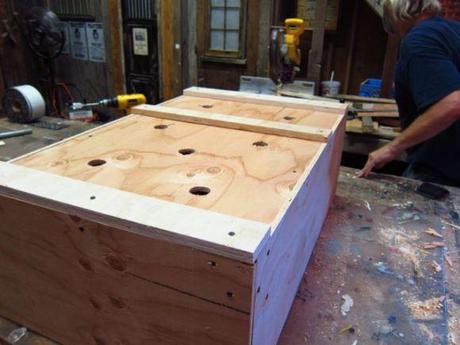
We made sure to drill many large holds so that the soil drains well.
I’d say that we got plenty of holes.
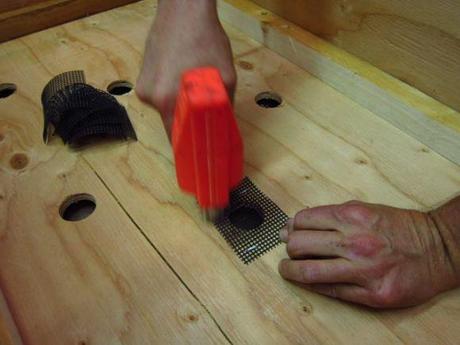
To save time Larry decided to staple the screen to the box instead. Quite effective! I decided not to use tie down wires because there isn’t much of a root ball to tie down. The plan is to use exterior ties to hold the tree down. I’d have to give Larry credit because he built the box is less than 15 minutes!
The Soil
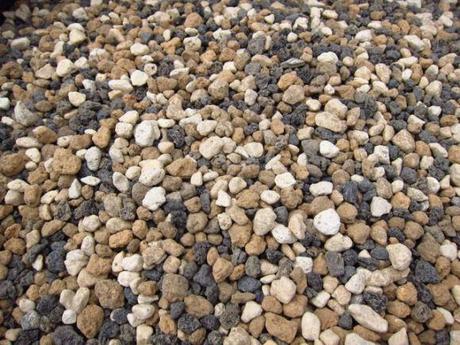
The typical soil mix I’m currently using for conifers is 50 percent Akadama, 25 percent pumice, and 25 percent lava. In this case, the volume of soil is so large that my standard mix would hold too much water for the tree. For this tree, I decided to use much coarser (drier) soil and drop the akadama level down to 33 percent (drier) while increasing the pumice and lava to 33 percent (drier).
If this tree were a very small shohin sized tree, I would use a higher akadama content in smaller sizes.
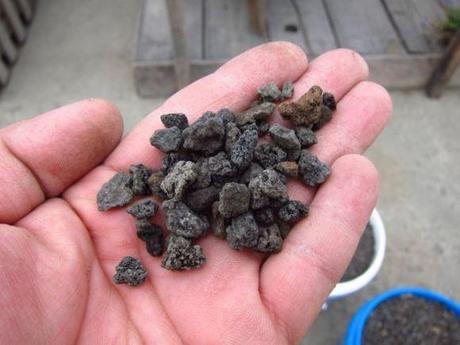
I used about 33 percent of medium size Black Lava.
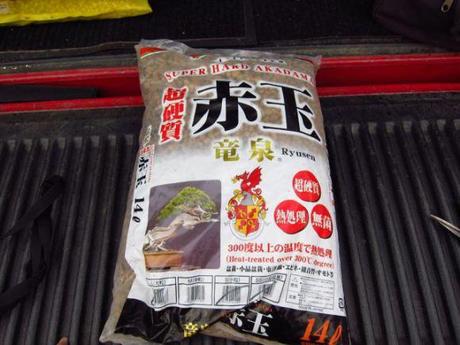
I then added about 33 percent of medium size hard akadama.
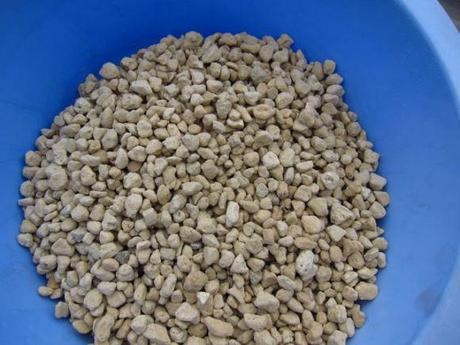
The final component was 33 percent medium pumice.
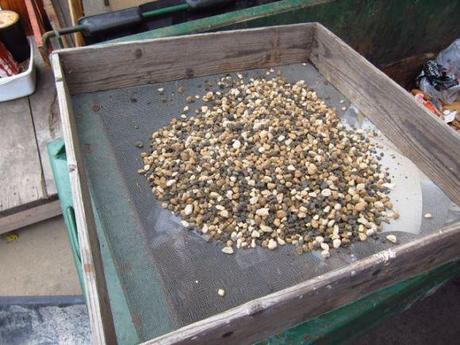
Once I mixed all the soil together, I sifter it all to remove the dust. Small dust particles will cause the soil to hold more water. Too wet of a condition for conifers especially with this volume of soil would be disastrous for the health of the tree.
Here’s a close up of the soil mix. Doesn’t that looks pretty?
Now that the soil and box is ready, it’s time to put everything together. We lifted the tree high into the air and put the box underneath. The box is about 3 feet long (91cm). Looking at how small the root ball is going to be, I believe we can get the tree into a much smaller pot in the future. But at this point, it’s all about giving the roots room to grow.
I added about two inches of large pumice as drainage soil on the bottom of the box and added some pre-mix bonsai soil on top. As Larry lowered the tree into the soil, I started to spread the roots out so they aren’t crushed by the weight of the tree.
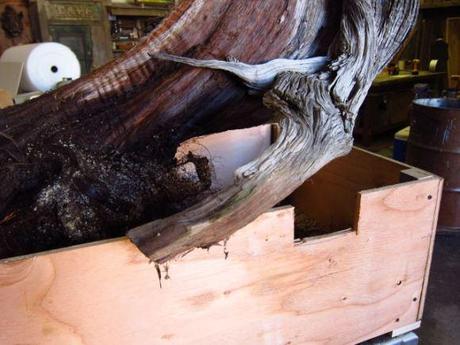
To protect the deadwood that’s sticking out in the front, we cut a hole on the side of the box. Keeping the deadwood outside of the box and out of soil will prevent the deadwood from rotting. In the future design of the tree, I want to see this piece of deadwood outside of the pot as well.
Once we got the tree into the pot, I worked the soil into the roots. Once there was enough soil in the pot to hold the tree up, we detached the tree from the hoist. We then added this piece of wood from the box to the tree to help keep the tree stable.
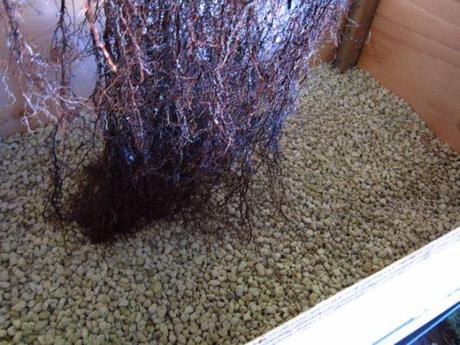
Looking at the tree in the box, you can see that there is plenty of room for the roots to grow.
Here is the tree planted in its new home. Now that’s Sexy! Next step is to water the tree and place it in a sunny spot.
A nice thorough watering.
I’d have to thank Larry for helping me with the repot. I could have potentially been the first person to be crushed to death by his own Bonsai if not for Larry’s help!
Repotting in the Fall
Larry and I repotted Big Sexy in September of 2013. If you live in an area that doesn’t have hard freezes (below 32 Fahrenheit or 0 Celsius) in the Winter, then repotting Junipers in the Fall is very safe. Though we won’t see much foliage growth till the following Spring. For those that have very cold Winters, stick with repotting them in the Early Spring.
So What’s Next?
At this point, I am going to allow the tree to grow for several years. I don’t expect to see much growth in 2014 because our native Junipers tend to be slow when they are repotted. I will start to lightly fertilize the tree in April. I will expect to see much more growth in 2015.
In about 3-4 years, I plan to graft Kishu Shimpaku to the top of the tree and replace the Utah foliage. Now before you purist out there cry foul, I’m just doing it to this particular tree whereas I’m keeping natural foliage on my other collected Junipers. Why not have some variety in the collection? My goal is to develop the Kishu foliage, work the deadwood, develop the life line and make the tree shorter. I want to see the foliage pads closer to the interesting blade of the tree and have lots of deadwood sticking out of the top of the apex. The tallest deadwood piece at the top will be about 3 feet (91 cm) from the soil line and I’m going to try to make the maximum height of the apex at about 2 feet (61 cm) from the soil line. If all goes well, this tree will be show ready in about 15 – 20 years. That may sounds like a long time, but in Bonsai years, it’s not bad considering the size of this tree. Besides, for most of us, the last 15 years has gone by in a flash. I know I feel that way already. Big Sexy is definitely a keeper! I probably won’t repot the tree for at least 5-7 years.
“There is no such thing as instant Bonsai. If there is, it’s probably not that good.”
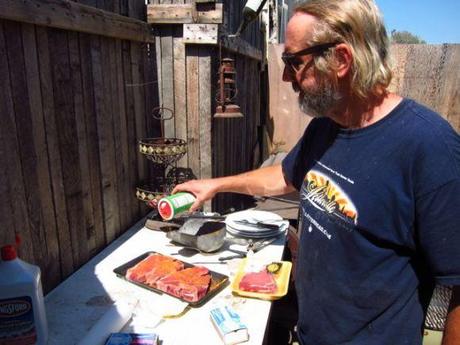
Of course, to celebrate a job well done, two friends decided to have a steak lunch together! I think we earned it! I think you might have earned it too for following this lengthy post. ;-)
Thanks for reading… and more post to come!
p.s. For those that are curious, the tree has survived the repotting and is starting to push new growth this Spring. ;-)
————————————————————————————————————
Due to high email volumes, I am no longer able to answer personal bonsai questions for readers of the blog. As much as I’d like to help, my schedule doesn’t allow for it anymore. Though I will still answer any questions in the comment section below that pertains to the post.
If you are interested in more post, please refer to the POST INDEX tab at the top of the page.
If you are actively reading this blog, I would appreciate it if you subscribe to it (The subscribe button is below). This is one of the best ways for me to know how many people are reading. Thanks!
