I suppose it's fitting, what with Valentine's Day just 3 days away, that I admit to something.
Right around Christmastime I developed a new love affair.
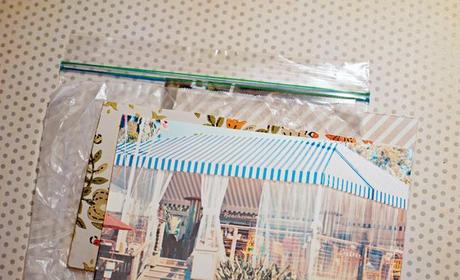
Yes, it's true. And that love affair is still going strong. I'll explain how it happened...I was searching desperately through my scrap stash for some vellum. Yes, vellum. Just one little piece is all I needed...a piece just large enough to provide a mat for a photo. But alas, no vellum. After the panic receded, and I took a deep breath, I decided I would look for something else to fit my needs. Hmmm...copy paper? No, too opaque. Parchment paper? Hmmm...better, definitely, but still too opaque for me. WAX PAPER? Oh yeah, baby - that fits the bill PERFECTLY! And guess what? I haven't been able to get enough. I know this doesn't come as much of a surprise to a lot of you...I haven't been exactly discreet about my new love. But now I'm letting the world know. It's OK to use NON-SCRAPBOOK items in your SCRAPBOOKING! Woo hoo! Wow, that feels good.In fact, my projects today use a few non-scrapbook items...they're just plain old household items and they work so well! So here's what happening today...here are my supplies: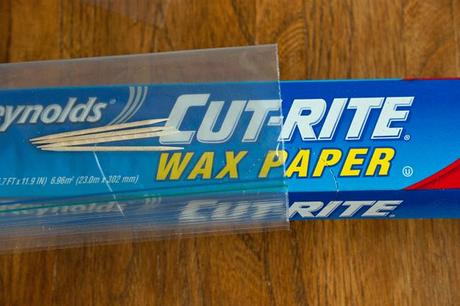 Wax paper, some toothpicks and a sandwich bag...oh yeah...I said a sandwich bag.
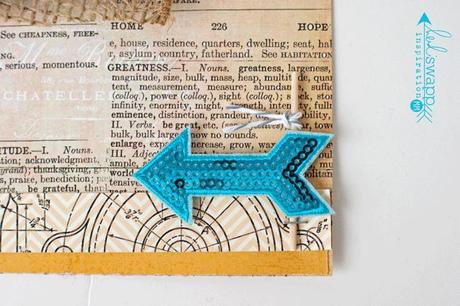
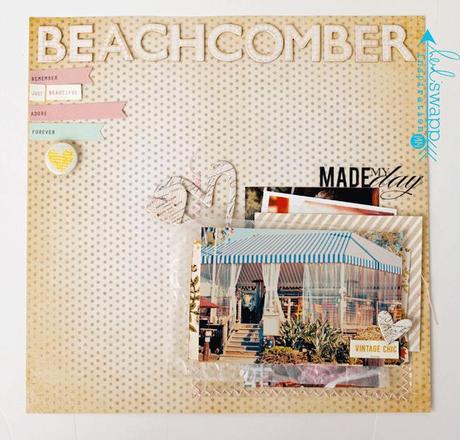
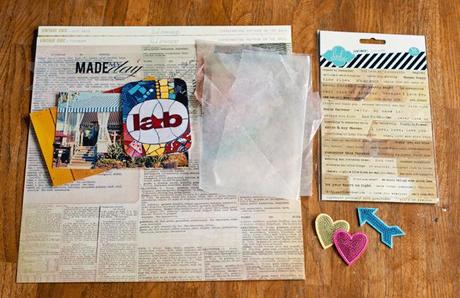 ...gorgeous Vintage Chic paper (Textbook and Just Dots), some photos, embellishments (Sentiment Stickers & Definition Stickers and Disco Arrows & Hearts) and my wax paper scraps...
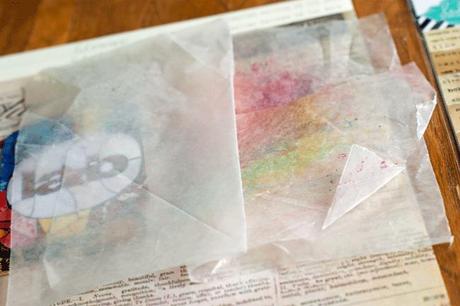 ...I usually use wax paper to cover my work area when I spray my Color Shine, too. So, when I'm done with my spraying, I just let the Shine dry and use that wax paper in my layouts. Sometimes I love having those colors pop through under my photos...I want to show you why I love the wax paper so much...and why it has come to replace vellum for me as a layer in my paper crafts...First, here are the photos I want to use on the paper I've chosen for my projects...(without the wax paper base):
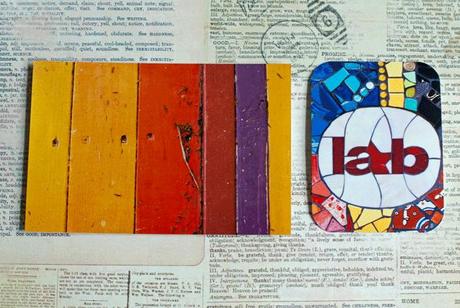
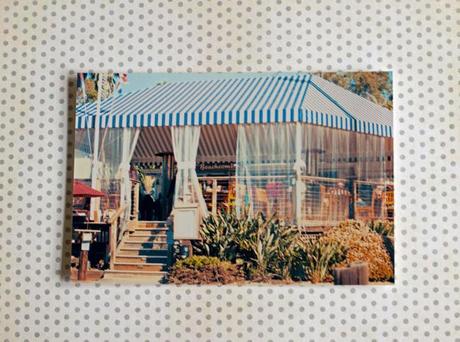 They look OK...right? Sure, they look OK, but I think they can look even better...a stark white mat under the photos would provide too much of a contrast, and may be distracting to the beauty of the papers and to the subjects in the photos...
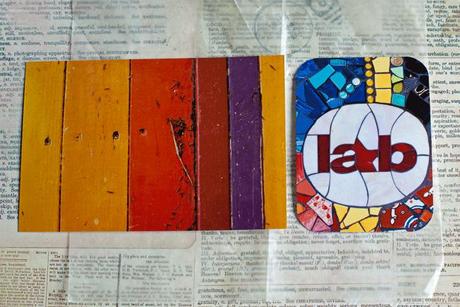
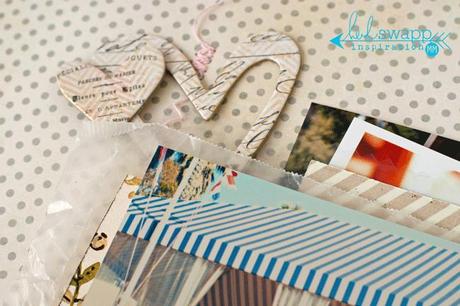
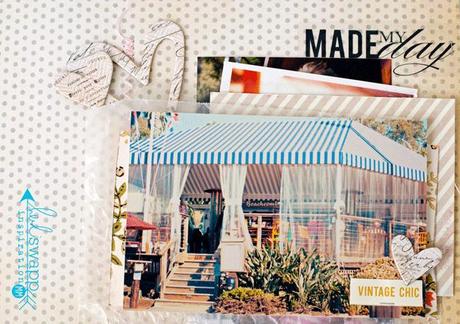
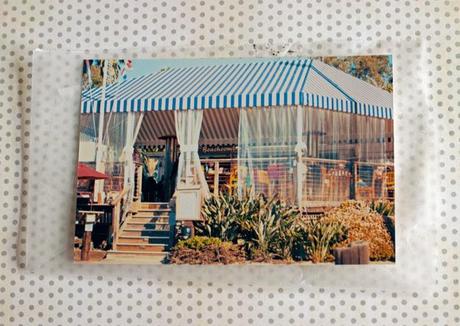 ...but the wax paper, with it's soft white color and it's near translucence, makes the perfect middle layer between the bold paper pattern and bold colors in the "lab" layout. And it softens the bottom photo and paper even more...making them look dreamy and light.I usually use a stapler to attach the wax paper to my background paper and other layering papers...after all, we use wax paper in the kitchen because it doesn't stick to much...soooo...a stapler takes care of that...
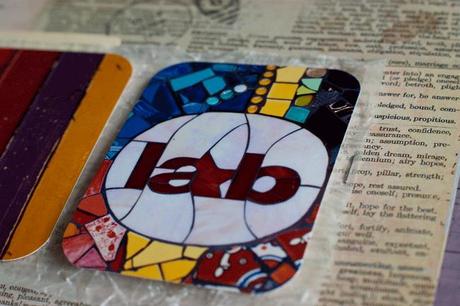
But I have found that foam adhesive dots work perfectly to attach my photos to the wax paper...
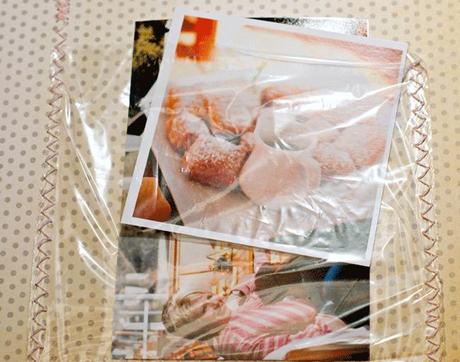
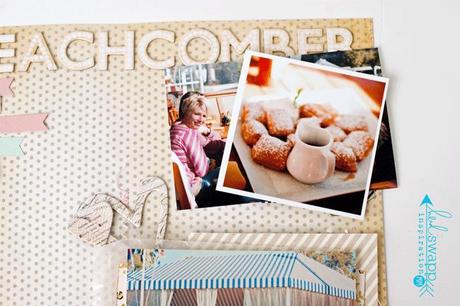
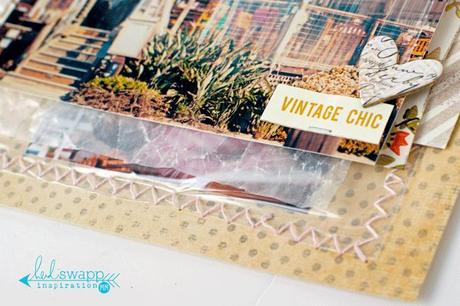
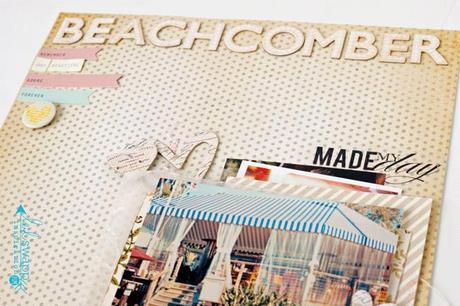
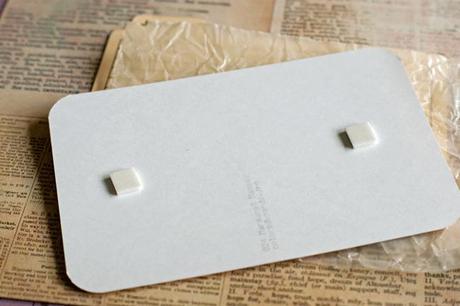 Cool, huh?Now, how did I use the other items in my supply photo? Let me show you my finished "lab" layout...
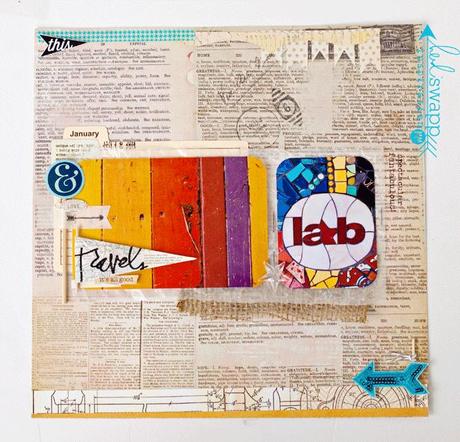
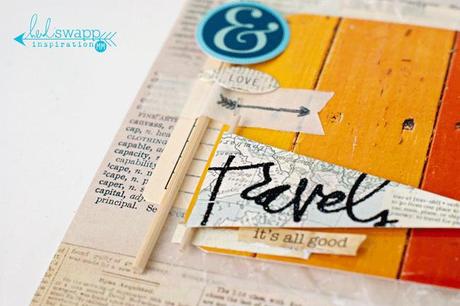
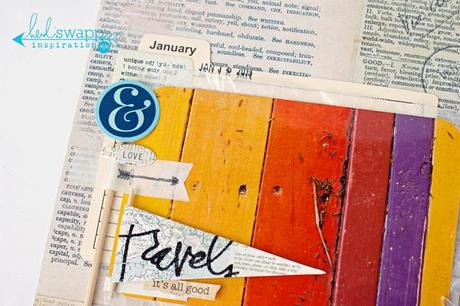
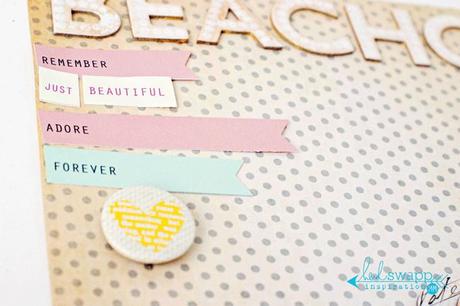
I ran out of "banner sticks" for my Travels Destination Pennant, so I just substituted a toothpick, and instead of washi tape, I used plain old masking tape to hold down my "&" No Limits Stix - I just stamped it with an arrow from Heidi's Clear Stamps, and voila! deco tape.
