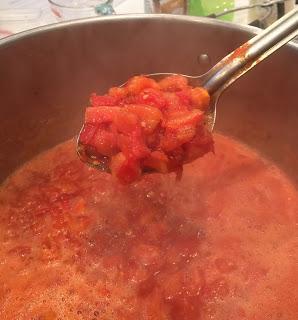
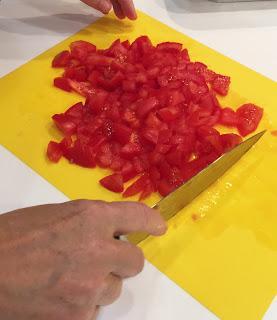
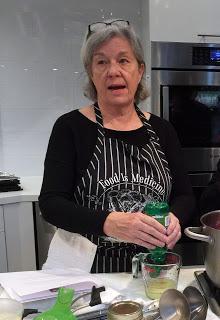
 Lyn, who has over 40 years of canning experience, showed us how to cut fresh tomatoes first coring and then cubing them into 2-inch pieces. I was surprised that we were leaving the skins on, but Lyn explained that since they will cook for up to 2 hours the skins will soften and lend a nice texture to the jam. We put the tomatoes in the pot with the remaining ingredients, brought them to a boil and set the pot on a back burner to simmer as she went on to describe the differences between varying types of preserves from butters and jams to jelly, elaborating on the canning processes as well.
5 pounds of fresh ripe tomatoes, finely chopped
3 ½ cups sugar
½ cup freshly-squeezed lime juice
2 teaspoons fresh ginger, grated
1 teaspoon ground cinnamon
½ teaspoon ground cloves
1 tablespoon sea salt
½ tablespoon red pepper flakes
Place jars in a large pot of water. After water reaches boiling point, keep on low heat until needed. Place lids in a small saucepan, cover with water and place on very low heat.
 Wash and prepare your tomatoes. Use the ripest tomatoes you can find. It is best to use organic tomatoes when available not only for their healthfulness but also for flavor.
Combine all ingredients in a non-reactive pot. If you do not have access to fresh ginger root, you can use the ginger puree found in tubes in the produce section of your grocery store. Also, the amount of red pepper flakes you should use depends on how fiery you like your food. This recipe will give the jam a nice kick. If you are sensitive to spicy foods start with 1 teaspoon and then taste. You can always add more but it is impossible to take it back out. While Lyn’s recipe doesn't call for black pepper, but I added some to mine. Again, taste as you go and adjust seasonings to your preference.
Bring the mixture to a boil over high heat, then reduce the heat to low. Simmer the jam, stirring regularly, until it reduces to a a consistency similar to jam. If you wish to test it, drop a teaspoonful onto a saucer. When cooled, the jam should stay in a mound. If it runs down the saucer when titled, it needs more cooking. This will take between 1 ½ to 2 hours.
 When jam has cooked down sufficiently, remove pot from the heat and ladle jam into the prepared jars, leaving ¼- inch headspace. Wipe the rims, apply the lids and rings, and process in a water bath for 20 minutes. Remove from the water bath to a towel and let the jars cool. Listen for the lids to pop as they cool. This tells you that you have a good seal on the jars. Place any jar that do not “pop” in the refrigerator and be sure to use these within a few weeks.
Personal tip: Before placing the jar in your pantry, write the type of jam and the date on the lid with a Sharpie marker. Giving the jam as a gift? No worries; the marker can be removed with a little rubbing alcohol.

