The main aim of it:
- choosing color scheme;
- compare color with each other;

1. Take original file and open in Photoshop. Choose bright photo with sharp picture.
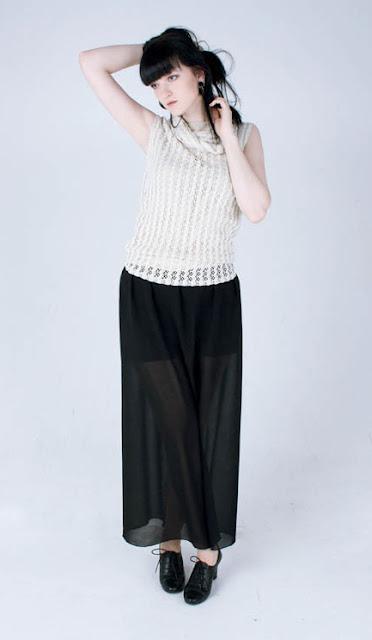
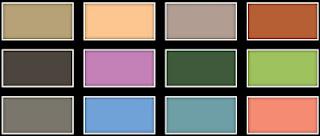
2. Prepare color scheme. I took color trends Spring 2012 for this example. Create new layer (Layer->New->Layer) and paste this palette. Make it invisible for further work.
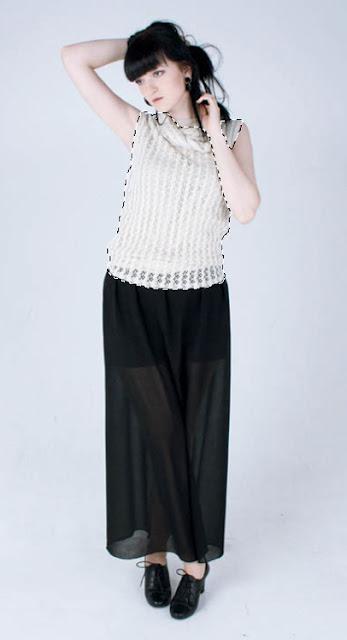
3. Take the Polygonal Lasso Tool(L), zoom in and select the garment that you want to change, right click on it and select Layer via Copy to duplicate that part.
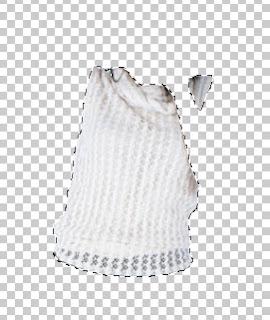
And after copying selection on separate layer, you have something like this:
4. Make visible palette and hold layer with your garment selected. Use Eyedropper Tool on needed color. Take Brush and paint all over the selection.
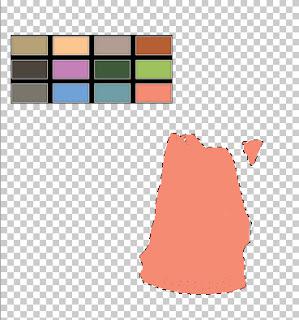
After all these actions we have:
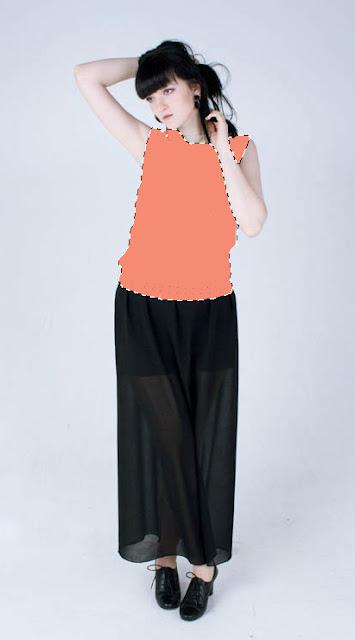
5. Important: Make sure, that selection of your garment is still exist! Select your main layer (background, your photo) and press CTRL+Shift+U.
6. Right-click on layer with selected garment and choose "Blending options". Choose Blend mode "Overlay". That's it!:)
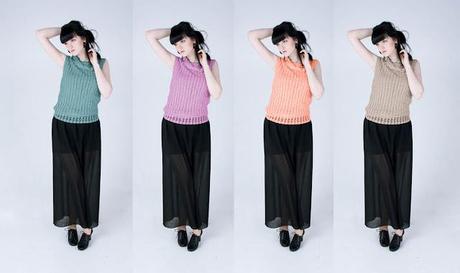
You can control saturation of cover by 2 methods:
1) Opacity in "Blending Options"
2) With selected garment, select your main background layer. Press Image->Adjustments->Brightness/Contrast.
If you have any questions write to me on Google+ or e-mail.
