Check out part I
Sets
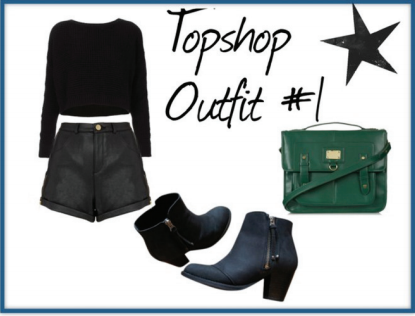
A set is a digital collage composed of products and other images. many different images can be compiled to create a simple yet interesting collages.
A set by Fashionistatrendy:
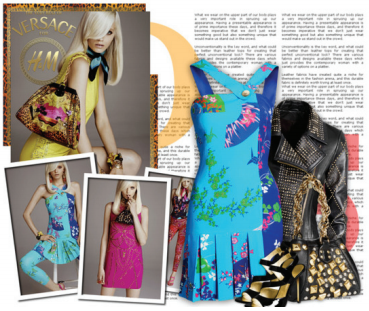
What can I apply to sets other than clothing and accessories?
Like products, you can upload images of magazine articles,celebrities, etc.
For example, if you have a photo of a fan using or wearing your product or brand you sell, you can upload that image to Polyvore with the clipper tool and apply it to your set, collection, group or contest.
You could also use screenshots of articles you were featured in
and use those as embellishments (see Glossary).
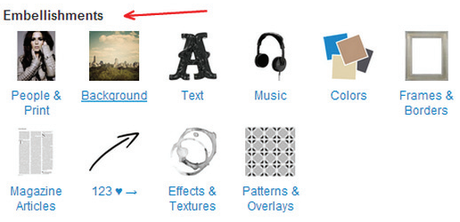
Here are some of the easily accessible embellishment ideas:
- Items you have liked on Polyvore
- Templates
- Pictures of people and magazine screenshots
- Backgrounds
- Text
- Frames & Borders
- Symbols
- Patterns, effects, textures, overlays
and more!
How to use sets for marketing your brand and products
Sets can be shared on various social networks. Here are some ideas:
- Create a simple ad for your sale (either online, instore, or both)
- Print out outfits and refer to them backstage at a fashion show for easy dressing
- Print out your sets and use them to create a lookbook of your products
- A Pinterest board with all of your sets
- Feature your sets on other social networks (Facebook, Tumblr, etc.)
Create sets that include:
- How to wear an outfit
- New merchandise
- Popular styles for different occasions
- Colour stories
When building sets, you can browse categories listed below (ex Tops, Outerwear, Dresses, etc.) or search terms in the search bar such as colours, brands, styles, etc.
In the steps below, you will learn how to apply these to your sets.
Step 1 – Move your curser over the “Create” link at the top of the homepage of Polyvore.

Step 2- You will see a drop-down menu. Click “Set.” You will be directed to the set application.
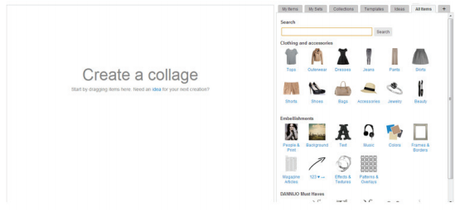
Step 3 – Look for a brand, store, or specific item in the search bar. Or browse a category of the below clothing and accessories
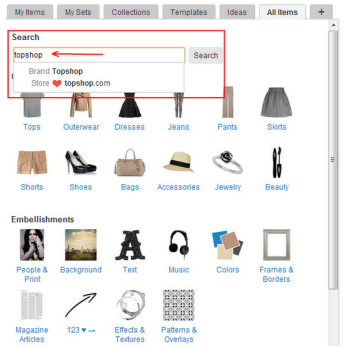
Step 4 – Click on an image you want on your set. You will see a pop-up box appear with the image and some information about the product.
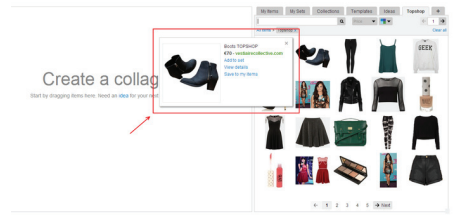
Step 5 – Click “Add to set” in the pop-up box. The image will appear on your set.
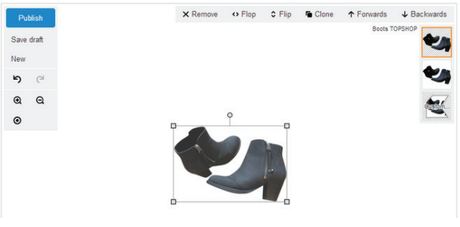
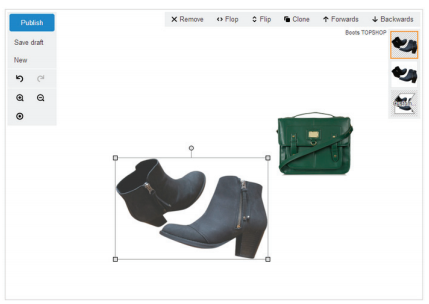
Step 6 – Moving/resizing/adding items and images.
Resizing images: Changing the size of an image is very simple. All you have to do is drag the corners of the image to either enlarge or compress it.
Moving images: If you click anywhere else on the image, you can drag it to its desired location.
Continue to add more images by repeating the steps from Step 1 or 2.
Step 7 – embellishments: Embellishments are all of the other items you can add to your sets other than clothes and accessories. They are added to sets in the same process that other images are.
Step 8 – Once you are happy with your set, press “Publish.” You will have the option to share your set on your other social networks. You will have to click on the icon and connect to the chosen social network.
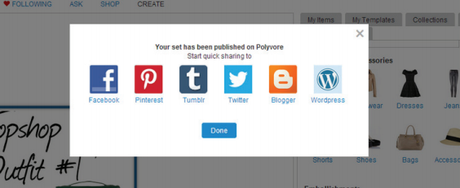
Step 9 – Click the blue “Done” button to complete the process. Your set is finished!
Templates
What is a template?
A template is a pattern or frame equipped with blank areas to fill with images, text, or designs. It’s a fast way to create a set that is well put-together and chic.
Can I create my own template?
Yes. As with sets and collections, templates are easy to create. They will help you and other users on Polyvore to create simpler sets.
Step 1 – Move your curser over the “Create” link at the top of the homepage of Polyvore.

Step 2 – You will see a drop-down menu. Click “Template.” You will be directed to the Template app.
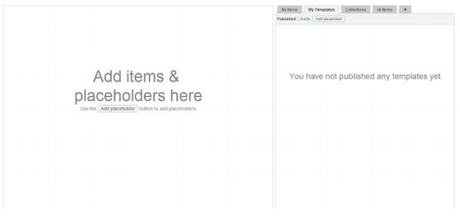
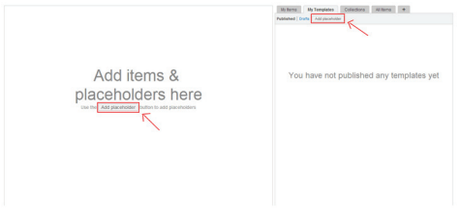
Step 3 – Add placeholders (see Glossary). Click “Add placeholder” on either the draft template itself or on the right hand side of the builder.
Step 4 – When you click “Add placeholder” a box outlined in dotted lines will appear. These placeholders are a guide to where you will insert the image on your set. You can add as many as you like.
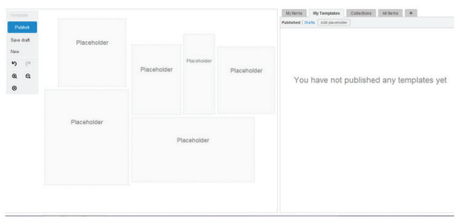
Step 5 – You can also add text, backgrounds, borders, or other items. For templates, you might want to stick to placeholders and additions under “Embellishments.” Apply items under ‘Clothing and accessories” once you are applying the template to a set.
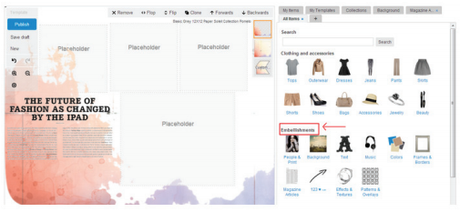
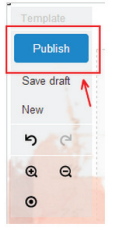
Step 6 – When you are happy with your template, click “Publish” in the left hand corner.
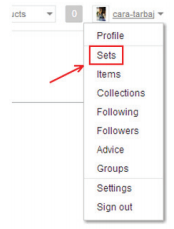
Step 7 - To access your templates, drag your cursor over the arrow next to your username in the top right hand corner. Click “Sets.”
Step 8 – You will see many tabs to choose from. Press “Templates.” You will be able to view the template you just made!

