The first 30 days of her life = My "confinement" period, which is what the Chinese call the postpartum period. We have many taboos in this period, like how we are not allowed to come into contact with water. Right, that means we are not allowed to bathe or even wash our hair for the first month. Well, I survived half of that, thank goodness for the cool weather here, I caved it to my oily scalp and stinking hair only after two weeks.
Besides that, new mums are supposed to be weak and they need to rest in bed often. No walking about, and even frequent sitting will lead to backaches and future ailments. So, when my mum-in-law saw how diligently I was working for this 30-days craft project, she shook her head and said "Next time you old already, then you know."
This was my special gift for Angel when she turned 1 month old - A collage of her adorable expressions from Day 1 to 30.
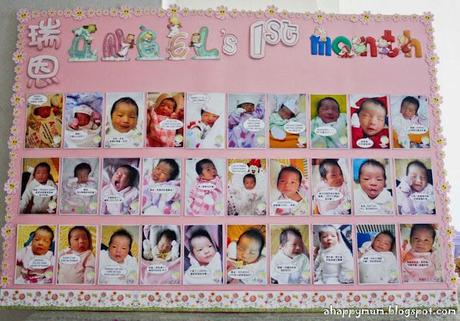
You like it? It's still on display in my living room and every time I walked past it, I can't help but marvel at how fast she's grown and reminisce those sweet 30 days with a smile.
If you prefer, you can actually get a designer/printing house to assemble your pictures and then get it nicely printed onto a canvas. For me, as for all my craft projects, I wanted to make it from scratch so that it would be my magnum opus at the end.
What you need:
1) Thick, big cardboard in color of your choice
2) Photo paper
3) Colour printer
4) Optional: Photo editing software eg. Photoshop
5) Scissors/Glue
6) Camera
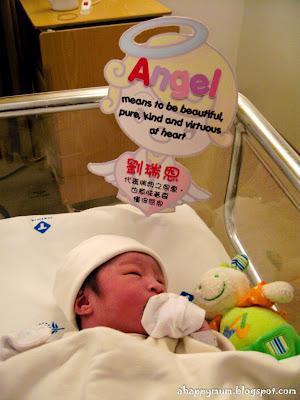
Step 1- Snap snap snap!
If you are a typical new parent, you'll probably do what everyone does - take photos of the baby incessantly as soon as he/she exits the uterus. It doesn't really matter whether you use a DSLR or point-and-shoot camera, but it does matter that you capture a variety of expressions - meaning you have to snap at the correct moment! Always have your camera ready because you never know when that smile will appear. It doesn't harm to take more! If you take 50 shots a day, probably at least 2-3 will be good for use later on.
The challenge is to keep doing this for every of the 30 days. Don't give up halfway and don't cheat!
Tip: Remember to turn off the flash as it can harm a newborn's eyes!
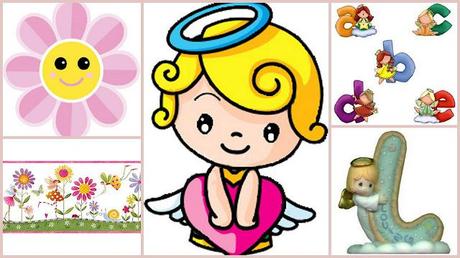
Step 2 - Decide on the theme for your collage and print out pictures for the border, background and text.
Mine was a garden/floral theme along with some cute Angel pictures and Precious Moments letterings. You can start to decorate your collage using these print-outs before the baby arrives. It can be a good way to pass time when you have a huge belly to carry and it really makes you all the more anticipate the arrival of your bundle of joy.
Tip: Paper is just one material you can use. I used good quality photo paper (because I used them for printing the photos too) but you can also consider using other decorative materials like felt, wool, ribbons and spice it up with stickers, glitter, sequins, beads etc.
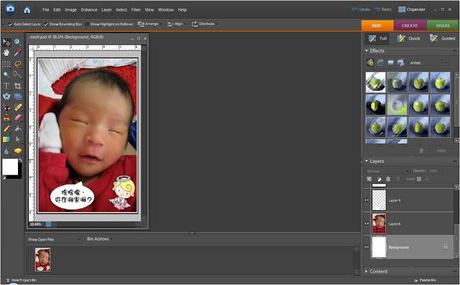
Step 3 - Select your final pictures, add in cute speech bubbles and name the day
Upload your pictures every 3-4 days and choose a final picture for each day from 1-30. Don't leave it till the end because you will be stuck with thousands of pictures to sort out. After that, I used Photoshop to add an Angel logo at the right bottom of the pictures, stating the Day it was taken. Just to make it more fun and interactive, I also added in speech bubbles and imaginary lines that I thought she might be saying. =)

 Step 5 - Repeat from Day 1-30, decide on the size of the pictures, print them out on photo paper, stick them onto your collage and you are done!
I actually printed the pictures out every 4-5 days and added them gradually onto the board. It kept my motivation going to see the collage expanding bit by bit, Rome wasn't built in a day, remember? Moreover, it was a good exhibition piece for everyone in the house to look at and be reminded of how life is a gift and how blessed we were, and still are, to have this lovely, tiny being.
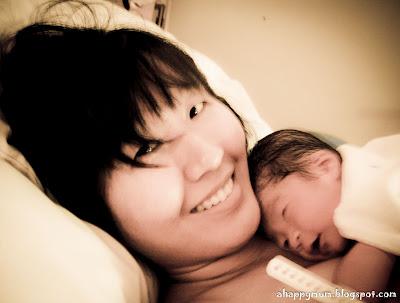
So, give me a choice and I would still give up all my bed rest and good night's sleep to make this gift of love for my baby, one that I can always look back upon and evoke those precious memories of when I truly became a mom.
Because the moment when I saw her and held her in my arms, it was not just bliss, joy, happiness, relief, ecstasy or thrill. It was M-A-G-I-C.
For more craft ideas and DIY tutorials, visit my gallery here.

