Have you seen pictures of people having tattoos in their skins? Are you interested to capture such beautiful images of people with tattoos? If yes, let us get to know more about Tattoo photography.
What are Tattoos?
Before going into Tattoo photography, let us see what a Tattoo is? Tattoos are artwork or images imprinted on human skin.
There are two types of tattoos. First one is the permanent tattoos. They are permanently inked on the skin and will not go away quickly. The procedure for a permanent tattoo is really painful. So, it is not for the faint-hearted. You can remove the permanent tattoo by undergoing a laser treatment procedure.
The second one is a temporary tattoo. As the name suggests, they are temporary and can easily be washed away. Temporary tattoos come in the form of stickers.
What is Tattoo Photography?
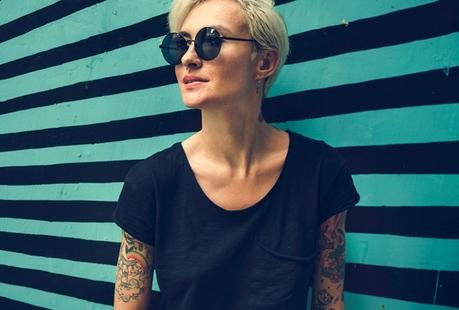
The type of photography which deals with capturing the tattoos in the skin is called Tattoo photography. There are multiple ways to do Tattoo photography. You can capture the tattoo in the skin without any other details like face. It is more like a close-up tattoo shot.
The other type is the Tattoo portraits, which will feature the person as a whole, depicting tattoos in different parts of the body. If the person has tattoos all over the body, then you need to capture images in multiple angles to showcase all.
I will be talking about permanent tattoo photography rather than the temporary one. But, you can apply the same techniques for temporary tattoos also.
How to Do Tattoo Photography?
Tattoo photography is more or less similar to portrait and Boudoir photography. But there are some minor differences. I will explain all the camera stuff, camera settings, lighting, and tips for tattoo photography in detail.
Camera and Lens for Tattoo Photography
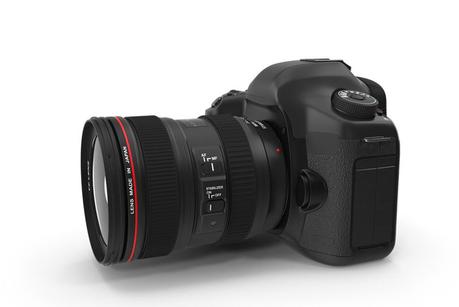
I don’t recommend using a point and shoot digital camera or a smartphone for doing serious tattoo photography.
A good interchangeable lens camera like a DSLR camera or a mirrorless camera would be the ideal choice. You can go for a full-frame camera or an APS-C camera according to your budget. The best option would be a full-frame camera.
When it comes to lens for tattoo photography, you can use a wide-angle lens, portrait lens, or a macro lens.
If you want to capture the full portrait of the person along with his environment or workplace, then a wide-angle lens is the best option.
Go for a portrait lens to get a good portrait shot of the person with a nicely blurred background. Bigger the aperture of your portrait lens better the blur in the background. It makes your subject pop out from the rest of the elements in the frame.
Macro lens is a good choice to capture the details of the tattoo in the skin alone. You can also do it with the portrait lens. But, you cannot get the same amount of details as a macro lens.
The best budget lens option would be the Nifty fifty lens, which is the 50mm f/1.8 lens. All camera manufacturers; Canon, Nikon, and Sony produces the nifty fifty lens. It is the best quality portrait glass available in the lowest possible price. So, go for it.
Focal length range for Tattoo photography will be from 18mm to 200mm. The shorter focal lengths for the wide-angle perspective and the higher focal lengths for the close-ups.
Camera Settings for Tattoo Photography
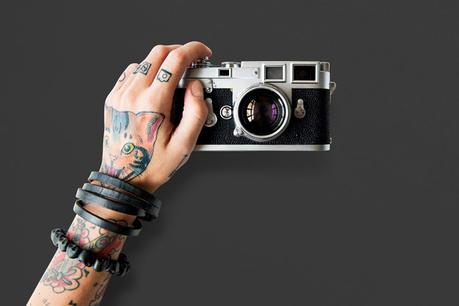
You can get the best results with the right camera settings. So, I will share you the necessary camera settings which you need to set for getting a good tattoo image.
Camera Mode
You can either go for the Aperture Priority mode or the Manual mode.
Exposure Settings
If you are looking for the subject to stand out, then go for the lowest possible f-number to get a shallow depth of field.
If you are using Aperture priority mode, ensure that you get sufficient shutter speed to capture the image without any shake. Use the lowest possible ISO value to match these settings.
If you are using Manual mode, then set the lowest f-number and set the shutter speed and ISO in such a way that you get the correct exposure for the skin. Ideally, the exposure slider will be at 0.
For getting the perfect exposure of the skin, use the spot metering.
Other Camera Settings
Use single point Auto Focus for focusing.
Capture the image in RAW format. It allows you to recover any lost details while post-processing. There is a good chance that the details in some part of the tattoo may get lost due to the skin glare, especially at the skin curves.
If you are not comfortable setting the right white balance, go for Auto White Balance. You can later fix the correct color temperature if the camera has failed.
Lighting for Tattoo Photography

More than 70% of tattoo photography will happen indoors. So, it is good to invest in external light sources like a flash or continuous light system if you are looking for high-quality images.
If you are using single external lighting, then position it on one of the sides of the subject at an angle of 45 degrees. Use a diffuser to get a soft light. The other side of the subject/person will have the shadows. You can even capture the image like this to get a different perspective.
If you are looking for an equally exposed other side of the subject, then use a reflector or another light source with a diffuser. If you have a small portable light, then keep it behind the subject to give a proper shape to your subject.
You can also use the natural light coming from the windows along with a reflector on the opposite side to get sufficient light on the subject.
If you are doing tattoo photography outdoor, then you need to be more careful. The harsh daylight outside can get some parts of the tattoos burnt. So, try to get a soft light on the subject. You can use the same external lights which were used in the indoor shoot for your shots.
How to Avoid Glare while doing Tattoo photography?
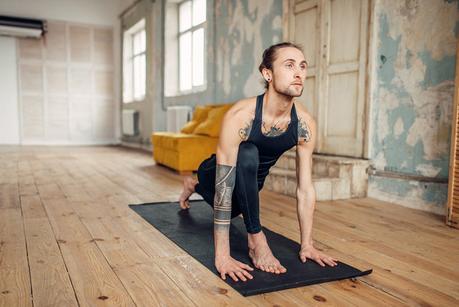
When you are photographing tattoos in the skin, you should ensure that there is no light glare coming from the surface.
Skin Glare is one of the main problems of tattoo photography. The human body has got lots of curves. So, when you lighten the subject, then the light falling won’t be uniform in all parts of the body. So, you need to take it into account when you position your lighting.
If there is a glare, then that portion of the Tattoo will either get washed out or will have fewer details. So, the trick here is to use a diffused light source on the subject.
Harsh lights create more Glare on the subject. Sometimes, multiple light sources can help to distribute the light uniformly.
Don’t use the camera flash (internal or external) directly on the tattooed person. Use a Diffuser in both cases.
The internal flash is not recommended as it fires directly on to the subject. Use the external flash with a diffuser at 45 degrees angle.
Tattoo Photography Tips
I will share some tips to improve your tattoo shots.
1. Simple Background
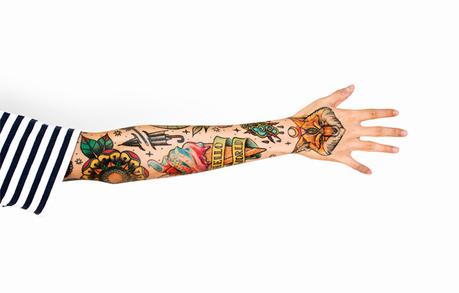
Background plays a vital role in any type of photography; so is the case with tattoo photography.
Make sure that there are no distracting elements in the background. You can keep it simple with a plain background which blends with the subject. This framing technique is good, especially when you are shooting with a fast lens with large apertures.
2. Shooting inside Tattoo Studio
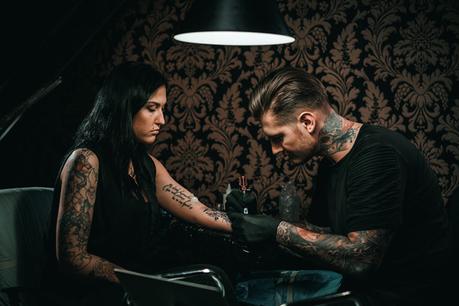
The other way to compose is to include the surrounding elements to give an atmosphere to the frame.
If you are present at the tattoo studio when the inking is happening, then you can capture some candid shots of live inking to the subject.
Once the tattooing is over, then you can ask the person to pose in all possible angles to get the best pictures.
If there are distracting elements in the scene, then either change your angle of shooting or remove the items physically.
3. Shoot Subjects in their Working Environment
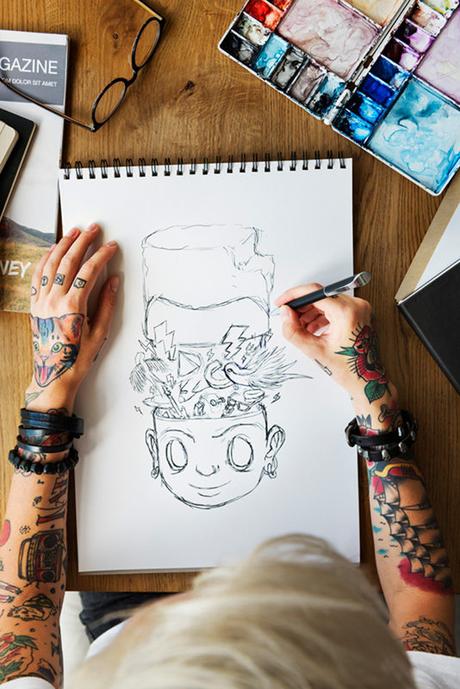
Another way to compose is to make your subject stand in his working environment and shoot images in different angles, covering the environment.
For example, if the person is a sketching artist and has done tattooing on the hands, then you can ask him/her to hold the sketching pen on top of half-finished work. Here, you can compose the image from a top angle and capture the sketching along with the tattooed hands in the frame. You can also go for a standard front-view shot.
If the person is a gym trainer, then take the shots inside the gym. You can make the person to do some bodybuilding activities inside the gym, where the tattoos on the skin will be visible and capture good candid moments.
So, try to capture tattooed storytelling frames.
4. Make the person Pose
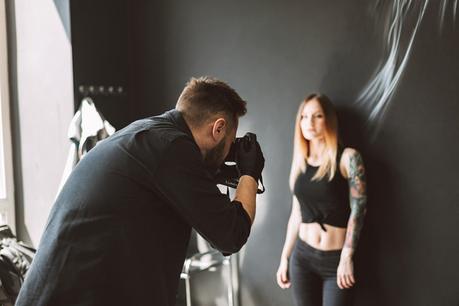
When you capture photos of a person with lots of tattoos in his body, then try all these poses to get the best shots.
4.1. Close-Ups
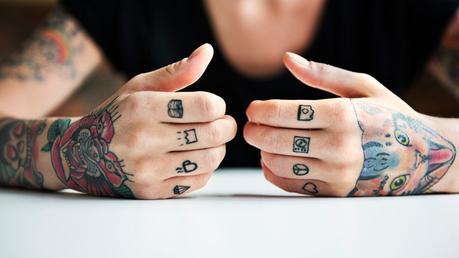
The tattoos will be on different parts of the body like fingers, face, neck, legs, hands, shoulders, back, and chest. So, take close up shots of each part where the Tattoo is present.
Don’t just capture full-frame tattoo close-up pictures. It will look uninteresting. So, try to include the environment or other body parts in a blurry format in the frame. It ensures that the image is composed correctly.
The Tattoo should be the main subject of interest in such frames.
4.2. Full body Portraits
No tattoo photography is complete without a full-body portrait. If the person has tattoos on both the hands, then make them put sleeveless dress and capture images.
If there are tattoos on the legs, make them wear shorts or trousers. You can make the person sit on a chair or lean against a wall with one leg pushing against the wall. If there is a bench, ask the person to sit on the bench with legs straightened and one leg on top of the other.
Capture full-body portrait in all possible angles. It will help you to get best results.
4.3. Head Shots
If the tattooing is on the neck or side of the face, then capture headshots.
Try to get a shallow Depth of field for a nicely blurred background. Make sure that both the face and Tattoo are correctly focused. So, you will have to play with the Aperture settings.
You can unleash your creativity by blurring certain parts for a different perspective.
5. Try Monochrome
Tattoos are either single colored one or multi-colored. So, if the Tattoo has only one color, then you can try Black and White photography. Some shots look best in monochrome.
If you are doubtful to shoot in monochrome then capture the RAW image and convert it to Black and White while post-processing.
Popular Tattoo Images from Instagram
Let us have a look at some of the popular Tattoo images from Instagram
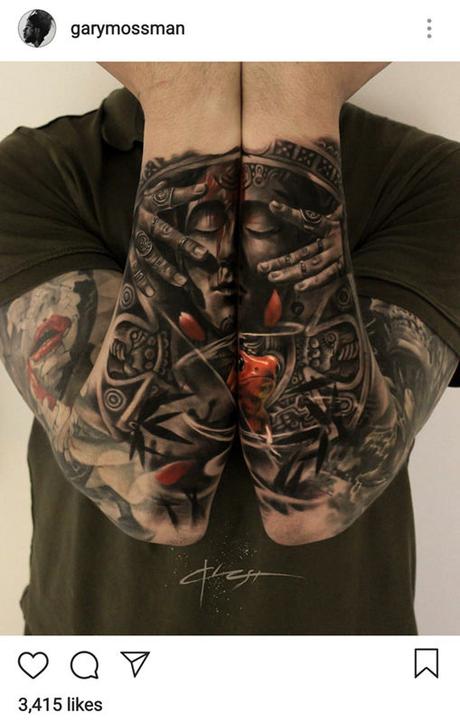
Tattoo Image By Gary Mossman @garymossman
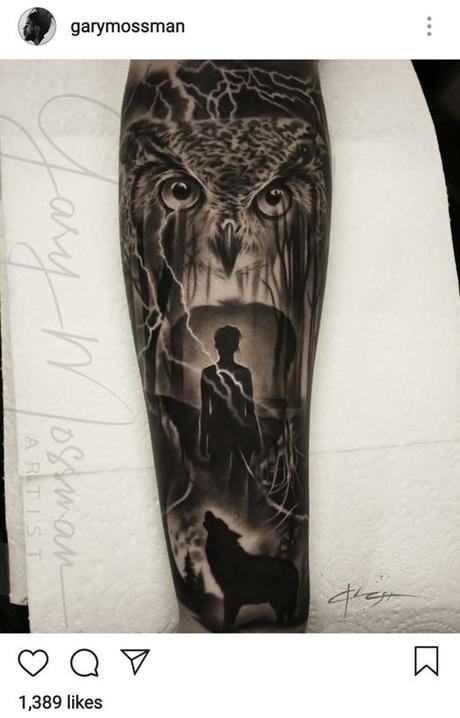
Tattoo Image By Gary Mossman @garymossman
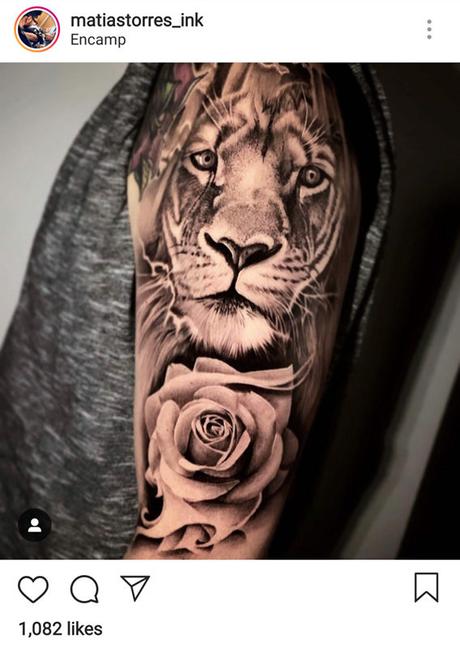
Tattoo Image from Matias Torres @matiastorres_ink
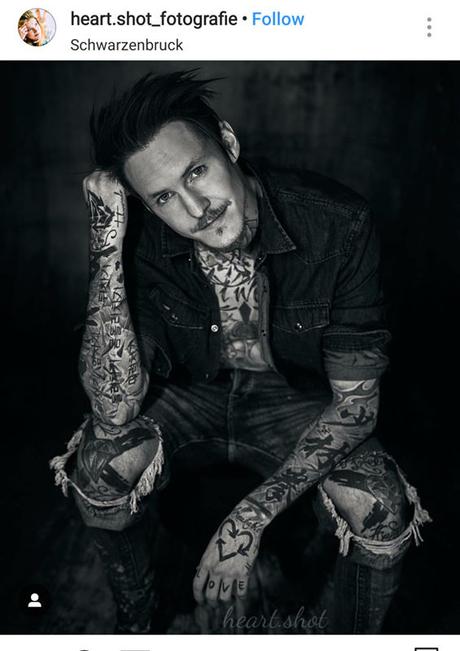
Tattoo Image by Heike @heart.shot_fotografie
Conclusion
So, now you know how to do tattoo photography and all the tips and techniques to get the best tattoo shots.
So, try it out and feel free to share your feedback on the comments section below.

