 Back in the winter of 2009 I was lucky enough to have been able to fly over to Salt Lake City for a week. My oldest daughter was competing in the International Winter Special Olympics in Idaho, representing Canada.
 I was so chuffed to be able to go and watch her compete. As a member of the Church of Jesus Christ I was also very pleased to be able to spend some time in Salt Lake City. My daughter was competing in Idaho for only a few days.
My friend Lura and her husband John, and their family hosted me for that time and they made sure I got to see everything any Latter Day Saint visiting the city would want to see!
 We went to all of the historical sights and it was pretty amazing. We also got to eat some pretty amazing food. I tasted my first sweet potato fries and fried pickles in the Roof Top Restaurant at the top of the Joseph Smith Building. (Delicious!)
I also got to eat in my first ever Brazilian grill, Tucanos. That was also pretty amazing. I still dream about their Cod Fish with Mango Sauce.
Another day we had lunch in The Lion House Pantry Restaurant, which is next to the Beehive House in SLC. The Lion House was originally the home of President Brigham Young.
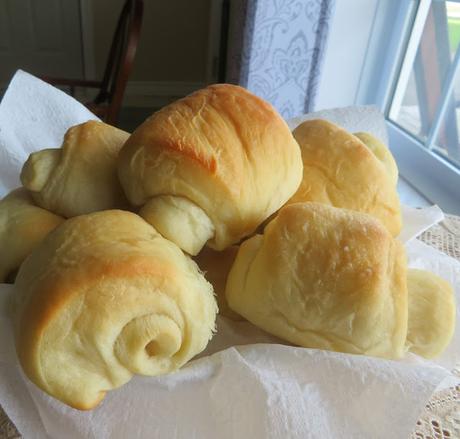
It was not a really fancy place, but the food was excellent. We had delicious soup for lunch and then these AMAZING dinner rolls. Lion House Dinner Rolls. Light and fluffy, they were easily the best dinner rolls I had ever eaten.
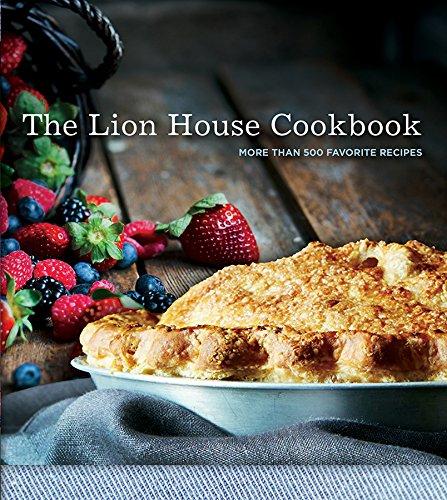
Of course I came home with the cookbook. I did have to leave it behind in the UK when I moved back to Canada last autumn, but was able to buy a copy on my kindle.
 I am not a person who is really fond of recipes on the Kindle, but one has to do what one has to do. I think in recent years they have become a lot easier to follow.
In any case the recipe for Lion House Rolls is in the book and that is the recipe I am sharing with you today, with a couple of changes. One I half batched the recipe. I simply did not need that many rolls.
 Two, I made my Lion House Rolls recipe without powdered milk. I don't have any powdered milk in the house. It was very easily done by cutting back on the water needed and adding milk in it's place.
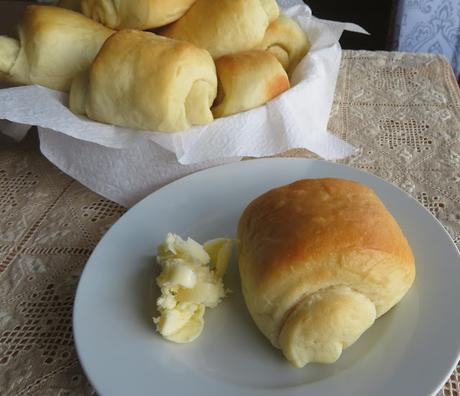
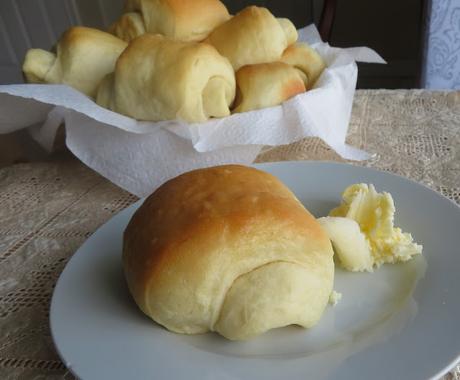
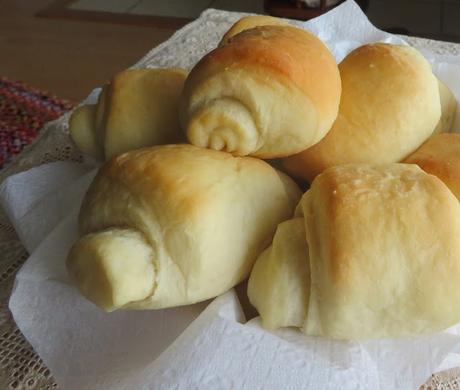
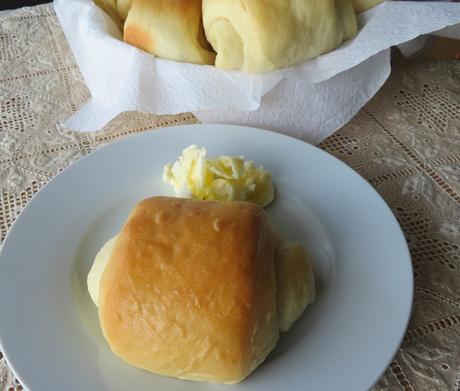
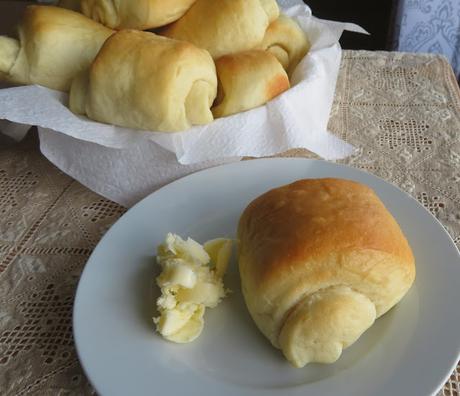
As you can see I ended up with some very delicious, soft, light as air, fluffy rolls. Roll perfection.
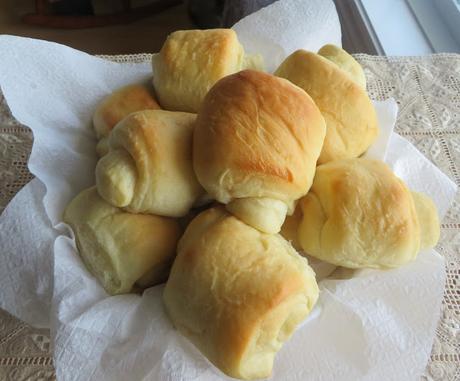
I inhaled one as soon as they came out of the oven and my sister happened by at that time and she inhaled one also. All of this before I took any photos!
At that point we were in danger of not having any to take photos of so we had to restrain ourselves. Yes, they ARE that good! I found myself thinking maybe I should have baked the full batch! (But then where would I have put them?)
 WHAT DO YOU NEED TO MAKE LION HOUSE ROLLS
Simple ordinary things. This is a simple ordinary recipe.
- water (blood warm)
- milk (I used whole milk)
- yeast (If you need to you can use instant yeast, you will need approximately 3/4 TBS)
- sugar (just plain granulated sugar)
- salt
- butter (I used unsalted)
- flour (you can use bread flour or all purpose flour)
- egg (For the half batch you will not need it all)
- oil to oil the rising bowl
HOW TO MAKE LION HOUSE ROLLS
The dough itself was very easy to make, especially if you have a stand mixer. I do (thanks so much Jen, my friend in Milton, Ont. and her pups too.) You can of course do it by hand, but it will take a lot more effort in mixing and kneading.
You want to begin by proofing your yeast. This is easily done by sprinkling it over the milk and water. If your milk and water are warm, the yeast will start to activate and bubble. You know then that it is good and you can continue.
You then need to stir the sugar, salt, butter, egg and some of the flour into the mix, mixing it all in well at first on low and then on medium for a couple minutes. Then you add the remaining flour in increments, mixing it well in and kneading on medium for a few minutes each time.
The dough is ready when you have a soft, non-sticky, evenly textured dough which pulls away from the sides of the pan.
Tip it into an oiled bowl, turning it to coat the dough in some oil, cover with cling film and leave to rise until doubled in size.
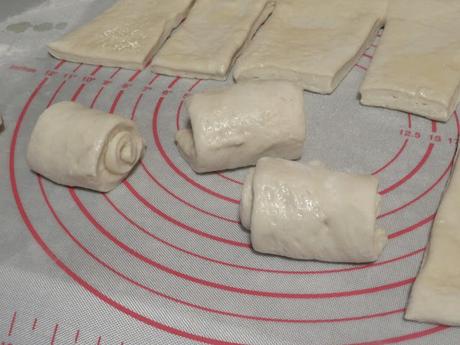 HOW TO SHAPE LION HOUSE ROLLS
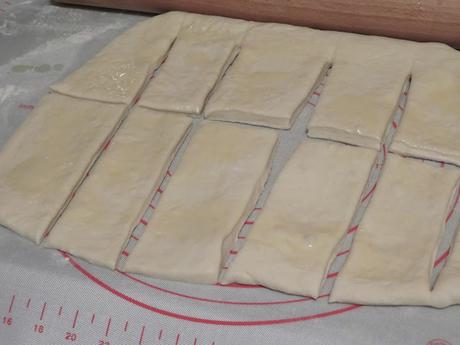
1. Knock the dough down and then roll the dough out to make a long horizontal shape, similar to the picture above.
2. Divide the dough in half horizontally. Make vertical cuts down the dough from one end to the other. This should make about 12 individual strips of dough that are 2 to 2 1/2 inches wide.
3. Shape each roll individually by taking the dough strip with both hands and rolling it up like a cinnamon or jelly roll.
4. Place the dough rolls, seam side down, onto a buttered baking sheet, leaving plenty of space in between for them to rise.
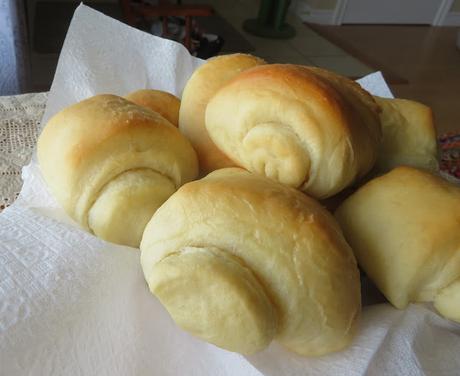 Once your shaped rolls have risen to twice the size they are ready to bake. Pop them into a preheated oven and bake for the required time.
 They are done with they are golden brown all over, tops and bottoms, and they sound hollow when you pick one up and tap it on the bottom. These are very soft rolls, which is all a part of their charm.
 CAN YOU FREEZE THE SHAPED ROLLS BEFORE BAKING?
YES, you can absolutely freeze the shaped rolls prior to baking for future use. This makes them the perfect roll to make ahead for the holidays and your holiday meals!
Simply double the amount of yeast when making the dough. After the first rise, shape rolls but do not allow them to rise again.
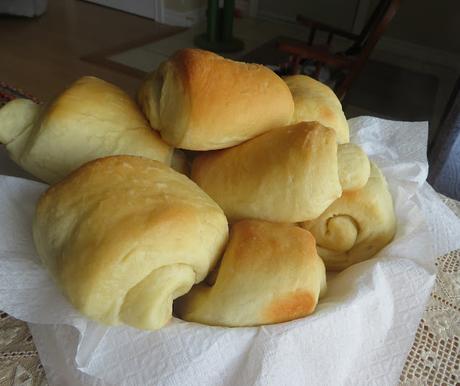 Place the rolls on a baking sheet and immediately place them into the freezer. When the rolls have frozen solid, remove from the pan and place them into a zip lock baggie, squeezing out any excess air.
 They may then be frozen for up to 3 weeks without baking.
When you are ready to bake the rolls, place the frozen rolls onto greased or parchment lined baking sheet (s), all facing in the same direction.
 Cover lightly with some plastic cling film and leave to thaw and rise until doubled in size. This will take 4 to 5 hours.
 Bake as per the recipe. Easy peasy lemon squeezy.
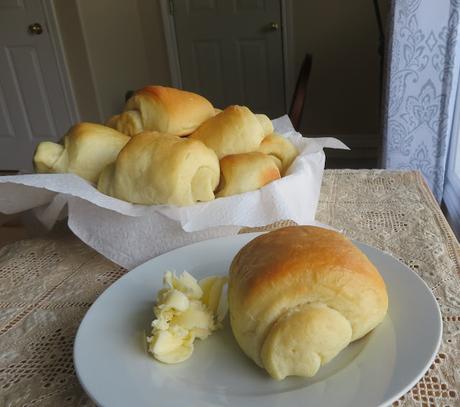
Once baked, these rolls will keep at room temperature in an airtight container or storage bag for two to three days.
You may also freeze the baked rolls. To freeze, wrap them individually with foil and place into an airtight zip-lock bag in the freezer.
They are best if reheated and eaten within about a month.
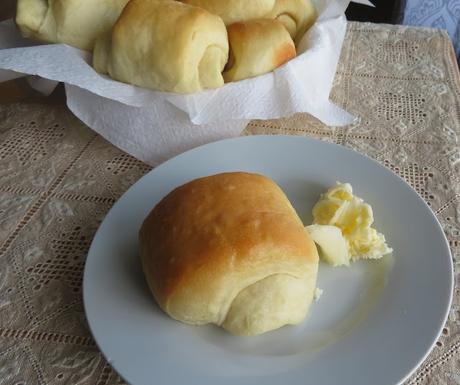 When you are ready to re-heat the rolls, simply pop them (still in the foil) into a 350*F/180*F/gas mark 4 oven for about 15 minutes, undoing the foil for the last five minutes to crisp up the tops.
Brush with melted butter to serve. Delicious!
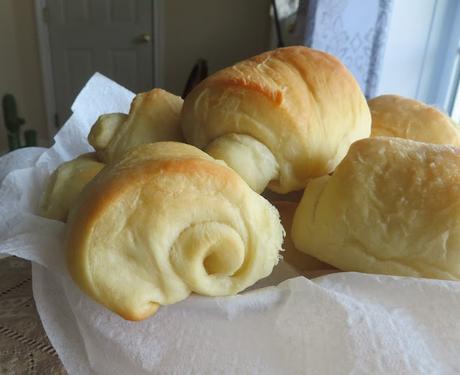
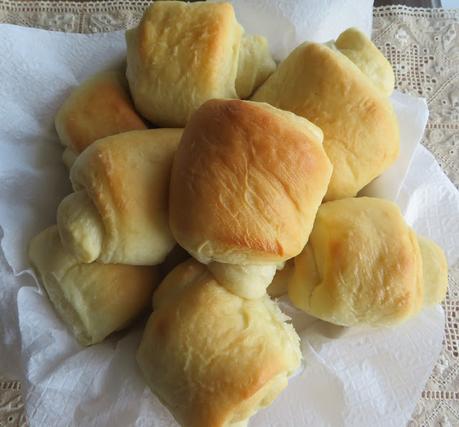
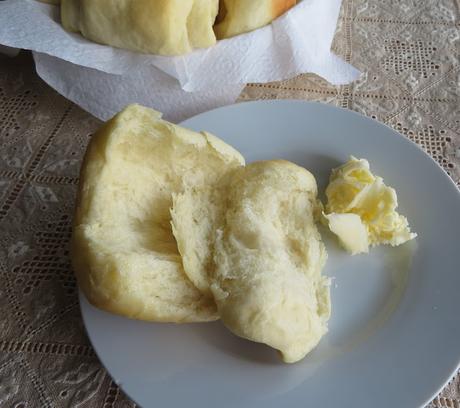 As you can see these rolls have a beautiful texture. Light as air and oh-so-fluffy! They are quite simply my favorite dinner roll.
 I guarantee that if you make them, they will become your favorite rolls also! Absolutely!! These truly are the BEST!
Lion House Rolls (Half Batch)
Yield: 12 rollsAuthor: Marie RaynerPrep time: 20 MinCook time: 15 Mininactive time: 1 H & 44 MTotal time: 2 H & 19 MThese are undoubtedly the lightest, fluffiest, tastiest rolls you could ever want to eat. Very easy to make as well. If you are looking for a great holiday roll, look no further!Ingredients
- 2/3 cup (160ml) warm water
- 1/3 cup (80ml) milk
- 1 TBS dry yeast
- 2 TBS sugar
- 1 tsp salt
- 2 1/2 TBS butter, softened
- 1 1/2 TBS beaten egg
- 2 1/2 to 3 cups (350g - 420g) bread or all purpose flour
- melted butter for spreading on the dough and on the finished rolls
Instructions
- Combine the milk and water in the bowl of a stand mixer Sprinkle the yeast over top, stir and then let stand for five minutes, or until the yeast has started to proof.
- Add the sugar, salt, egg, butter and 1 to 1 1/2 cups (140g to 210 g) of the flour. Mix on low with a dough hook to combine and then increase speed to medium and mix for 2 minutes.
- Add 1 more cup (140g) of the flour and mix on low until everything is more or less mixed and then increase the speed to medium again and mix for a further 2 minutes. Add the remaining 1/4 cup (35g) of flour and mix until the dough is soft and beginning to pull away from the sides of the bowl. Scrape the bowl every so often. The dough should not be sticky or wet. It should be soft. If it is stick mix in a bit more flour.
- Oil a largish bowl. Tip in the bread dough, turning to coat the dough in the oil. Cover the bowl tightly with some plastic wrap, and then set aside to rise in a warm place until double in size. (about 1 hour.)
- Have ready a large baking tray which you have buttered.
- Knock down the dough and tip out onto a lightly floured countertop. Roll out to a largish rectangle about 12 by 14 inches in size. Brush with melted butter if desired and then cut into 12 evenly sized rectangles.
- Roll each rectangle up into a roll and place onto the baking sheet with the tail end down on the sheet (see photo).
- Cover lightly and leave to rise in a warm place until the rolls have doubled in size (about 45 minutes.)
- Preheat the oven to 350*F/ 180*C/ gas mark 4.
- Bake the rolls in the preheated oven for 12 to 15 minutes until golden brown on the tops and bottoms. (They will sound hollow when tapped on the underside if done.) Brush with melted butter. (optional)
- Serve warm or at room temperature.
Did you make this recipe?
Tag @marierayner5530 on instagram and hashtag it #marierayner5530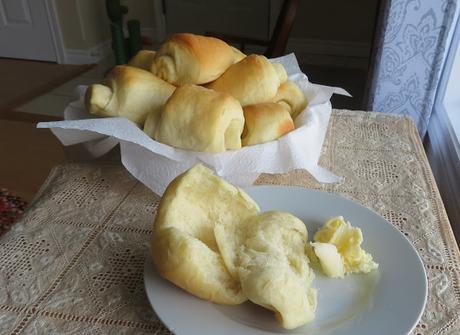 This content (written and photography) is the sole property of The English Kitchen. Any reposting or misuse is not permitted. If you are reading this elsewhere, please know that it is stolen content and you may report it to me at: mariealicejoan at aol dot com
 Follow me on Bloglovin

