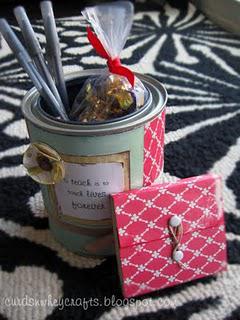
 If you want to make one too click the view tutorial link below.
So I'm going to do a picture tutorial on how to make the pencil holder and then just explain everything else.
Items Needed:
- 1 paint can (you can find them at any craft store.)
- Mod Podge and paint brush or double stick tape
- 12x12 inch Paper
- Ribbon
- Brads
- Twine
- Post-it pad
Okay first you are going to measure from the inside of the top "lip" to the inside of the bottom "lip." I don't know what it is really called but that is what I'm calling it. Mine was a little less than 4.5 inches.
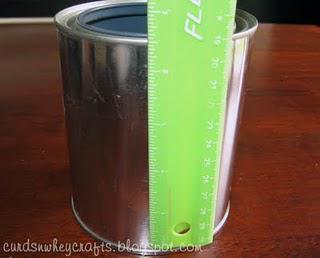 Cut your main piece of paper to the size you measure keeping it the 12x12 length. For example my paper was cut at a little less than 4.5x12 inches.
Now you are going to paint your can with Mod Podge and apply your main piece of paper. Then paint over the top of your paper with Mod Podge. I then added a second strip that was 1.5x12 inches and painted over the top of that strip. If you don't want to use Mod Podge it also works with double stick tape.
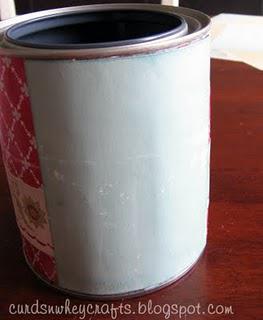
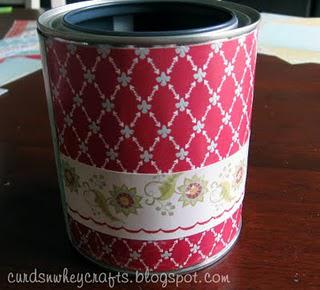 Now you have a little bit of an opening where the paint can is still showing. So cut a piece of paper the same height as your main piece x 3.5 inches. So my piece was 4.5x3.5 inches. Apply that the same way you did your main piece.
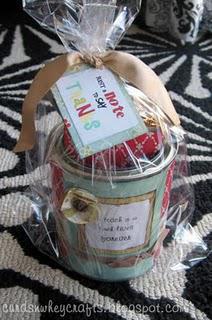
 Now all that is left to do is embellish. I just added a ribbon, a quote, and a paper flower that I made like this tutorial here, just don't add the 5th circle to the middle and replace it with a brad instead. I cut my circles with a 1.25 in circle punch. Here's the front of the can...
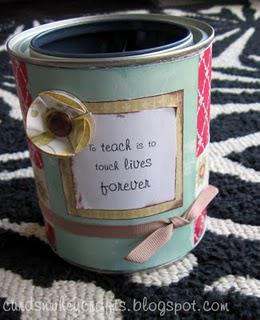 And this is the back view...
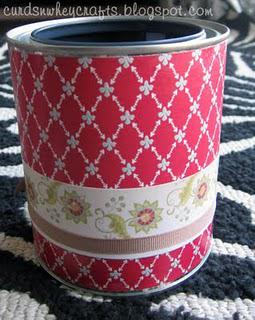 Now to make the post- it cover I just cut a piece of paper @ 7.5x3.5 inches. Next take your paper and fold it around your post-it pad making your folds where it naturally folds. Now take the back off the sticky pad and stick the pad to your paper. Next take two brads and poke them through the two flaps and wrap twine around the brads to keep it closed.
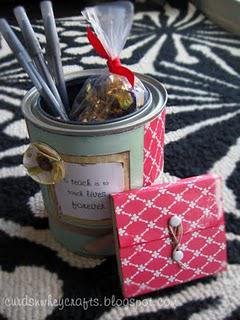 Now stuff the note pad inside the can.
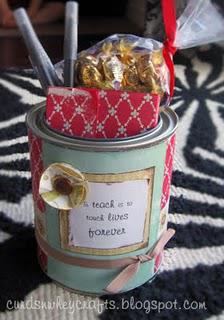 Wrap it in some cellophane and add a cute ribbon and tag. My tag said, " Just a NOTE to say Thanks." Then make sure to have your kids give them to their favorite teachers on Tuesday May 3rd.

Click HERE to see where I will be linking to.

