A few posts back I set the challenge of perfecting the art of baking a soft and airy sponge. For years I have generally given the dear old sponge a wide berth, after many a failed attempts which looked more like an egg pancake than anything resembling a sponge. But after my Granny reminded me that my Grandad was a rather good sponge baker…well…challenge accepted!

I have a few excuses theories as to why I have not been as successful as Grandad and Aunty Jean: they always baked in an old Canberra wood stove and the eggs were always freshly laid. Modern stoves and mass produced eggs just cannot compete with that. The heat distribution just doesn’t seem to be the same, and often, in the world of fan-forced, it is just too intense, even if it is set at the same temperature. So until I can afford a new wizz bang oven…I’ll just have to see what I can do.
To kick off this challenge I figured the best place to start would be with the old Commonsense Cookery Book. An oldie but a goodie. Mum was up for the weekend, so was on hand to supervise and I think the results are not bad.

This sponge cake recipe is a rather small batch recipe, using only 3 eggs. Which isn’t many compared to some requesting 7-8 eggs. I rather liked this though, it meant that it was a bit more stable and less eggy in the flavor. It also didn’t clean out our egg supplies for the weekend!
Commonsense Cookery Sponge Cake
- 3 eggs
- ¾ cup caster sugar
- 1 cup plain flour
- 2 teaspoons baking powder
- 3 Tablespoons water
- ½ cup strawberry jam
- ¾ cup thickened cream
- 1 Tablespoon caster sugar extra
- Icing sugar for dusting
- Preheat oven to 180 degrees C.
- Grease and line two 7 inch, shallow tins.
- Separate eggs, placing the whites only into a mixer with a whisk attachment and beat until stiff.
- Once the peaks are stiff (but not as stiff as you would make for a meringue) slowly add in the caster sugar, beat well.
- While the egg whites are beating, in a bowl sift the combined flour and baking powder. The old method is to sift three times, this adds air and volume to the flour and combines the ingredients well.
- Returning to the egg whites, still beating add in the egg yolks and beat until thick.
- Now to the tricky part which has to be done by hand. Remove the bowl from the mixer and gently spoon ⅓ of the flour into the egg mixture. Gently folding the mix. Once the first spoonful is pretty well amalgamated repeat with the remaining flour.
- Add the water and stir lightly but quickly.
- Pour the mixture evenly between the two pans, and bake for 10 to 15 minutes. In my oven 10 minutes was adequate.
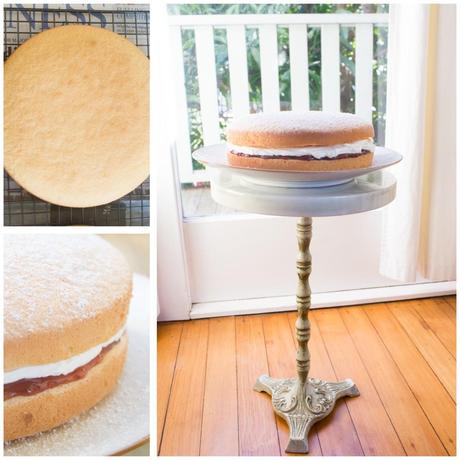
- When turning out, place a tea towel over the top layer of the cake, so you don’t end up with the lines of the cooling rack across the top. (The CWA would be outraged by cooling rack marks!)
- Allow the cake to cool completely.
- In a small bowl place the thickened cream and extra caster sugar. Whisk until firm…but not too firm or it will start turning into butter!
- Place the jam in the microwave for 30 seconds to soften. This will make it easier to spread.
- Pick which layer you want to be the bottom and place, top down onto a serving plate. This will leave a flat surface to paint on your jam, followed by a generous layer of cream.
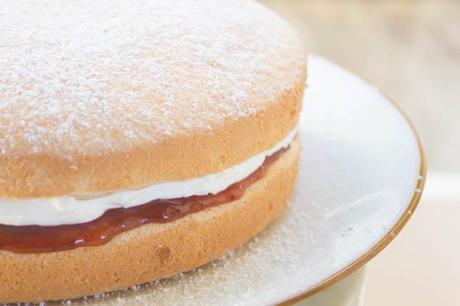
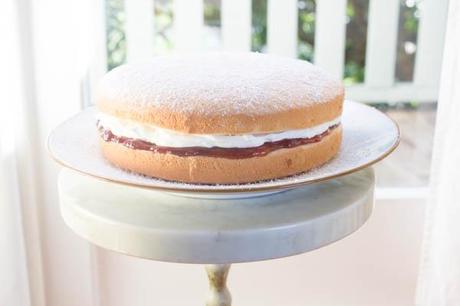
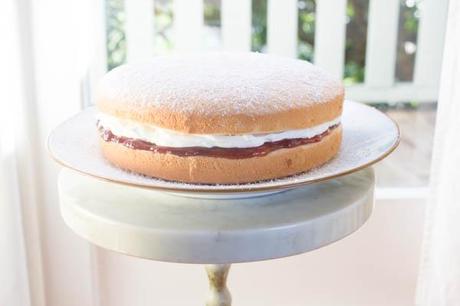
- Pop the top cake on the cream and dust with icing sugar to finish.

So it was a pretty successful sponge I’d say. It went really well with a cuppa, which has to be the most telling indicator of success for a sponge. However, I can’t say this sponge cake recipe satisfies the sponge cake challenge for greatness. It is still along way from the softness and lightness Aunty Jean achieves and the layers are somewhat thinner (but with only three eggs, that’s to be expected). So the quest continues.
If you have any Sponge Cake Recipes or tips which might help send them through!
emmy
post script: working long hours, leaving a bit after sunrise and home after dark is not helpful when trying to regularly bake and photograph for the blog. Bring on summer and those longer days with lingering sunshine!

