I didn't think I'd be doing a detailed "how to" involving a hammer and a sharp knife when I woke up this morning, but here we are anyway (and it was a smashing success I might add).
I have more than one curry leaf tree growing in my garden, and quite some time ago I had promised to give my one-metre tall potted curry leaf tree to my good friends Jolanda and Paul.They used to have a productive curry leaf tree in their garden, but while they were away traveling for several months in 2019 (lucky them!) the tree didn't survive, so they needed a replacement. The problem is that my potted tree really needed repotting before I handed it over to them, so "now is as good a time as any" became a very good reason to repot the tree this Monday morning.Here's how it all went ...
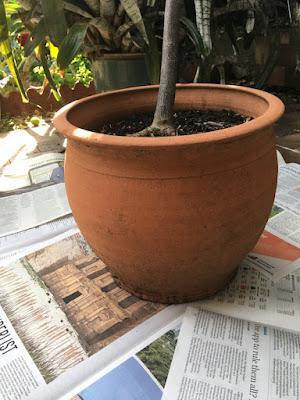
I do like terracotta pots for many reasons, but this shape is all wrong. Leaving the existing tree in there too long meant that it had filled the bulbous center and just won't come out by pulling it out. It's stuck in there!
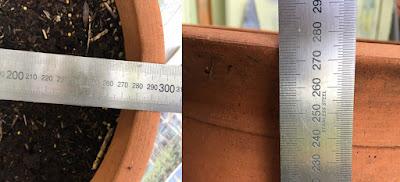
The existing pot is 28cm wide and 28cm high
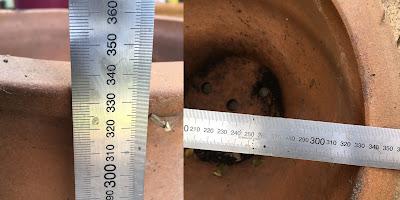
So I found a perfect replacement that is 33cm wide and 33.5cm high, bigger the than old pot all round and offering room to grow, but only one size up, not too big. And it has the right shape, so in future years if the tree needs repotting, it can be pulled out easily.
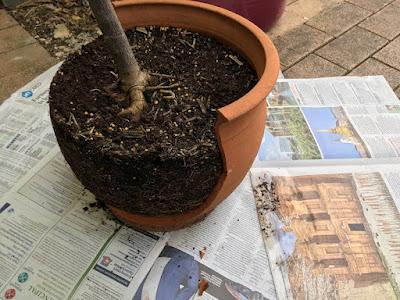
Just one gentle tap with my hammer produced the perfect result. Away fell one full half of the original pot, and the rootball lifted out easily. I know, seems like a radical thing to do, but I don't have much inclination to hang onto badly-shaped pots.
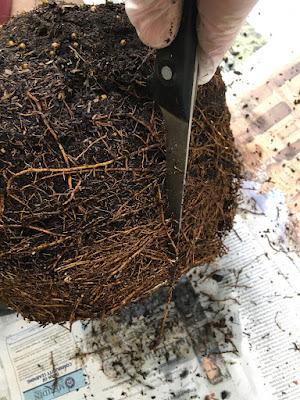
If you think taking a hammer to a pot is a radical manoeuvre, then wait till you see me perform surgery on the rootball with a sharp knife. The rootball was fairly tight at the base, and so I made several vertical slits in the most tightly packed sections then lightly teased out the roots.
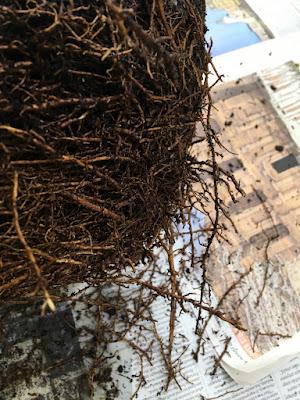
Now the roots will happily start moving their way into the fresh potting mix that will surround them in their slightly bigger new home.
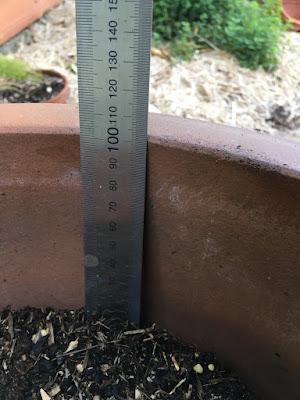
The new pot is bigger than the old one, so how much potting mix to add to the bottom, before adding the rootball? I just did a test fitting of the rootball into the new pot, 10cm short.
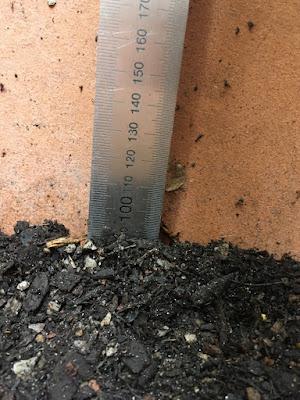
So I added about 10cm of new mix in the bottom, before sitting the rootball on top.
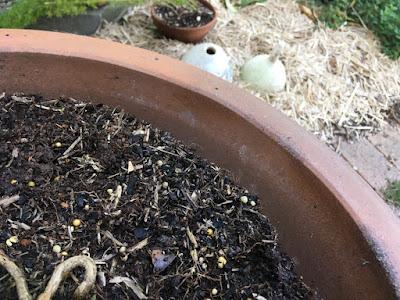
That worked out fairly well, so I carefully added new mix to fill the gap in the sides. Shaking the pot gently helped to settle the new mix into the gaps.
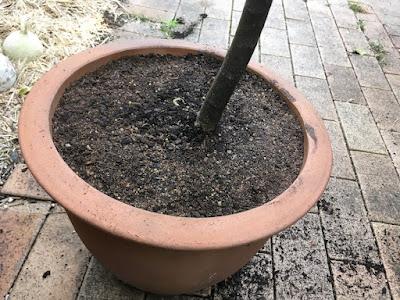
Ideally, never add much potting mix on top of the existing surface, as there are lots of "feeder roots" right at the soil surface. However, I spread a super-thin layer on top to even out some bumps.
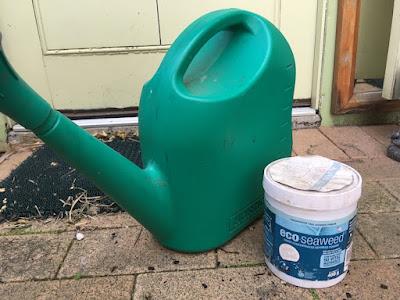
After all the trauma of surgery by Dr Gardenamateur, my curry tree will be a bit stressed, so I made up a seaweed solution and gave the plant a good watering with that. This product is called "eco-seaweed" and I have been using it for years. It's a competitor to Seasol in the market, isn't as well known but does just as good a job. It comes as fine desiccated flakes that you add to the watering can (I add one teaspoon to a 9-litre can of water).
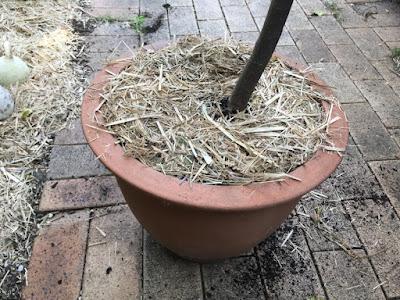
Finally, to help conserve moisture and suppress weeds, I added a layer of mulch to the pot, making sure to keep the mulch away from the trunk itself.
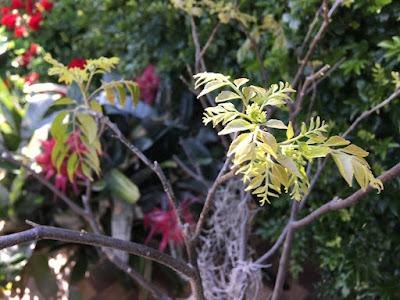
As a tropical plant, our curry trees don't like Sydney winters at all, and they often lose some or all of their leaves by the end of July. As an annual thing I always prune back the tree a bit, then by early spring the whole thing is sprouting new leaves and greening up rapidly.
So the curry leaf tree is ready to be handed over to Jolanda and Paul. They can leave it in its new pot for a couple of years before planting it out, if they like, or they can put it in the ground straight away. Whatever suits their plans ...
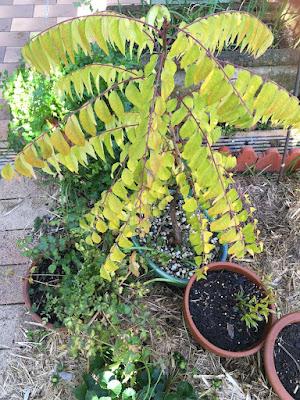
Meanwhile, my "bonsai" curry leaf tree actually provides me with all the curry leaves I need in cooking. It's still covered in leaves, they're a bit down on tropical green-ness at the end of winter, but generally the plant itself seems healthy.
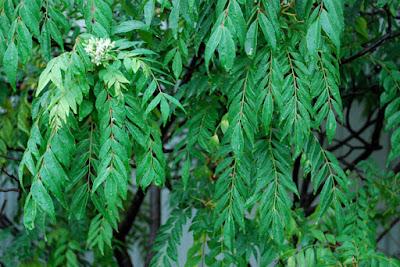
Last of all, here's a photo from about 10 years ago, of our original backyard curry leaf tree. We originally had it growing in a pot, but then one day its roots got too big and strong and it cracked the pot. So we put it in a bigger pot and a few years later it cracked that one, too.So maybe Jolanda and Paul's plan to get their new tree into the ground is the best idea. If you grow these things in pots in Sydney, they love our warm wet summers so much that eventually they'll start causing some kind of headache for you ... but along the way they're an elegant addition to any Sydney garden, as well as a delicious addition to so many South Asian and Southeast Asian dishes.
