 It's less than 2 weeks since we finished our 50 day play challenge, however before those days were up we had already signed up to take part in the 31 day sensory play challenge hosted by Emma at Adventures of Adam.
Today, I'm sharing with you the day 3 activity which is based around using shaving foam. Isabelle and I have played with shaving foam a few times before - mixed with water beads, as bath paint and as an ingredient in homemade snow - so I was excited to come up with a new way to play. You can check out Emma's shaving foam activity here, and follow along with the Pinterest board here.
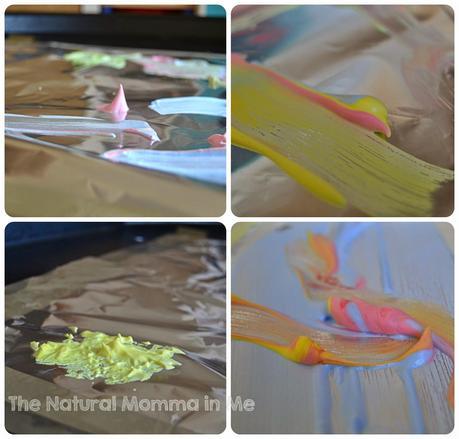
As Isabelle enjoys painting so much I decided to stick with shaving foam paint, but add in the new twist of painting onto the shiny surface of tin foil.
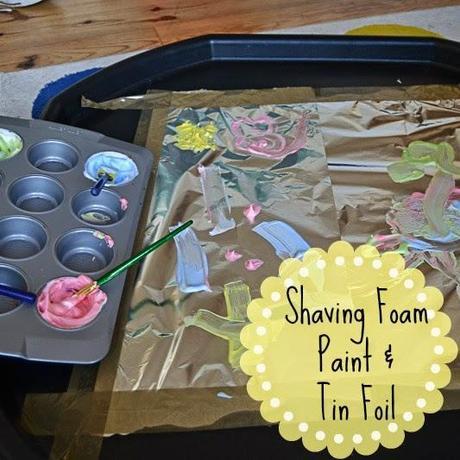
Making the paint is so easy. I simply squirted the foam into 4 holes in our muffin tray before mixing in green, yellow and blue food colouring with a paint brush. I know from previous experience that red food colouring simply dissolves my shaving foam so, instead, I mixed red posted paint into the fourth mound of foam. This gave us four 'paints' to use.
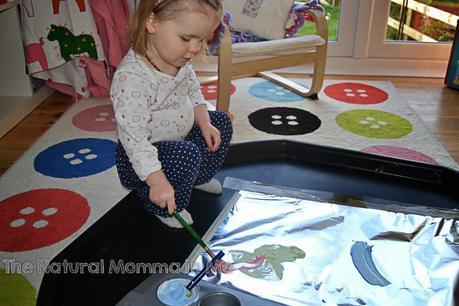
Using our tuff spot as a base, I taped down two lengths of tin foil with the shiny side up, and we were ready to go!
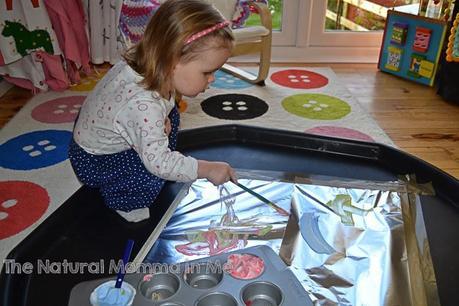
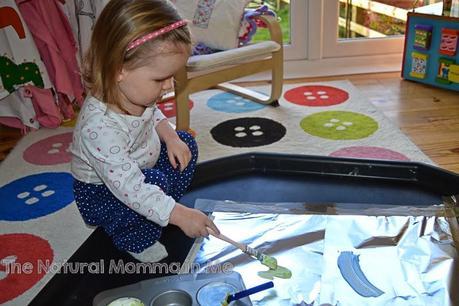
Isabelle dived right in and immediately started to mark make on the tin foil using the different paints. We are working a lot on her colours at the minute so I was able to say "Let's try the green paint now" and continue her learning through this activity.
One difference with painting onto tin foil is the noise - Isabelle found that when she bopped the paint brushes on the tin foil it made that 'crinkly' noise (you know the one - it's quite hard to describe!) which isn't something she had ever heard before. She spent some time simply banging to make noise all over the tin foil before she went back to painting.
The shaving foam paint had two properties which I loved - firstly it is puffy and gave us lots of 3D shapes and peaks, which stayed up for the duration of our play. Secondly, when the colours get mixed together it creates a beautiful marbling effect, and some of our peaks and puffs were several different colours which looked really cool.
 I then decided to use this marbling effect for a separate little project - thank you cards. Once Isabelle had finished playing, I laid sheets of card onto the shaving foam paint before lifting them off and setting them aside to dry. This has given us several sheets of marble effect pastel colours which I am going to use to make some thank you cards for Isabelle's Christmas gifts. I actually made a few extra sheets which dried so nicely that I have hung one on our playroom art wall.
Isabelle really enjoyed this activity, and it was very simple to set up and clean up. We didn't get any shaving foam paint outside of the tin foil area, so it was simply a case of unsticking the foil and throwing it away!
We're looking forward to creating some more sensory play activities to work with the 31 Day Sensory Play Challenge throughout the course of January.
