As you all know WooCommerce is the most customizable e-commerce platform for building your online business. If you are running an online store then there is the best opportunity to sell services from your Woo store. We have developed a plugin name ”Woo Sell Services” which allows users to sell services to their own customers. Woo Sell services plugin will add the ability to WooCommerce to sell services just like a product is sold.
This plugin is an extension to WooCommerce that adds a new product type called “services” which allows a Vendor to sell services to their customers as well as additional requirements regarding a particular service.
Woo sell services come up with awesome features and functionalities. To know more about this plugin let us get more deep into the article.
Today we are going to discuss how easily you can use this plugin. Let us check out each step of this plugin one by one-
Setup WooCommerce On Your WordPress Site
First, you need to create a fresh WordPress Installation.
After that go to dashboard secrion> pluings> Add new plugin i.e WooCommerce plugin. Activate the plugin.
Now move on to the appearance section add a new theme. You can also try the StoreMate theme for your WooCommerce store. Install and activate it.
After installing the theme. You’ll see the option to set the WooCommmerce. Fill all the desired steps.
Check out this guide on how to set up WooCommerce.
Now you are all set with your WooCommerce store.
Install And Setup Woo Sell Services
Once you have set WooCommerce on WordPress, the next step is to install the Woo Sell Services plugin. Install the plugin and activate it.
Features Of Woo Sell Services Plugin
The noteworthy features of Woo Sell Services include:
- It allows vendors to sell services just like a product is sold.
- Add service-related requirements or questions
- Real-Time Order Email Notification
- It offers a dedicated conversation channel for vendors and customers.
- Order management section for both customers and vendor
- Service Reviews and Ratings
Add The Service
Once you created the service, you can test this by yourself by simply login to the customer account.
In order to create a customer account, all you need to switch directly to a customer from the dashboard. Without logout and login as a customer.
Go to the plugin section and add user switching plugin. After activating the plugin create an account for the customer. By clicking on the user section in the dashboard.
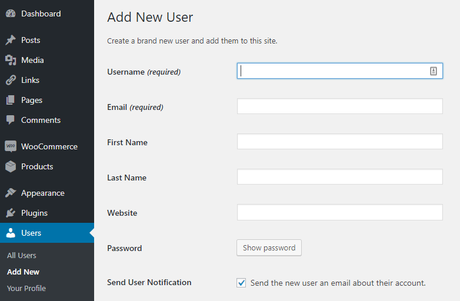
Click on the add new user and fill all the credentials like username, first and last name, website, URL. Select the customer for the role option.
All set with your customer account.
Now add a new service to sell. By going to product section> add the new product. You can write a new service in the title and along with its description. For example, I’m offering you WordPress installation. You will see a drop-down where you can select new option services. After that, you will find a tab of requirement. You give an estimated time of delivery to your costumers. You can add questions in the required field. For example, please find the user logging details. Even you can add FTP details. Click on the Save button. You can set images for the services, tags, categories, add prices, and offer prices. Once done, click on the publish button.
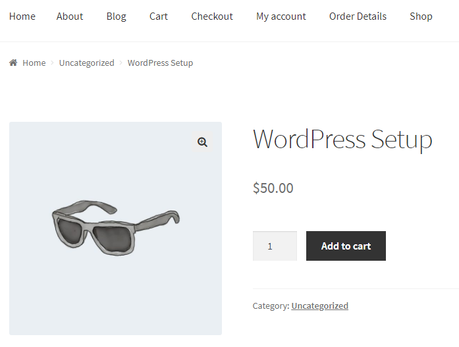
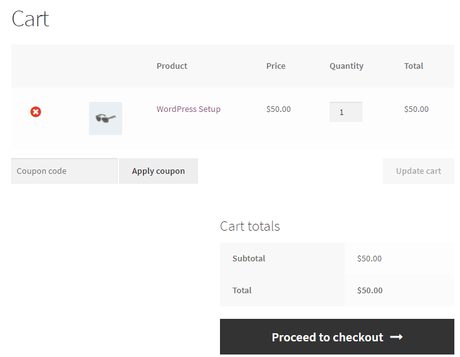
Now if you have to switch as a customer and want to buy the product. All, you need to do it go to the dashboard > user section and click on the switch on the customer. After that on the shop page, click on the product add to cart. After adding it to your cart, click on the view cart. then click to proceed to checkout. Fill all the payment options. After all the processes are done, finally click to the place order button.
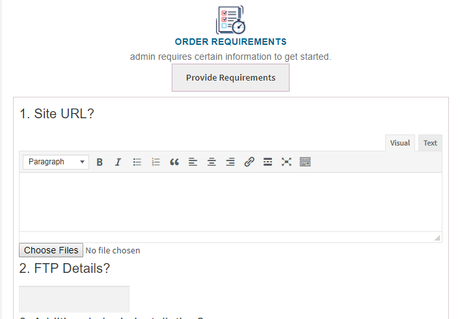
Now the order is completed you will be sent to the requirement page where you can have a direct conversation with the vendor. After that, the questions will be notified to the admin or the vendor who created the product. By accepting the request you can easily have a hassle-free conversation with the vendor.
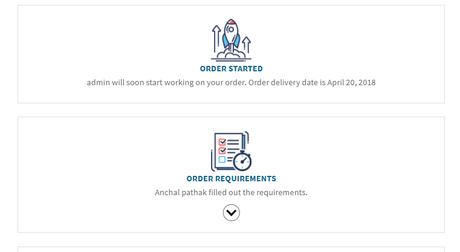
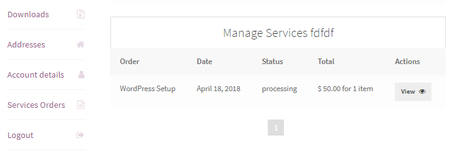
On my account page, you will find all the services listed that you have ordered. All the things are managed by vendors.
If you want to have a particular conversation, you can go to the service order and there is an action button “view”. You can continue the conversation from there. You also send some additional message as per your requirement.
Now after switching back to the vendor, you can check service details, new services or which order is on hold. Like if you want to confirm something whether it will be delivered quickly before the estimated time frame. Being a vendor, you can assure your customers how much time the product will take to deliver. You can make the final delivery that will notify the customers. After login as a customer account, you’ll be able to see the vendor has sent the final delivery. If you want you to accept the request or reject it.
You also have an option to give a rating to the vendor. Even you can add a review after receiving his service. You can also close the thread if his order will be marked completed. We hope that you like the all-new unique options in Woo sell service plugin.
See The Plugin Live In Action!
To know more about the plugin, check out the video-
Summarizing my words
Overall, Woo Sell Services plugin provides an extended functionality to WooCommerce. This plugin, not only allows vendors to sell services but also allows them to mention the requirements. Customers can also add reviews about the service they have received. Woo sells services allows a vendor to sell services and adds a conversation section between Shop Vendors and Customers so that all the requirements of service can be given by the Customer.
Buy NowInteresting Reads:
Why Businesses Should Sell Services With WooCommerce
