Several years ago I was blessed to have been able to take a trip to Scotland. My husband at the time was recovering from his Prostrate cancer treatments and the McMillan trust afforded us a respite holiday, which was really nice of them
We took a coach tour up to the Trossachs National Park in the Highlands of Scotland. It was the first and only trip that I ever got to take to Scotland.
What a beautiful country Scotland is. It was not hard for me to see why this province I live in now was named Nova Scotia (New Scotland) by the early settlers because the topography was very similar. Its beautiful there and it is beautiful here.
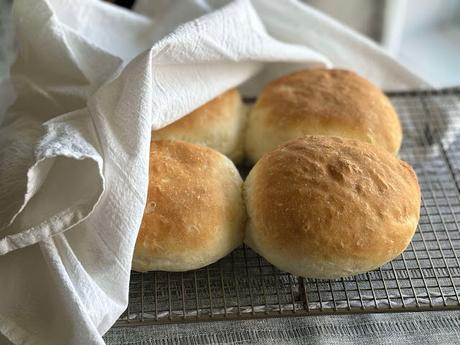
We stayed in a lovely hotel in the middle of the part and every morning as a part of our breakfast fare they offered these lovely soft morning rolls. Soft and chewy with a deep brown crust. They were just beautiful.
I could have easily made a meal of just those. They were just delicious.
I was wanting to try to make some of my own so went in search of a recipe. I found this recipe for Scottish Morning Rolls on a blog called Merry Boosters. They looked lovely and quite easy to make. I am normally yeast challenged and so usually make my breads in the bread machine.
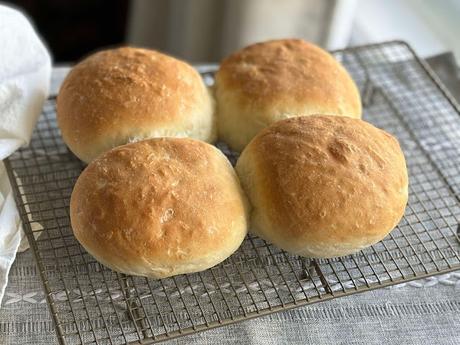
This recipe did not look complicated at all. Very simple ingredients, put together simply. I went for it and was rewarded with some very lovely rolls at the end. I did cut the recipe down to make a more manageable size for myself. This Scottish Morning Roll recipe will make only 4 to 5 beautiful soft and delicious rolls.
WHAT YOU NEED TO MAKE SCOTTISH MORNING ROLLS
Just a few simple store cupboard ingredients and a bit of time.
- 2 3/4 cups (358g) flour (loosely packed if using cups)
- 1 cup plus 1/2 TBS (2332ml) warm water
- 1 tsp (3g) regular yeast
- 1 tsp (7g) salt
- 1 TBS (12.5g) granulated sugar
- 1 1/2 TBS (22g) butter, melted
The recipe did not specify the type of flour required so I just used ordinary all purpose plain flour. It worked very well. I was tempted to use bread flour, but then thought if they wanted it to be bread flour they would have specified so.
Make sure your water is not too hot or you will kill the yeast. Also let your melted butter cool down to tepid as well. It should just be barely warm to the touch.
Use ordinary every day yeast. Not instant or bread machine yeast.
HOW TO MAKE SCOTTISH MORNING ROLLS
These are not complicated in the least. It will take you a bit of time, with all of the waiting for the dough to prove, rise, shape, rise again, etc. but they are well worth it!
Add the warm water to a large bowl along with the sugar and yeast. Leave for a few minutes, then stir to dissolve the sugar and yeast in the water.Add 1 cup of the flour and stir it into the yeast mixture. Then stir in the salt and melted butter.Stir in the remaining flour, mixing well together until everything is well mixed together and hydrated with no dry patches. Shape into a ball.Place into a clean bowl which has been lightly sprayed with nonstick spray. Cover the bowl tightly with a sheet of plastic cling film and set in a warm place to rise.
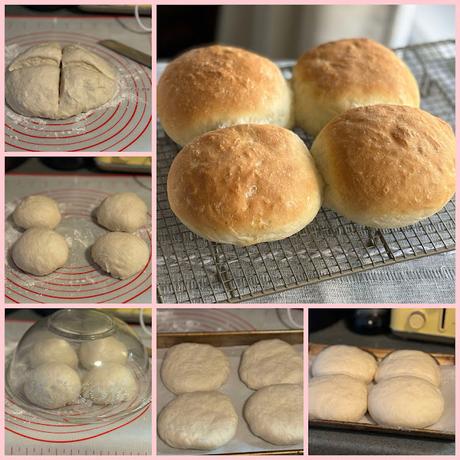
When the dough has doubled (roughly an hour) pull the dough from around the sides of the bowl into the middle of the dough and then tip out onto a lightly floured surface. Shape into a ball and cut into four or five even pieces.
Shape each piece into a ball by pulling the edges towards the center. Tip the bowl back over them to leave them to rest for 6 to 8 minutes. This will help keep them from drying out and prevent the dough from shrinking back into itself when you finish shaping them.After 8 minutes, take each ball of dough and flatten it to a circle with the palm of your hand or a rolling pin. The circle should be about 4 inches across.Place onto a baking sheet that you have lined with parchment paper. I like to arrange them close together, slightly touching each other, so that they finish off with a "pull apart" roll look when done and baked.
Cover with a floured piece of cling film and set aside in a warm place to rise for a further 60 minutes.
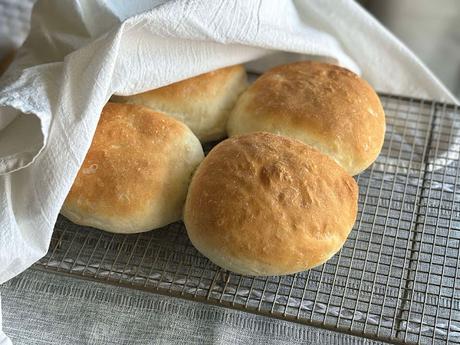
Preheat your oven to 460*F/240*C/ gas mark 7.Pop the tray of rolls into the heated oven and bake for 12 to 14 minutes, checking them after 10 to make sure they are not burning. They should be deep golden brown in color.Slide the parchment paper with the rolls on it onto a wire cooling rack, so that the bottoms will not get soggy. After five minutes cover lightly with a clean tea towel. This will help them to remain nice and soft for longer.Enjoy as you will.
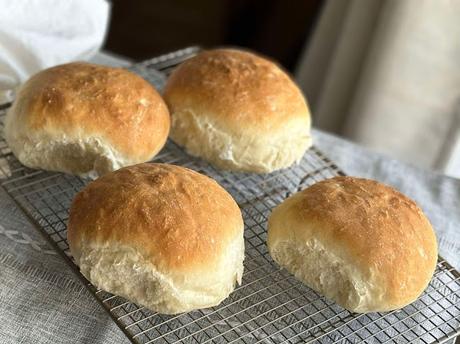
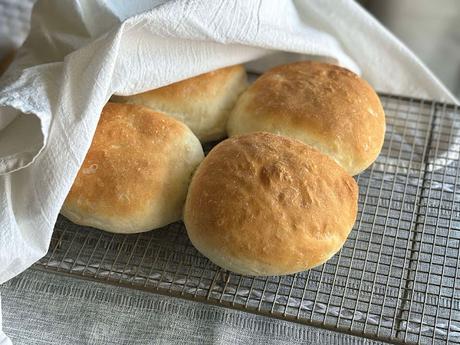
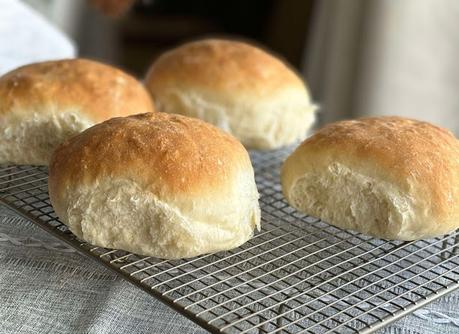
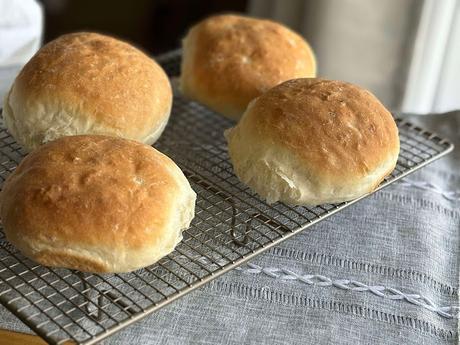
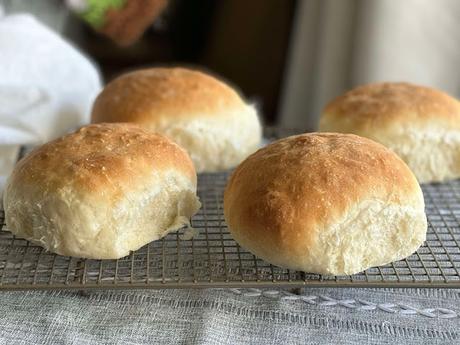
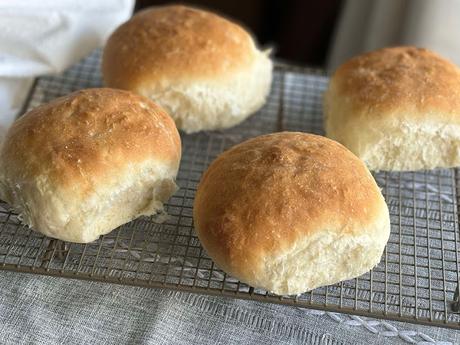
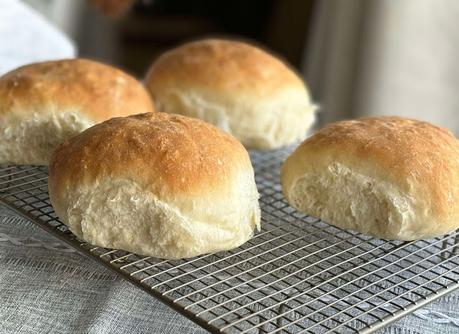
These rolls were soft and fluffy and huge. Exactly like the ones I had eaten in Scotland. Perhaps even better because they were homemade. I highly recommend.
I enjoyed one split and spread with nothing more than butter, but the whole time I was dreaming about how delicious it would have been had I a Lorne sausage or some fried bacon to enjoy tucked inside, or maybe even both! Lorne sausage is going to be next on my try it list.
OLD FASHIONED PULL APART ROLLS - They are my favorites because they are soft and fluffy. They have a golden brown crust and a lovely light crumb. They are simply beautiful rolls. Perfect dinner rolls. I like to make these for special occasions and the holidays.
BEST LION HOUSE ROLLS - Having eaten these at the Lion House Kitchen in Salt Lake City I was keen to replicate their rolls at home. These are delicious. Exactly like the ones from the Salt Lake restaurant. Light and fluffy and oh so tasty. This is a small batch recipe and makes one dozen rolls. They can be frozen.
Yield: four to five large rollsAuthor: Marie Rayner
Scottish Morning Rolls (small batch)
Prep time: 10 MinCook time: 14 MinInactive time: 1 H & 55 MTotal time: 2 H & 19 MDelicious soft and chewy rolls that are very popular in Scotland. Lovely as is, split and buttered, but even nicer filled with crisp bacon or sausage. Not so hard to make as one might think! This is a small batch recipe. For a full recipe please see the original recipe linked above.Ingredients
- 2 3/4 cups (358g) flour (loosely packed if using cups)
- 1 cup plus 1/2 TBS (2332ml) warm water
- 1 tsp (3g) regular yeast
- 1 tsp (7g) salt
- 1 TBS (12.5g) granulated sugar
- 1 1/2 TBS (22g) butter, melted
Instructions
- Add the warm water to a large bowl along with the sugar and yeast. Leave for a few minutes, then stir to dissolve the sugar and yeast in the water.
- Add 1 cup of the flour and stir it into the yeast mixture. Then stir in the salt and melted butter.
- Stir in the remaining flour, mixing well together until everything is well mixed together and hydrated with no dry patches. Shape into a ball.
- Place into a clean bowl which has been lightly sprayed with nonstick spray. Cover the bowl tightly with a sheet of plastic cling film and set in a warm place to rise.
- When the dough has doubled (roughly an hour) pull the dough from around the sides of the bowl into the middle of the dough and then tip out onto a lightly floured surface. Shape into a ball and cut into four or five even pieces.
- Shape each piece into a ball by pulling the edges towards the center. Tip the bowl back over them to leave them to rest for 6 to 8 minutes. This will help keep them from drying out and prevent the dough from shrinking back into itself when you finish shaping them.
- After 8 minutes, take each ball of dough and flatten it to a circle with the palm of your hand or a rolling pin. The circle should be about 4 inches across.
- Place onto a baking sheet that you have lined with parchment paper. I like to arrange them close together, slightly touching each other, so that they finish off with a "pull apart" roll look when done and baked.
- Cover with a floured piece of cling film and set aside in a warm place to rise for a further 60 minutes.
- Preheat your oven to 460*F/240*C/ gas mark 7.
- Pop the tray of rolls into the heated oven and bake for 12 to 14 minutes, checking them after 10 to make sure they are not burning. They should be deep golden brown in color.
- Slide the parchment paper with the rolls on it onto a wire cooling rack, so that the bottoms will not get soggy. After five minutes cover lightly with a clean tea towel. This will help them to remain nice and soft for longer.
- Enjoy as you will.
Did you make this recipe?
Tag @marierayner5530 on instagram and hashtag it #TheEnglishKitchen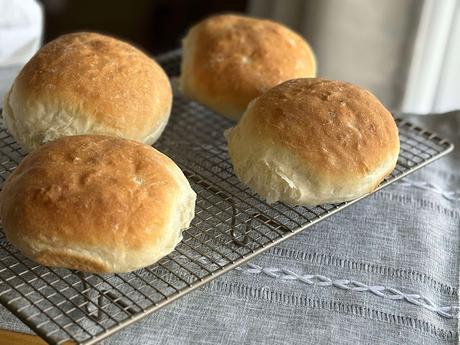
This content (written and photography) is the sole property of The English Kitchen. Any reposting or misuse is not permitted. If you are reading this elsewhere, please know that it is stolen content and you may report it to me at: mariealicejoan at aol dot com
Thanks so much for visiting! Do come again!
If you like what you see here, why not consider signing up for my newsletter and/or subscribing/following me on Grow. You can also bookmark my recipes via the Grow platform. Check out the heart on the right hand side of the screen.Also, if you have not checked out my YouTube Channel yet, do give it a gander. I would really appreciate it, and if you want to subscribe that would be even more appreciated! Thank you so much! It is not really fancy like some people's channels. I am very much learning as I go along, but what you get is authentic at least! There is nothing fake there! No filters, bells or whistles. Filmed in real time and unedited!

