Hope all of you are having a fabulous Mother's day and are being pampered by your kids. I wish my mom was here :-( One of my dear friends has a Mother's day picnic today and that is where we are going to spend our time and have lots of delicious food and loads of fun.
My family has become fans of Macarons after I made tried them for the first time couple of months ago. My son's love actually started after his favorite characters in Pokemon ate macarons and he keeps asking for different flavored ones.
 We bought 3 tiny macarons from a local specialty bakery and spent about $4 on them. After tasting them, the whole family agreed that they tasted just like my homemade ones, so why spend so much on them when I can probably make them for much less at home?
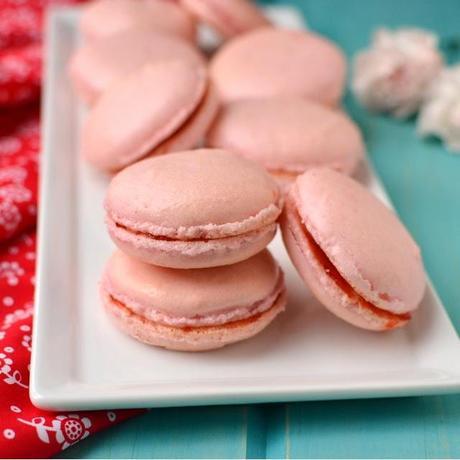
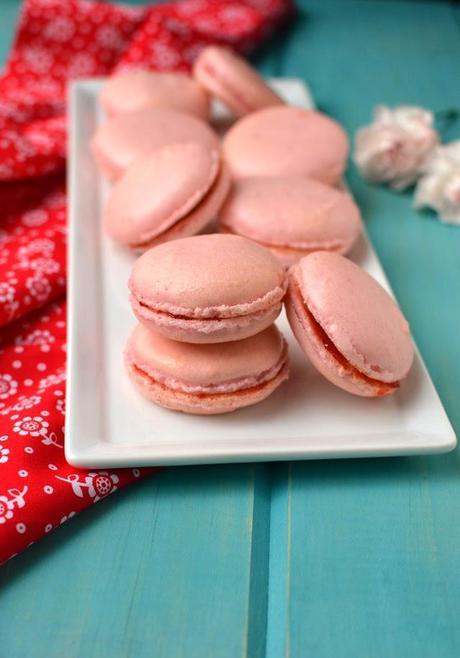
On one of our trip to the library, I saw these Rose raspberry Macarons in Martha Stewart Living magazine and promptly took a picture with my phone. But unfortunately my phone died after a recent update installation and I lost all my pics :-( I went back to the library to find the magazine and took another picture, but this time I immediately made the macarons, so I don't lose it again.
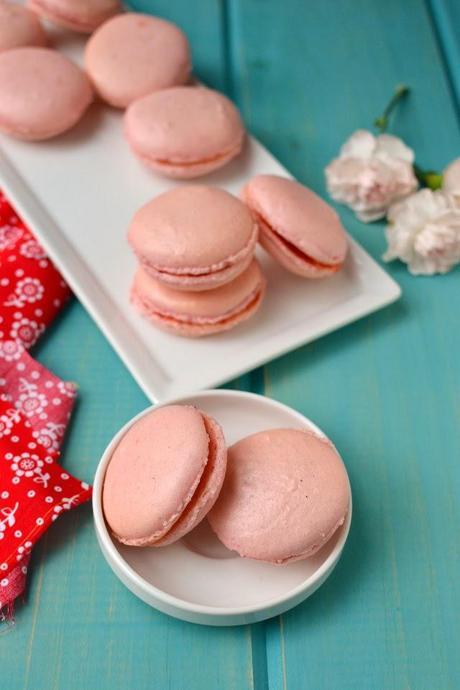
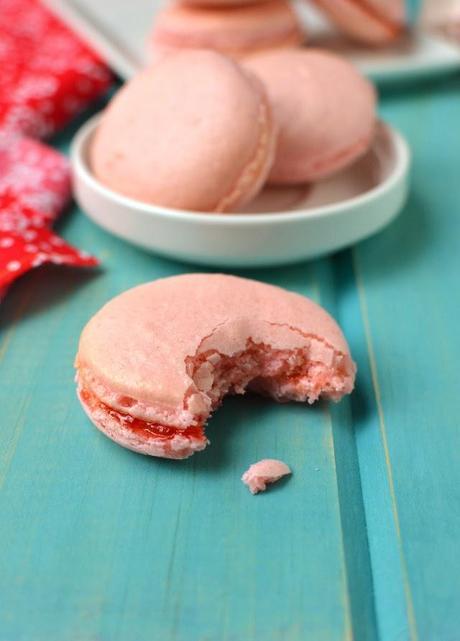
 I followed the recipe I used previously but flavored it with rose water and used jam as filling. It was a gloomy and rainy day and I was worried how the macarons would turn out. I left them the piped macarons to dry out for 2~3 hours because they felt damp to touch because of the weather. I hovered around the oven looking through the window and did a happy days when they started getting their little feet half way through baking. All in all they macarons turned out great and I really loved the rose flavor and the pretty pink color.
 Ingredients: Makes about 24~30 2" cookies or 12~15 sandwiched macarons
Almond Meal/ flour - 125gms (I used Bob's Red Mill almond flour, but you can also grind your own)
Confectioners Sugar/ Icing Sugar - 210gms
Egg whites - 3 large
Granulated Sugar - 30gms
Salt - a pinch
Vanilla bean - 1, seeds scraped (I used ¼tsp vanilla bean powder)
Rose water - ¼tsp
Red Gel coloring - 2~3 drops
Raspberry Jam - for filling
Method:
- Prep Almond Flour & Confectioners Sugar: Grind almond flour/ meal and confectioners sugar for about 1 minute. Then using a fine sieve, sieve the mixture and remove any large pieces of almonds and lumps. Set aside until ready to use.
- Aging the Egg Whites: I left the egg whites in an airtight container for about 36 hours in the fridge. Then left them on the kitchen counter for about 16~18 hours. Egg whites can be left in the refrigerator for at least 1 day to up to 5 days and then brought to room temperature before using them.
- Prepare Piping Bag: Place a ½"~¾" tip on a piping bag and set it ready to fill in either a measuring jar or a tall glass.
- Prepare Baking sheets: To make life easier, you can trace 1½~2" diameter circles on the back of the parchment paper. Then line 2 baking sheets with these parchment paper. Place another baking sheet under the prepared baking sheet, for even heat distribution.
- Whipping Egg Whites: Weigh granulated sugar. Add egg whites, granulated sugar, salt and vanilla seeds to the bowl of a stand mixer or a large mixing bowl. Using the wire whip attachment, whip the egg whites until very stiff peaks form.
- Thanks to Bravetart's post, there was less guess work in making the meringue. Her instructions with exact timings and speeds on a Kitchenaid mixer work like a charm. Here's what you need to do if you have a Kitchenaid Stand mixer: Whip the egg whites on speed 4 (medium speed) for 4 minutes, whites will be very foamy at this point. Increase the speed to medium-high or a 7 on Kitchenaid and whip for 3 minutes. Then crank it up to 8 and whip for 3 more minutes.
- At this point, add the flavoring and the color. Then for 1 final minute, whip till the meringue clumps up inside the whip. If it doesn't, then whip for 1 more minute until it clumps inside the whip.
- Combine dry ingredients into wet ingredients: Add the dry ingredients all at once into the meringue. Using a rubber spatula fold and imcorporate dry and wet ingredients. Rubbing the spatula against the bowl helps too. About 40 turns should be enough to get a homogenous mixture, any more handling would ruin the well beaten air in the meringue.
- Piping Macarons: Fill the prepared pastry bag with half the batter and pipe onto the pre-traced circles. Repeat with the remaining batter.
- Rap the baking sheets real hard on the counter twice to remove any air bubbles from the macarons. Rotate the baking sheets 90degrees and rap them 2 more times.
- Let the macarons dry for at least 45 minutes before baking. They should be dry to touch. (I left them out for 2~3 hours since it was rainy and humid).
- Baking the Macarons: Preheat the oven to 325°F. You might have to change the temperature depending on your oven, check how the macarons turn out between 280°F~325°F to find the optimum temperature.
- Bake for 12~18 minutes or until you can cleanly peel the macarons from the parchment. I baked mine for 14 minutes.
- Cool the macarons on the baking sheet. If you to reuse the baking sheet, then cool for 5 minutes on the baking sheet and slide the parchment onto a cooling rack to cool completely.
- Finishing Touches: Spread/ dollop/ pipe filling/ frosting of choice on one macaron and top it with a carefully chosen similar sized macaron.
- Final Rest: Let the sandwiched macarons rest in the refrigerator for at least 1~2 days before enjoying them. This helps the flavors to meld. Bring them to room temperature before serving.

Also linking to Fabulous Feast# 14, being hosted this week by Valli & Prachi.


