When your crayon box turns into a broken mess, what do you do?
We typically replenish the crayon box at the beginning of every school year (when boxes are crazy cheap), but by spring our selection gets pretty narrow. The good news is that narrow selection can be brought back to life (with a little work)!
I have seen this idea popping up e v e r y w h e r e, and finally got to give it a try this week.
Here's what happened (+ how to make your own!):
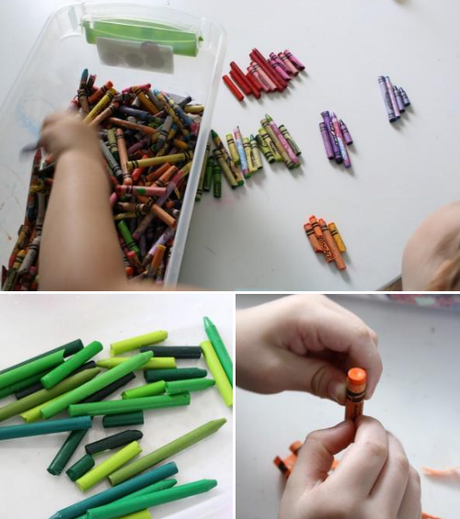
This is a project that definitely has steps that are completely off limit to kids. Good news though, you can let your kids do the hard work for you (and they'll probably enjoy it too).
1. Gather up your broken crayons. Let your kids sort the crayons by color. We put all like colors together. If you prefer to have, say, a light green and a dark green, you'll need to sort those out as well.
2. Teach your kids how to peel the wrappers off. This, I think, is actually a pretty important skill that my kids for one reason or another, had yet to attain.
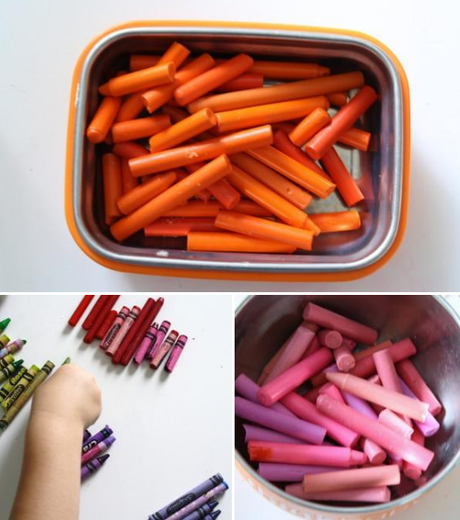
3. After everything is sorted and peeled, it's all up to you, mom! Some of the tutorials differ in the next steps, this is how we went with it..
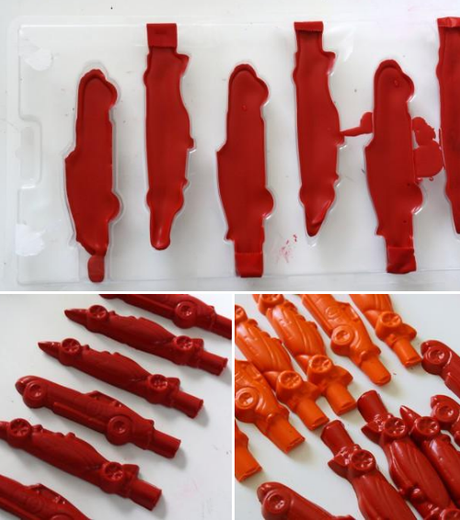
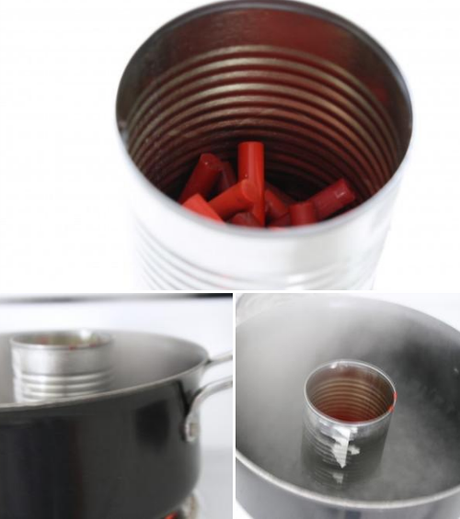
4. You will need a big pot, an empty can, OVEN MITTS!, and of course, your mold. I wanted a mold that was longer than the candy molds (for better/proper grip), so I chose to use a pretzel mold. The only downside is that the ends are open, so I had to create a closure at the ends using shipping tape (it worked perfectly though).
5. Fill your can with a single crayon color (if you are using one can for your entire project, which I did, I would suggest doing light colors first).
6. Boil water in your pot, and then add your can.
7. Using a long wooden spoon or stick to stir. The crayons will melt quickly (and watch out, that can will get HOT!)
8. When completely melted and stirred, remove from heat & pour into the molds.
9. Leave the mold on your counter for a few minutes (you don't want to spill hot wax on yourself), then place it in the fridge for 10-20 minutes to harden.
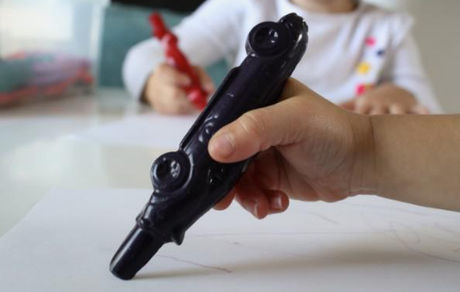
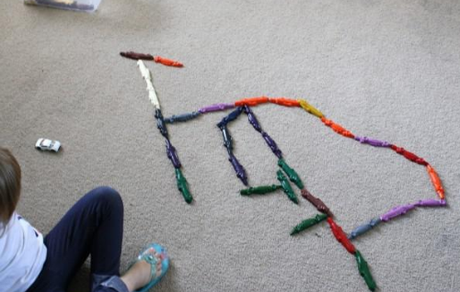
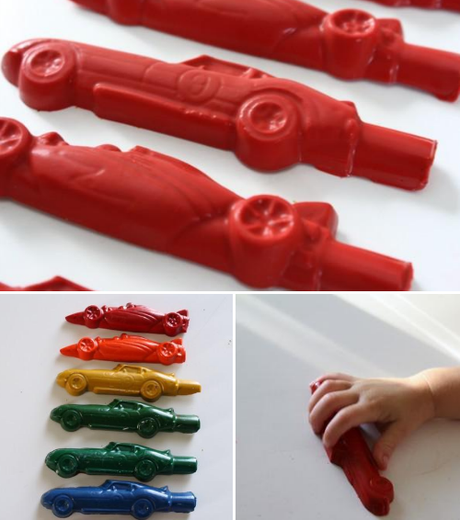
10. Remove from the fridge & you're done! Repeat with all of your colors to make a lovely set of new crayons. If your kids are like mine, they won't know whether to color or to play with them! Which, I think is a pretty cool problem to have.
