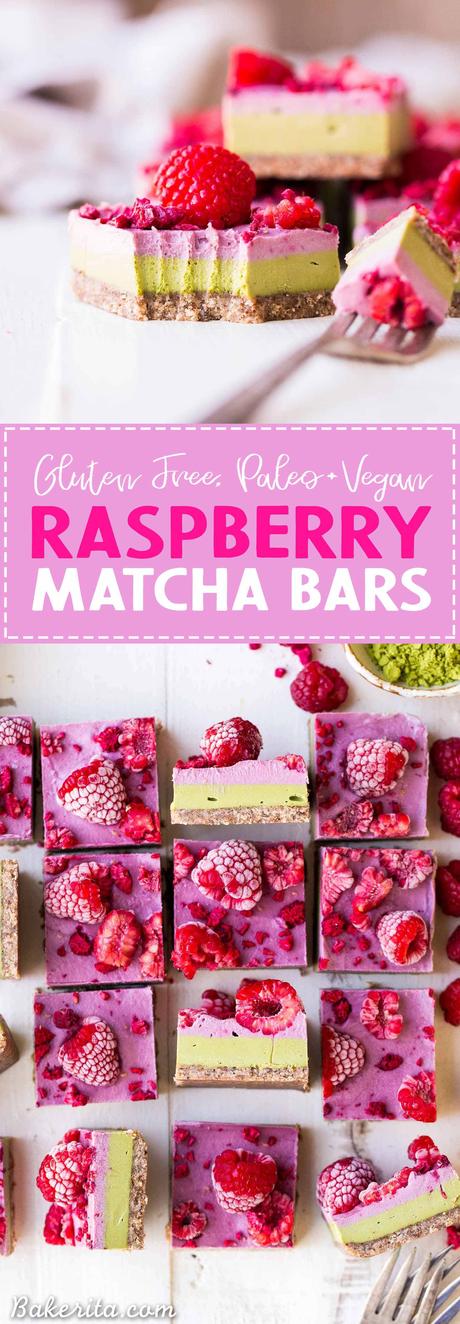
These Raspberry Matcha Bars are incredibly creamy and flavorful! The earthy green tea matcha pairs wonderfully with the tart raspberry flavor, and they certainly taste as good as they look. You’re going to adore these gluten-free, paleo, and vegan raspberry matcha bars.
Are you a matcha fan? It seems like most people are in the LOVE camp or the HATE camp. I’m on the love side – I adore sipping on a creamy matcha latte made with dairy-free milk, especially since I’m not a coffee drinker.
It provides a nice little energy boost without making my adrenals go haywire or causing me major headaches if I miss a day like some caffeinated beverages can do *cough cough* coffee *cough cough*.
However, I know not everyone is a fan of matcha’s more earthy flavor. It can be a little too grassy for some people, especially without any sweetener or any other flavors to cut through that earthiness.
In fact, I’m normally not the biggest fan of matcha desserts because of that, despite how much I love drinking it. Recently though, I was at Holy Matcha, which is the cutest matcha bar in North Park pretty close to where I live, and they had an iced strawberry matcha drink on the menu. It was essentially an iced matcha latte with some fresh strawberry puree on the bottom.
It was amazing, and the fruity tartness of the strawberry paired so wonderfully with the earthy matcha flavor. I was with a matcha-hater at the time, and even he loved the drink. I immediately got to thinking of pairing matcha with something fruity in one of my own desserts and these were born…
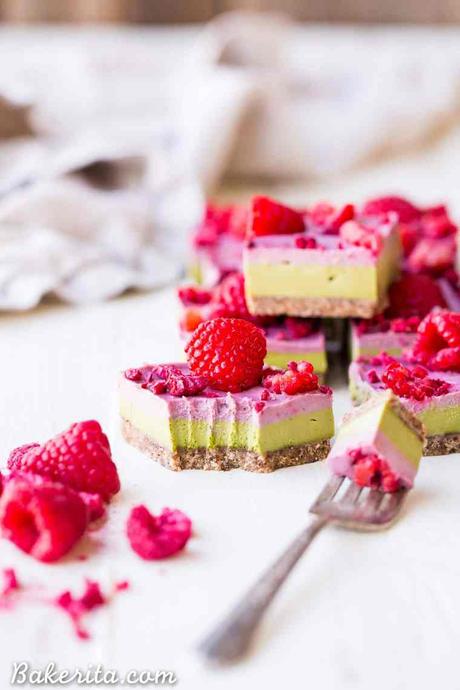
Raspberry Matcha Bars!
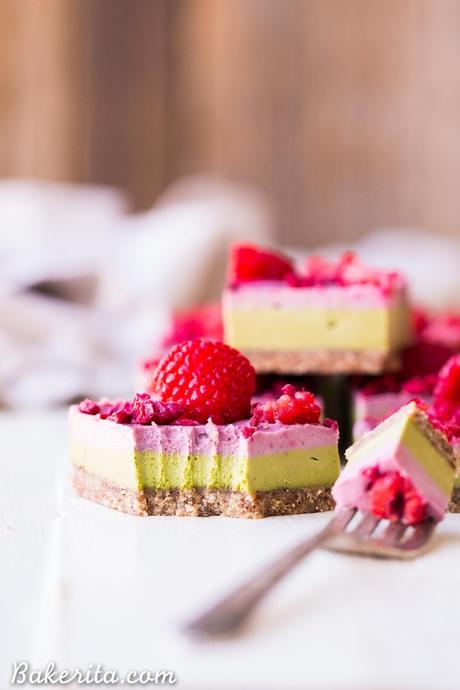
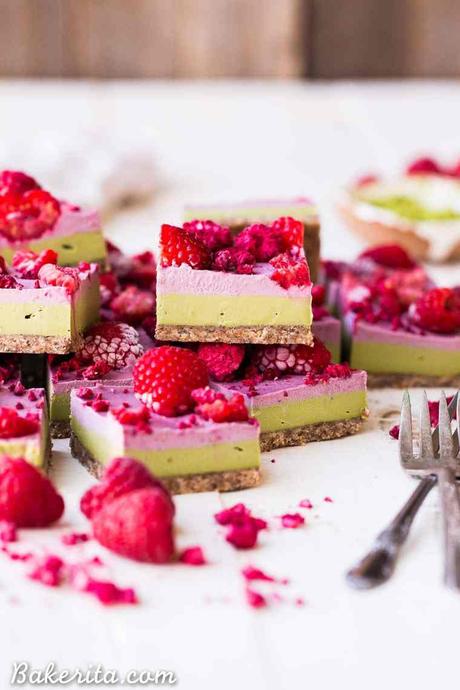
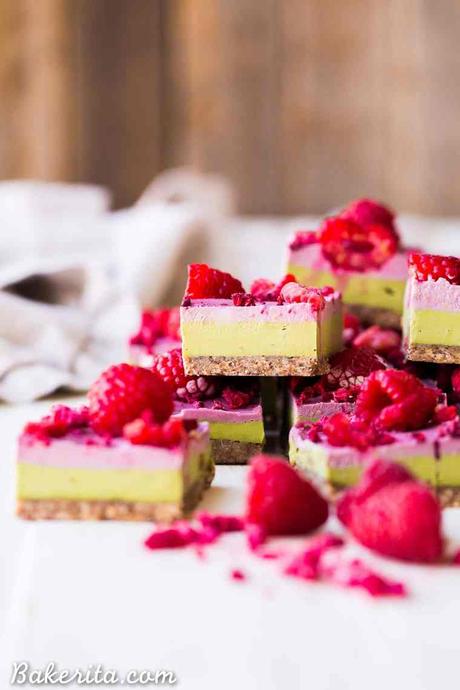
Let’s chat about these beauties! Because they are beauties, aren’t they? I love the gorgeous color contrast of the green matcha and bright pink raspberries…so stunning. But let’s start at the bottom, with the crust. It’s made simply in a food processor or blender by combining walnuts, almond flour, dates, a little bit of coconut oil, and salt. It’s pulsed together into a dough and then pressed into the pan.
Then comes that gorgeous filling. Despite looking like you need to make two batters, you actually just need to make one, which is then split and flavored individually. Easy, peasy!
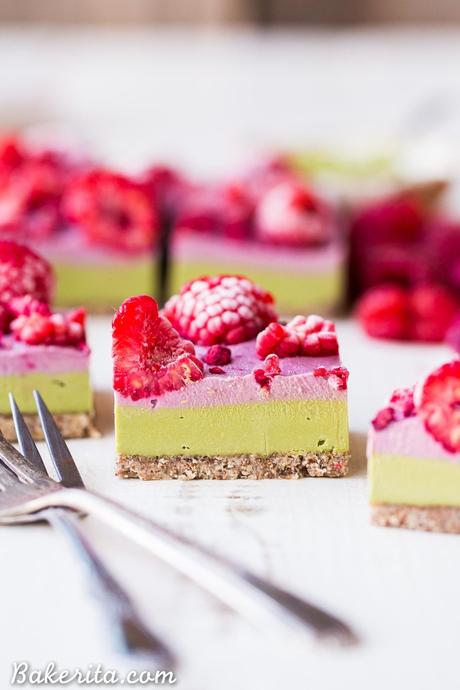
The creamy base starts with raw cashews, which are soaked in water for 4 to 8 hours to help them get super soft and creamy. Once they’re soft, they’re blended with coconut milk, coconut oil, some maple syrup for sweetness, lemon juice for a little tartness, and a touch of vanilla.
Part of the mixture is removed from the blender and matcha gets added to what’s left in there. The green matcha layer is spread into the pan, and then the remaining filling gets whizzed with some freeze dried raspberries to take on that vibrant pink color and tart raspberry flavor. The layered bars are then garnished with more raspberries and put in the freezer to set. No baking or cooking required at all!
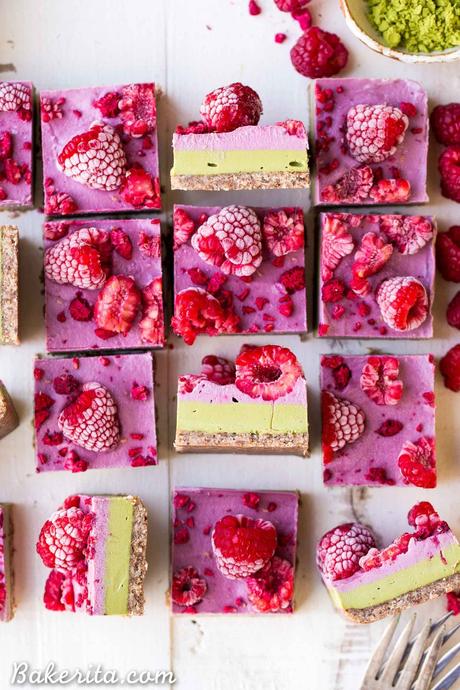
These Raspberry Matcha Bars are the perfect combination of sweet, earthy, tart, and vibrant! These might even convert a matcha hater into a matcha LOVER. The creamy texture of the filling paired with the chewy crust is irresistible. Enjoy!
Facebook | Instagram | Twitter | Pinterest
Remember to #bakerita if you try the recipe!
&ssl;&ssl;&ssl;&ssl;
Raspberry Matcha Bars
These Raspberry Matcha Bars are incredibly creamy and flavorful! The earthy green tea matcha pairs wonderfully with the tart raspberry flavor, and they certainly taste as good as they look. You're going to adore these gluten-free, paleo, and vegan raspberry matcha bars. Course Dessert Cuisine American Prep Time 20 minutes Total Time 20 minutes Servings 16 bars Author RachelIngredients
For the crust
- ½ cup raw walnuts or nut of choice
- 1 cup almond flour
- 3 pitted dates
- 3 tablespoons coconut oil
- ¼ teaspoon kosher salt
For the creamy filling
- 2 cups raw cashews, soaked in cold for at least six hours or preferably overnight see Notes
- ½ cup canned coconut milk shaked
- ¼ cup coconut oil melted and cooled, use refined coconut oil if you want no coconut flavor
- ⅓ cup pure maple syrup
- 2 tablespoons fresh lemon juice
- 1 tablespoon vanilla extract
- 1 tablespoon matcha powder
- ¼ cup freeze dried raspberries
For the toppings
- 1 cup raspberries fresh or frozen
- ½ cup freeze dried raspberries lightly crushed
Instructions
- Grease a 6” springform pan with coconut oil, or line an 6” cake pan with strips of parchment paper for easy removal, and grease well with coconut oil. Set aside.
Add the walnuts, almond flour, pitted dates, coconut oil and salt to a food processor or high-powered blender and pulverize until it comes together into a sort of sticky dough, with small walnut bits remaining. Don’t over process, or it’ll turn into nut butter! Press the date dough evenly along the bottom of the prepared pan.
- In the same food processor or high-powered blender (no need to wash between - I used my Vitamix, but most powerful blenders should do the job), combine all of the filling ingredients except for the matcha powder and freeze dried raspberries and blend for about 2 minutes, or until the mixture is silky smooth and creamy. Scrape down the sides as necessary. You may need to add a bit more coconut milk or lemon juice to get it to blend smoothly if your blender isn’t super high-powered. Once it’s smooth, taste the mixture and adjust the sweetness/tartness levels, if desired.
- Remove 1 cup of the filling from the blender, and add the matcha powder to the remaining filling in the blender. Blend to combine, until smooth.
- Pour the matcha filling into the prepared pan over the crust. Smooth out the top and tap the pan hard against the counter a few times to release any air bubbles. Place in the freezer.
- Place the remaining cup of filling back to the now empty blender. Add the freeze-dried raspberries, and blend until they’re broken up and incorporated completely. Smooth the raspberry filling on top of the matcha layer and garnish with fresh and freeze-dried raspberries.
Let set in the freezer for at least 3 hours or until completely firm. You can also store it in the refrigerator, but it will take longer to initially freeze.
- If storing in the freezer, let it thaw in the refrigerator for a few hours before serving or let thaw at room temperature for 15 minutes before serving. I recommend running your knife under hot water to warm it up before cutting the cheesecake with the still-hot (dried) knife.
- Store leftovers tightly wrapped in the freezer (3 months) or refrigerator (5 days).
Recipe Notes
You can also cover the cashews in very hot/boiling water and let them sit for about an hour if you want to speed up the process - it won't be quite as creamy, but it will do the trick!
