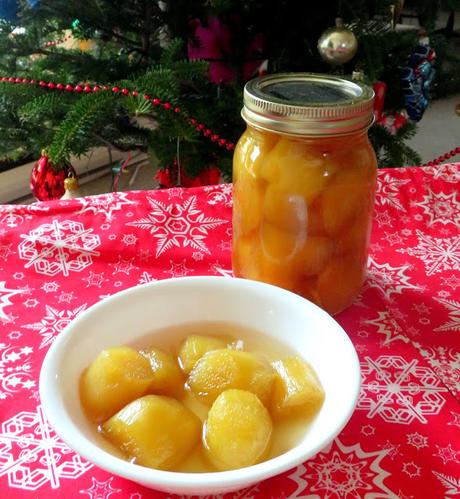
One thing which I really came to love when I was living in the UK was Preserved Stem Ginger in Syrup. It was one of my favorite things and something I used regulary, especially at this time of year.
I had no idea that it was not readily available in North America. It was not until coming back to this side of the pond that I started to search for it and realised just how pricy it was going to be. Outrageously so!
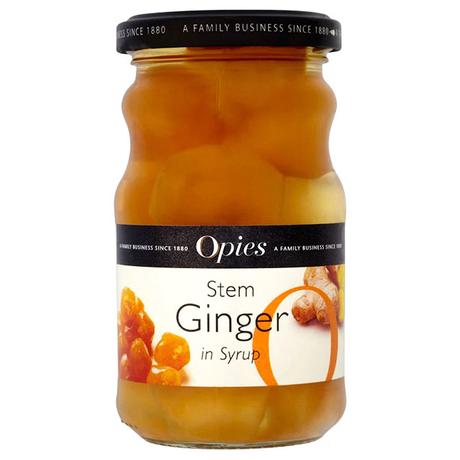
Preserved Stem Ginger in Syrup is created from the young roots of the Ginger plant. Preserving it in a sugar syrup means that you can keep it for longer.
The preserved pieces can be chopped and stirred into cakes and bakes. You can also sprinkle it over top, etc. The syrup makes an excellent cordial and is blissful spooned over scoops of cold ice cream.
It keeps for ages and ages so it is a great store cupboard ingredient.
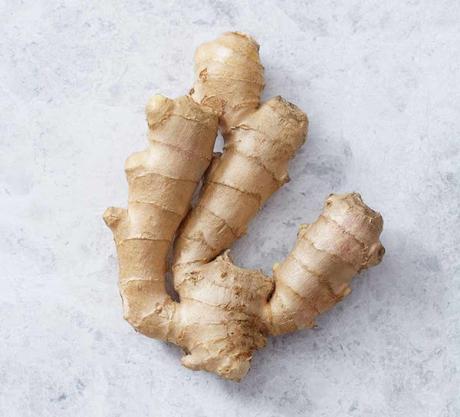
When looking for fresh ginger to use in this recipe make sure you choose it very carefully. You do not want to be buying old ginger. It can usually be found in the produce section of most super markets.
You want to look for pieces that have a firm, and unwrinkled skin. You should be able to scrap away the skin easily using a finger nail. If the skin is tough and thick, this is a bad sign.
It means your ginger is old and dried out. Don't buy it. Any piece of ginger that is light in weight or wrinkled will not soften no matter how long you simmer it. You want it to be heavy. This indicates moisture.
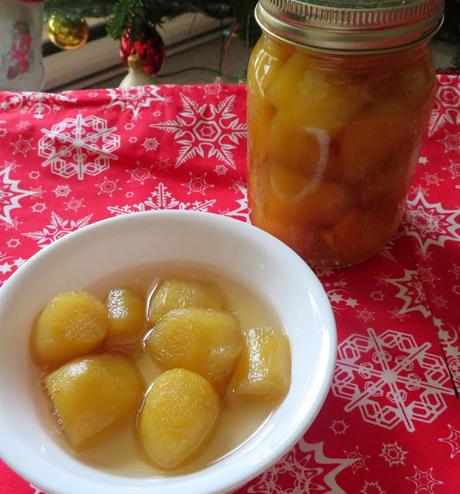
Preparing the ginger for use is very easy to do. You will need to begin the night before by freezing it. This helps to insure a really tender finish with your ginger and it doesn't require quite as lengthy a cook time to tenderise it.
Just peel it and cut it into 1 inch slices/chunks. Pop it into a zip lock baggie and then bang it into the freezer overnight.
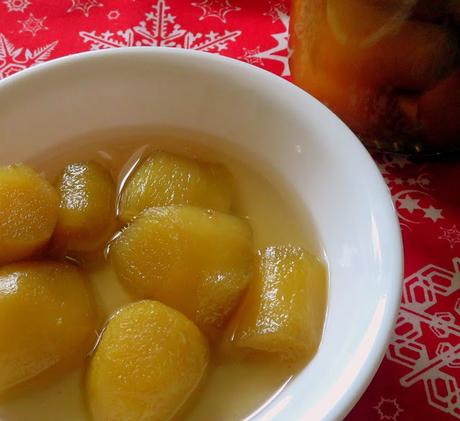
The next day you will need to poach it in some water. Just pop the ginger into a saucepan and cover it with cold water so that it is at least covered over top by an inch of water. You then need to bring it to the boil. Reduce to a simmer, cover and leave it to simmer for about an hour and a half to two hours. At that time it should be nice and tender.
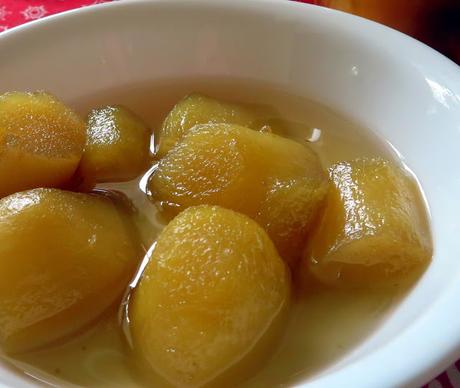
Fresh Ginger Root is actually quite fibrous. You may have noticed that when you are trying to grate or chop it. It is really important that you poach it first in this way so that you can break down some of those fibres.
When it is done you should be able to insert the tip of a sharp knife into it quite easily. After that you can drain it, but DON'T throw away the poaching water.
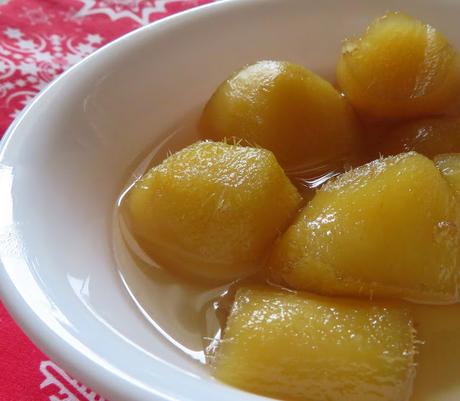
This poaching water is integral for making the sugar syrup that you will need to create the preserved ginger. This gets mixed with a quantity of sugar and heated to dissolve the sugar.
You can stir it to dissolve the sugar, but as soon as the sugar has dissolved you need to stop stirring it. If you don't you will create sugar crystals in your sugar syrup which you really don't want.
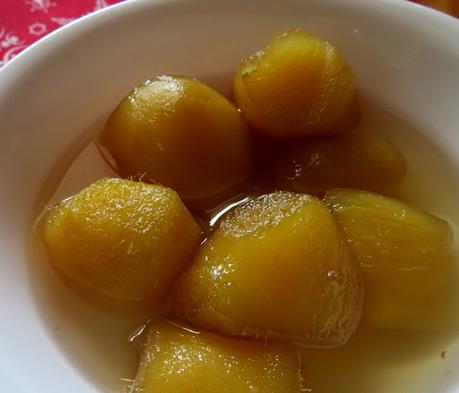
Sugar can be quite temperamental to work with, so trust me, just stop stirring it and leave it. It will be okay. It will take about 25 to 30 minutes to make your syrup.
You want your syrup to be quite thick as your ginger root will have retained some of the water it was cooked in, even if you have drained it well. This will transfer to the syrup and thin it out a bit.
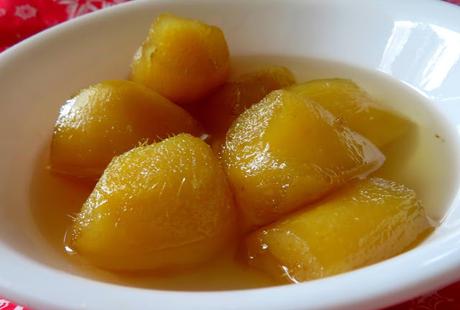
Once you have your thick syrup it will be time to pop the poached ginger root into it. This then gets further poached in the syrup to preserve it.
Oh my, the smell when all of this is going on is phenomenal! Truly. Your home will not need any air freshener for sure!
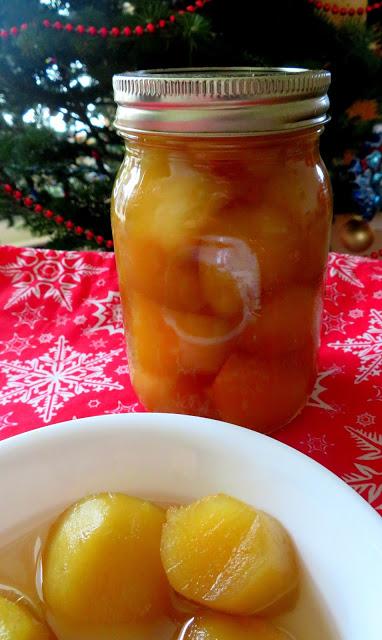
I used the time while my ginger was poaching in the syrup to sterilise my jars. You get one full pint jar of the ginger root, plus some extra bits.
You also get one full pint of extra syrup which you really want to keep. (Trust me, it is delicious!)
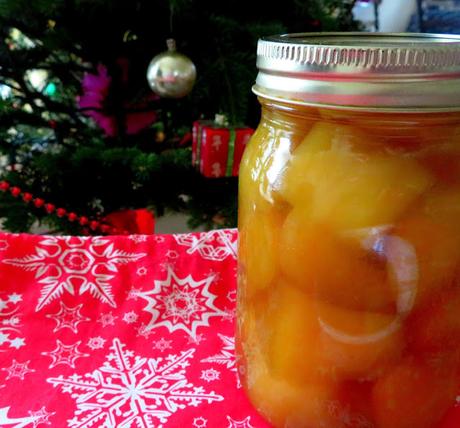
To sterilise jars simply pop clean jars onto a baking sheet and bang them into the oven. Turn the oven on to preheat to 99*C/ 210*F. Let it heat up and then turn it off and leave the jars to cool in the oven.
You will also want to sterilise the lids. Just pop them into a pan of boiling water and leave them to sit for a few.
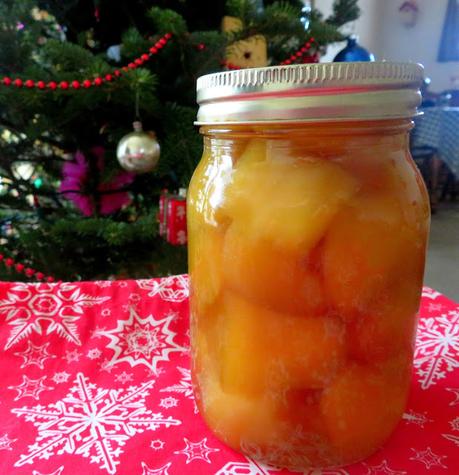
Put any leftover syrup into another jar and seal. Set both aside to cool and the lids should pop in and seal as it cools.
This really is a great thing to have in the larder/refrigerator. You will find that it comes in useful for a great many things. It adds a lovely firey touch to all kinds of desserts and even main dishes. You will find it is really quite versatile and that syrup is like liquid gold. Add it to coffee, or sparkling water, or even fizzy lemonade for a real taste treat!!
Preserved Stem Ginger
Print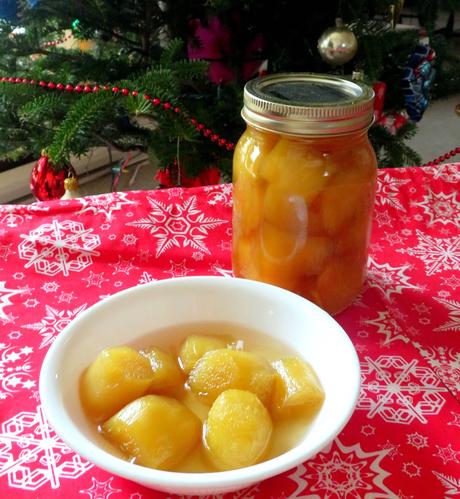
Ingredients
- 1 1/2 pounds (650g) fresh ginger root (you will need to freeze the ginger overnight)
- 3 cups (600g) granulated sugar
- water to cover the ginger root
- 2 1/2 cups (600ml) of the reserved ginger cooking water
Instructions
- You need to begin this the night before you want to make the preserves. Peel the ginger and cut it into 1 inch thick pieces. Place into a zip lock baggie and bang into the freezer overnight.
- The next day when you are ready to begin, put the frozen ginger into a saucepan and cover it with water. (You will need about an inch over top of the ginger.) Bring to the boil then reduce to a simmer. Cover tightly and simmer for 1 1/2 to 2 hours until the ginger is nice and tender.
- Drain the ginger, reserving the ginger cooking water. Set aside.
- Measure 2 1/2 cups (600ml) of the ginger cooking water into a saucepan and add the sugar. Bring to the boil slowly, stirring only until the sugar has totally dissolved. DO NOT stir beyond that point or your syrup will crystalise. Bring to the boil, then reduce to a quick simmer.
- Simmer for 20 to 25 minutes until you have a lovely thick syrup. Add the drained ginger root to the syrup.
- Bring back to the boil, then reduce to a low simmer. Simmer for a further 20 minutes before transferring the ginger and syrup into a sterile jar and sealing. Store in a dark cook place for up to one year.
notes:
You can bottle any leftover syrup to use as a cordial or flavouring for bakes, stir fries, ribs, roast pork or chicken, steamed or grilled fish, marinades,etc. It will last up to 12 months unopened. Once opened refrigerate and use within 2 months.
Did you make this recipe?
Tag @marierayner5530 on instagram and hashtag it #EnglishKitchenCreated using The Recipes GeneratorHere are a few ideas on how you can use some of it up over the holidays:
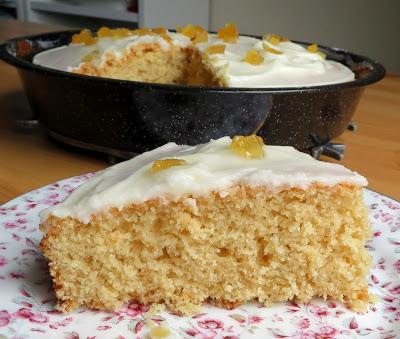
Lemon Ginger Snack Cake. A deliciously moist snacking cake that is mixed together right in the pan prior to baking.

Honey Ginger Jumbles. These are lovely and not overly sweet, with the mild flavor of honey, orange and a bit of a ginger kick!
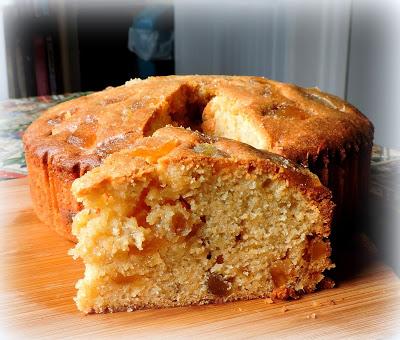
Irish Whiskey & Ginger Cake. This is about to become your favorite teatime cake. It is fantastic, with a warm golden color and a pleasant sweet spicy flavor.
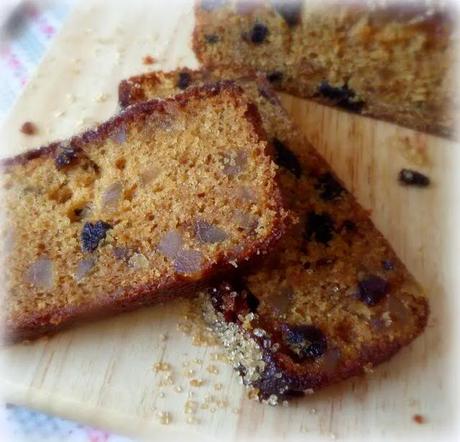
Squidgy Prune & Ginger Cake. This may not look like much, but it's fabulous. If you like cakes that are rich, squidgy moist and totally indulgent, you will LOVE this easy loaf cake!
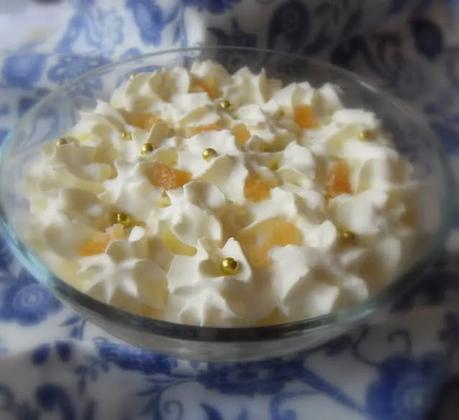
Pear and Ginger Trifle. A delicious trifle filled with moist Jamaican Ginger Cake squares and sweet ripe pear.
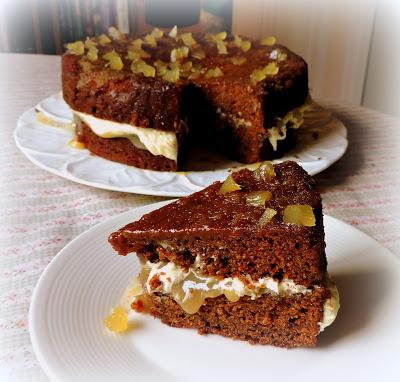
Sticky Lemon and Ginger Drizzle Cake. This is a lovely and moist dark gingerbread type of cake, filled with lots of fiery ginger flavours . . . there is a full 4 tsp of powdered ginger in the cake itself and it is filled with a lemon and ginger curd filling, along with a ginger flavoured buttercream and is topped off with a sticky lemon drizzle. I added some chopped preserved ginger on the top to add even more gingery goodness.
This content (written and photography) is the sole property of The English Kitchen. Any reposting or misuse is not permitted. If you are reading this elsewhere, please know that it is stolen content and you may report it to me at: [email protected]
Follow my blog with Bloglovin

