


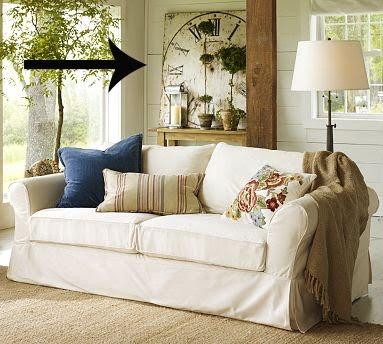
Pottery Barn decoritive large clock.
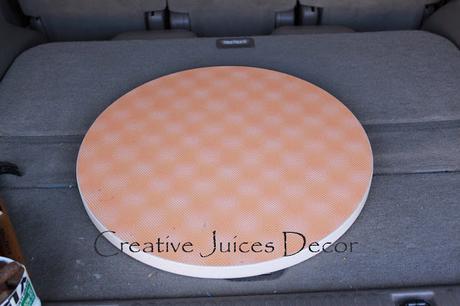
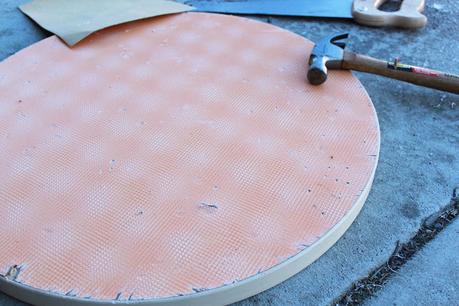
When I was at the thrift store I spotted this lonely round board. It was almost 2 feet around, insanely heavy and covered in laminate but I thought hummmm……this has some CLOCK potential!
So I bought it for a whopping $1.50. (Don't worry, Amazon has lots of thick round boards you could purchase for not a lot of money. Here's a great pack of 2 circle mdf boards, make one for you and one for a friend!)
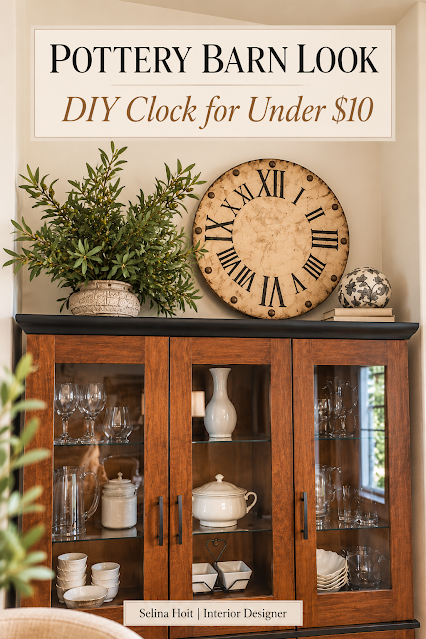
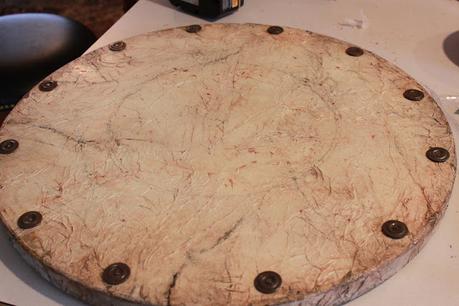
Here is the lovely BEFORE picture:
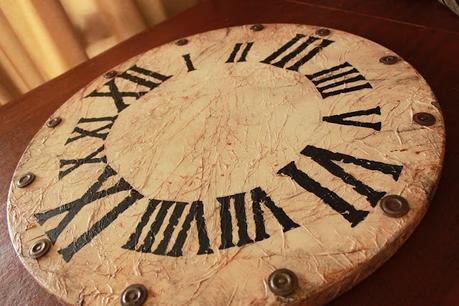
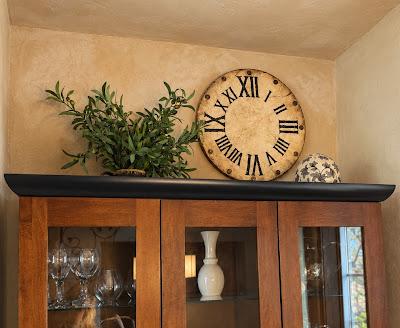
And here is the AFTER: ( I do have a link below for a full post on how to decorate the top of your cabinets!)
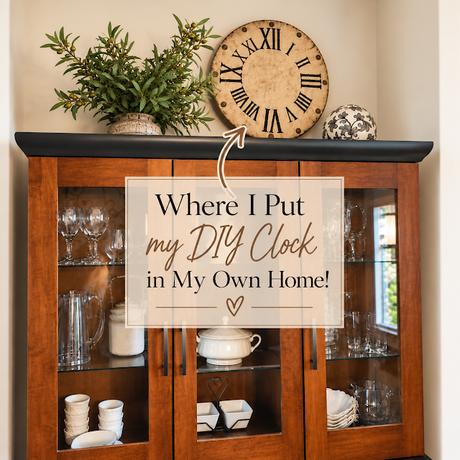
How I got there. 🙂
I distressed the edges of this board (⚒️ hammer!) BUT, I didn’t spend a lot of time doing this because I had another idea to help with the distressing which you’ll see in the next few steps.
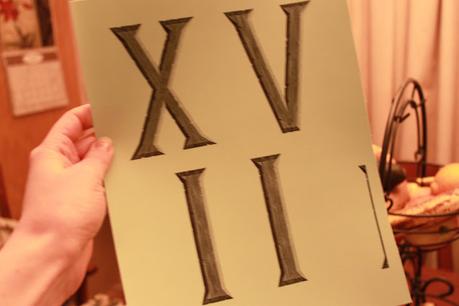
Next step was to figure out the best way for me to put on the Roman Numeral numbers. I don’t own any fancy gadgets (like the silhouette or cricut) but I have a computer and free clip art so I just printed out on cardstock (thicker paper) a set of different sized numbers and placed them on the clock to see if I liked the look.
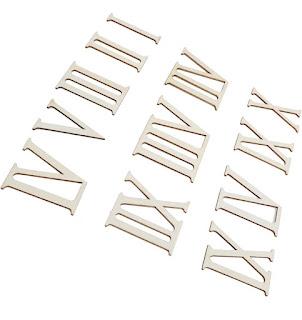
Or you can just purchase wooden roman numerals!
Next, spray a coat of cream spray paint over the top. Let dry. If this clock will be used on the wall, not just sitting on a mantle, this would be the time to screw in some nails and a wire for it to hang on.
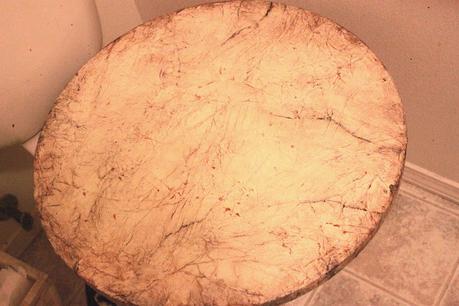
I also took white tissue paper, laid it over the board and applied a glue/water mixture. Once completely dry it really started to look aged.
Now for the fun part. :-)
Create an espresso color glaze by mixing a standard brown paint with clear glaze – about a 1:4 ratio. (one part paint to four parts glaze) Spread over the entire clock and just dap off in spots. It should just fill in the edges and make the crevices pop with brown aging color. I left a lot of the brown on around the edges. I played around with some rusty browns and some other colors to really pull off the look I wanted. Start with one layer and just keep adding more color and more layers till you have achieved the look you want. When you use paint with the glaze it is easy. Spots you don’t like come off easily when you wipe them.
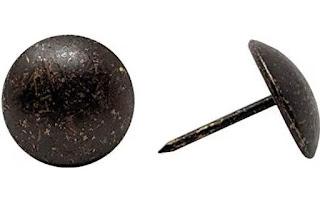
I had bought these rusty old screw tacks at a thrift store previously and had them laying around the house so I wanted to use them. You could also use furniture tacks, faux scrapbooking tacks/brads or even buttons if you are making this at home. It’s all about the creativity – have fun with this project – nothing is “wrong!”
You can purchase a pack of tacks of course too!
Next I took a pencil and made sure I had the correct spots to put my numbers. I just outlined my cardstock roman numerals with a pencil and made sure it was right before I painted them in with black paint. (you could even just fill it in with a permanent marker too)
Am I done? Sure, why not. :-)
I think it looks just as good as the EXPENSIVE pottery barn clock décor, don’t you?
Cost break down:
So yes, because I had the suppplies and found the board at a thrift store I spent under 10.00. But even if you purchased the supplies you can still do this for very inexpensive and FOR SURE less than purchasing the Pottery Barn simply decorative clock! Or if all this DIY is too much you can just purchase a clock from Wayfair to put in your home - this one is gorgeous too!😊
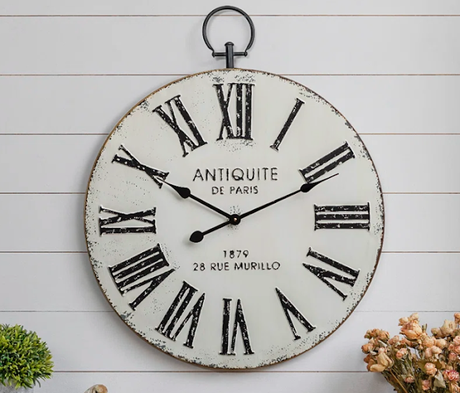
Even copying this idea on a square piece of wood (like the original Pottery Barn clock) would turn out awesome. Just get those Creative Juices going and have fun!
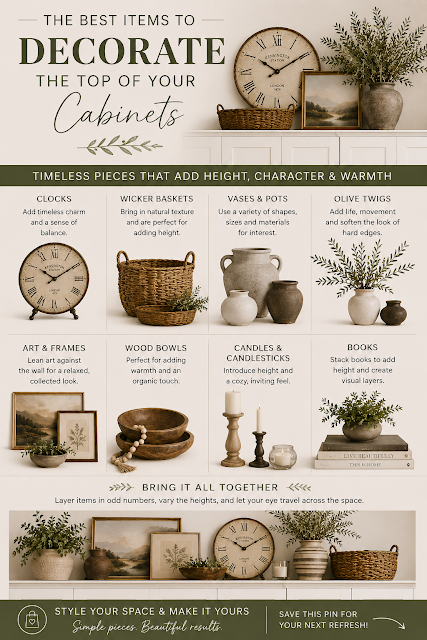
Or read one of my most popular posts of how to decorate the top of your cabinets!
Or click to see my new HOME TOUR I changed from Old Tuscan to Mid Century Modern!

Thank you again to all of my blog readers for being so supportive! Every click Share or comment means so much😊