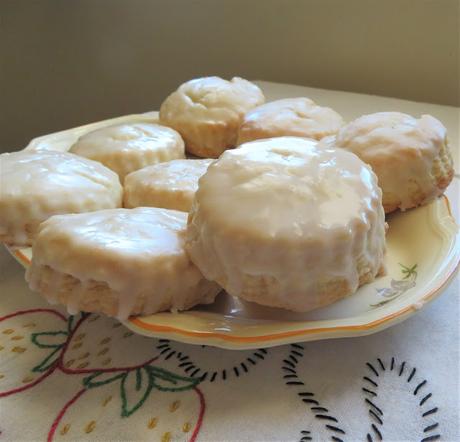
 Pioneer Woman's Sugar Biscuits. I think a person would just about have to be living under a rock not to know who the Pioneer Woman is. She is one very savvy woman who has managed to parlay her blog into a multi-media industry with television shows, cookery books, hotels, merchandise, hotels, etc.
She is an amazing business woman who lives in America. I think I have probably been blogging for longer than she has, and sharing recipes for longer than she has, but the main difference is I am not that savvy when it comes to marketing myself.
I remember a friend of mine showing me the Pioneer Woman's page back when I was working at the Manor and she made a mockery of it, about how many photos this woman took, etc. Well, the Pioneer Woman got the last laugh and she is laughing all the way to the bank! Kudos to her.
As women we need to building each other up and supporting each other, not mocking.
 These biscuit are ones that I saw on a tumbler page Mrs Morning Dove back in April of 2015. I took note of them, thinking they looked like something I wanted to bake. Its hard to believe that it has taken me six years to get to them.
 You can see the original recipe here on the PW page. I have adapted it here to include British/European measurements. I have also switched out a few things according to my own knowledge and what I did that worked.
First off I have to say that these are more like a scone than a biscuit. When I looked at the list of ingredients, I felt this to be so. With flour, baking powder, salt, sugar and copious amounts of butter and cream. Those are basic scone ingredients.
So I put them together like I would a scone. Scones typically will have the cold butter rubbed into the flour, rather than cut. You don't want to have huge lumps of butter in this dough.
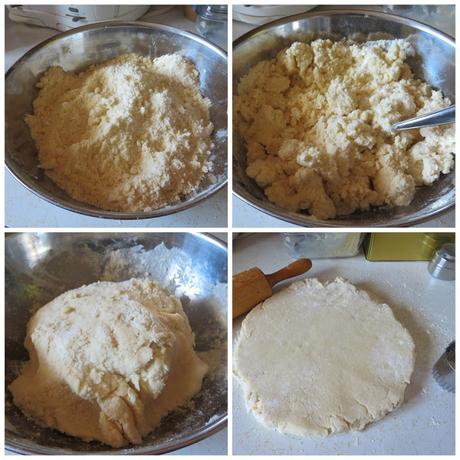
Scones are also stirred together with a round bladed knife, using a gentle hand. This I did, and then I gathered the dough into a ball in the bowl. You don't want it to be too sticky, or too dry. So add the cream gradually and if you need more or don't need it all, don't be afraid.
It should like like that picture in the upper right as you are mixing and once gathered, like the lower left.
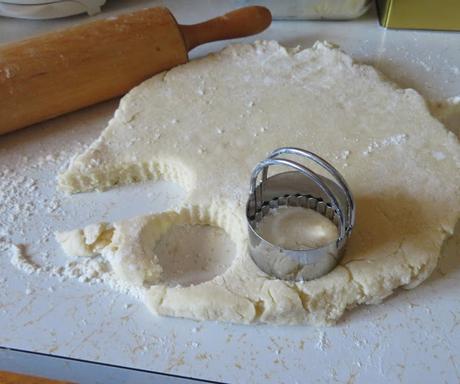
Once you get the perfect consistency, you roll it out. She said half an inch thick. I did it to about 3/4 of an inch, and I was happy I did because they didn't really rise a lot, but more on that later. Also make sure you really flour your cutter because the dough will stick.
Even floured I had to kind of ease the cut biscuits out of the cutter onto the baking sheet. I was a bit worried about that, but thankfully it didn't cause any problems in the baking. I think if you added too much flour you would mess with their integrity.
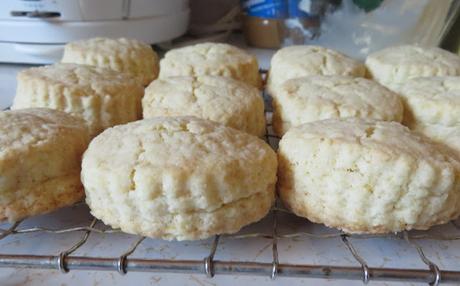 Like I said, I expected them to rise a lot more. With 5 tsp of baking powder, which is more than a TBS. As you can see they didn't rise a lot. I rolled my dough 3/4 of an inch thick and when I do them again (and I will, they are that good!) I will roll the dough 1 inch thick.
 Mine also took longer in the oven, but again that was probably because they were thicker than hers when I cut them out. I also got more than she says. She said 18, I got 24, but I used a 2 inch cutter. I don't know what size her cutter was.
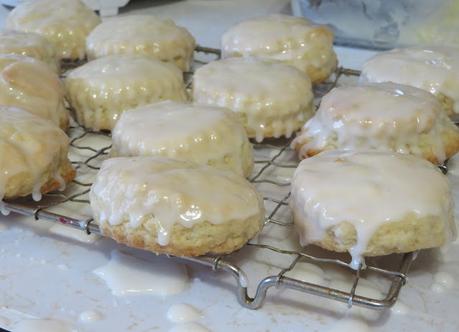 These did rise a bit but I have to tell you they also spread in most cases with the bottoms being a bit wider than the tops. Don't be alarmed. If you look at the photos on her page you will see hers do as well.
 And they haven't risen all that much. So this is normal.
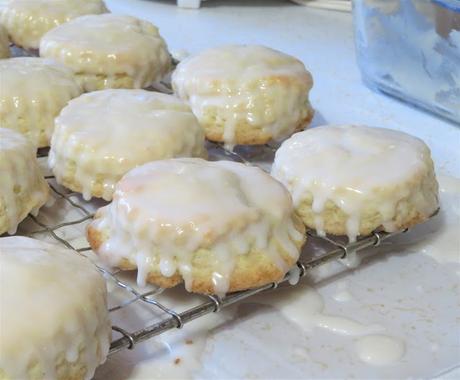
Once baked they are dipped in a sugar/milk/vanilla glaze. I only dipped the tops. I couldn't tell if she meant to dip tops and bottoms, but I felt the tops was enough.
I also cut the icing ingredients in half pretty much. 5 cups of icing sugar seemed a bit excessive to me, and I can tell you, I had plenty of icing to dip in half a dozen more biscuits than she had. Just so you know.
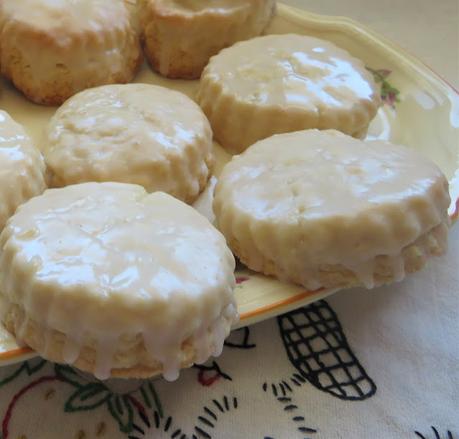 Do make sure you let any excessive icing drip off and put the dipped biscuits onto a wire rack to set. Also make sure the wire rack is placed over top of a sheet of parchment or wax paper. The icing will continue to drip down the sides before it sets.
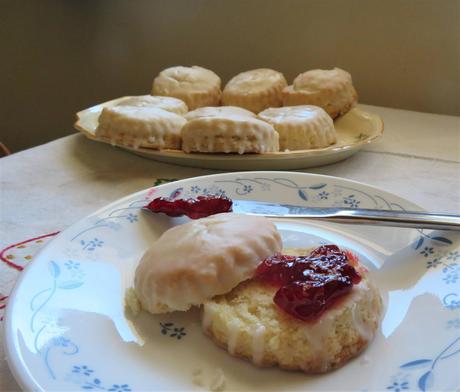
Not a problem. Don't these look good? I can tell you that they are all that and more!
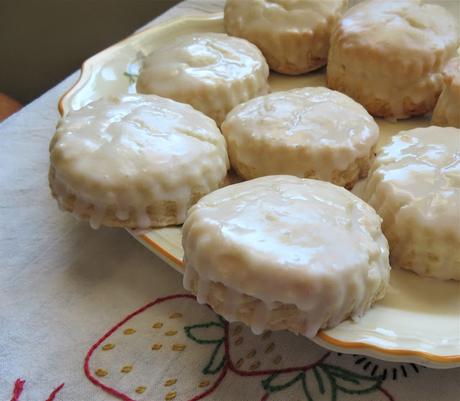 We are in love with these, even two days later. We froze half of them and are now wishing we hadn't because the other half are being inhaled.
The first day, right after baking and glazing, they have a texture which is somewhere in between a biscuit, a scone and a pastry. Incredibly short textured, rich, and buttery.
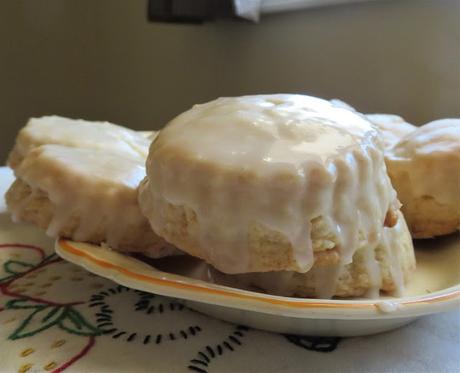 I think 2 inches round is the perfect size. I think they might crumble if they were any larger.
 That glaze is just sweet enough and accents the richness of the biscuit perfectly. The tops cracked just a bit, but trust me, you don't want the dough to be any stickier than it was. It was perfect just as is.
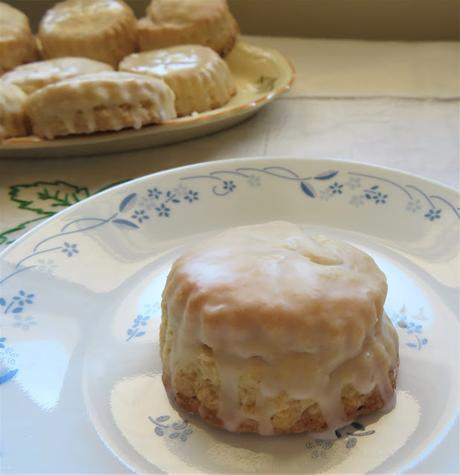
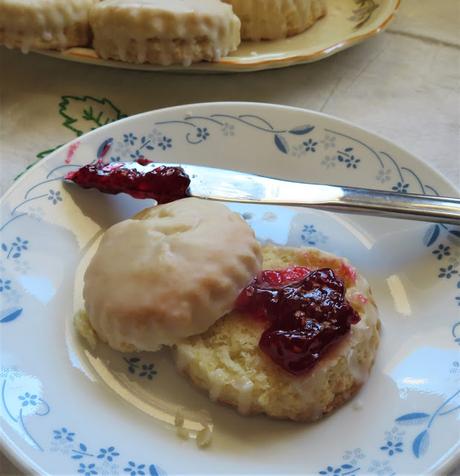
They were gorgeous actually and as you can see there was a perfect indication in the center of them so that you know just where to split them.
I, of course, had to try one right away for research purposes. I couldn't wait for the rest of the family to get home. It needed to be done right there and then.
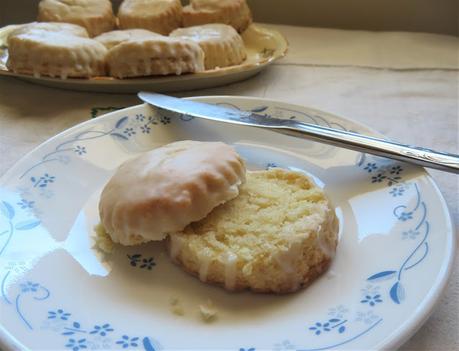 They were so short I was worried that they might crumble, but as you can see my worry was for naught.
What a beautiful texture. Almost cake like, but again as I said, close to pastry or shortbreads, but not quite as dense.
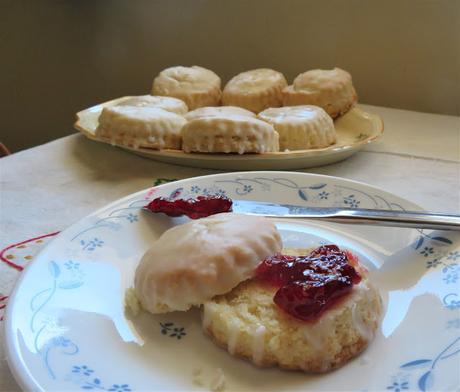 I had used my cream up in the dough so I didn't have any cream to serve on them, but I did enjoy this one with a nice dollop of sweet raspberry jam. I can see these being delicious served with whipped cream and berries during berry season. (Can't wait!)
I have two final word for you about them. BAKE THEM. Oh wait a third . . . TODAY! Don't delay. They are positively heavenly. They should be called Heavenly Biscuits.
Pioneer Woman's Sugar Biscuits
Yield: 24 (2-inch) biscuitsAuthor: Marie RaynerPrep time: 10 MinCook time: 20 MinTotal time: 30 MinThese are like a cross between a biscuit and a scone, almost pastry-like, with a sweet vanilla glaze topping. They are truly delicious.Ingredients
For the biscuits- 3 cups (420g) of all purpose flour
- 2/3 cup (120g) granulated sugar (in UK use castor sugar)
- 5 tsp baking powder
- 1/4 tsp salt
- 1/2 cup (120g) cold butter, cut into bits
- 1 1/4 cup (300ml) heavy cream (more if need be)
- 2 1/2 cups (about 300g) sifted icing sugar
- 1/2 tsp vanilla
- whole milk to thin
- pinch of salt
Instructions
- Preheat the oven to 350*F/180*C/ gas mark 4. Line a large baking sheet with some baking paper. Set aside.
- Sift the flour into a bowl along with the baking powder and salt. Stir in the sugar. Drop in the butter and cut it in using a pastry blender, two round bladed knives or your finger tips until the mixture resembles coarse crumbs.
- Add the cream and stir it in with a round bladed knife until the dough begins to come together. You may need a bit more cream. Use your hands to bring the dough together into a shaggy ball.
- Tip out onto a floured surface. Knead gently a few times to bring the dough totally together and then roll out to about 3/4 of an inch in thickness, using a lightly floured rolling pin.
- Using a sharp round 2-inch cutter stamp out rounds. (You will need to flour the cutter) Place the rounds spaced apart on the baking sheet, allowing at least 2 inches for spreading.
- Bake for 20 minutes in the preheated oven. (her recipe said 16-18, but my oven took longer.) They should be a very light golden brown.
- Remove from the oven and leave to sit on the baking sheet for a few minutes before removing to wire racks to cool completely.
- When you are ready to glaze them, whisk together the icing sugar, vanilla, salt and just enough milk to give you a drizzle glaze that you can dip the tops of the biscuits into.
- Dip the tops of each biscuit in the glaze, allowing any excess to drip off and place onto wire racks placed over wax paper to set completely.
- Store in an airtight container. They will keep several days. Try not to eat too many at once! Yes, they are that good!
Did you make this recipe?
Tag @marierayner5530 on instagram and hashtag it #marierayner5530Created using The Recipes Generator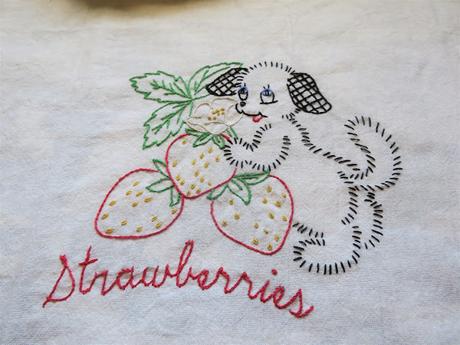 I thought you might enjoy seeing another one of my embroidered tea towels. I thought this one very apt to be shown with a biscuit I plan on enjoying with fresh berries in about 8 weeks time!!
 These doggie tea towels are so cute. There is the beans one, a corn one, onions, cherries, strawberries, etc. I am having so much fun doing them!
 This content (written and photography) is the sole property of The English Kitchen. Any reposting or misuse is not permitted. If you are reading this elsewhere, please know that it is stolen content and you may report it to me at mariealicejoan at aol dot com.
 Follow my blog with Bloglovin

