If you haven’t read the part 1 and part 2 of this series of blogs, please read them first.
Table Of Contentshide- Painting the case
- Burnt the RGB Strip
- Finally, the Ryzen Upgrade
- Parts arrive, installing first RGB Stick of RAM
- One of the most crazy ideas!
- Sketchiest site browsing
- Parts arrive! Its cutting time!
- Pump failed

- Wandering around in the city to get the pump fixed
- The Chinese seller helps out
- Final Assembly
- et Voilà
Shortly after I sold the i5 with motherboard and RAM, I decided I was going to paint my case something nice.
Painting the case
I did zero research and went straight to a hardware store nearby, purchased bottles of paint that shopkeeper said will stick on metal surfaces.
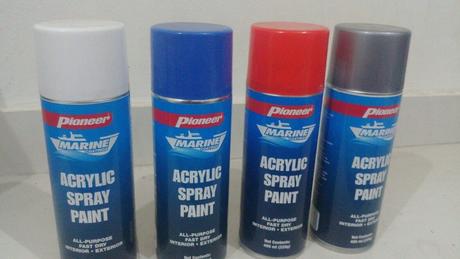 Paint!
I stripped the whole case down, and then masked the I/O cables using newspaper and masking tape. Then I painted the case silver (god knows why). I also decided to paint the R9 290 even though it couldn’t be seen much in the case. (Possible vertical mount later?)
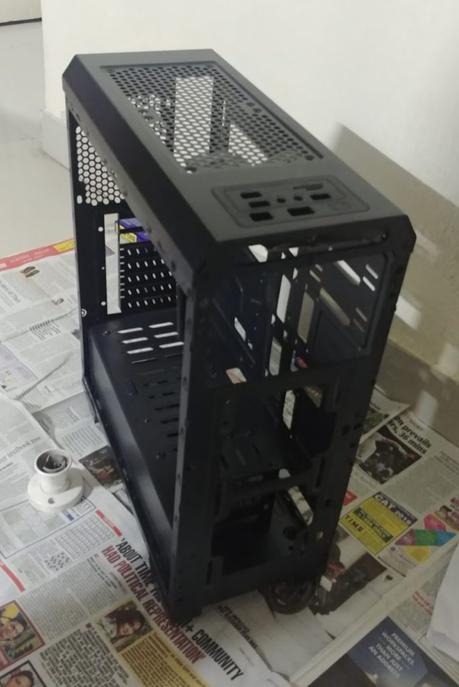 Stripped Antec NX200
After a whole night of aerosol paint fumes and three layers of paint, drying an hour in-between, I reached here.
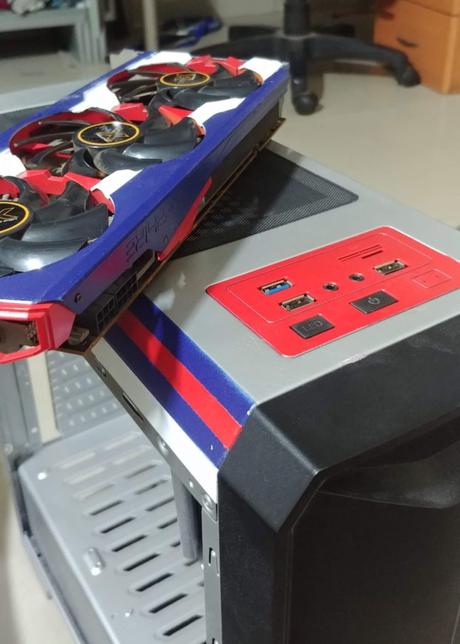 Painted R9 290 and NX200
The Captain America shield on the side is also painted using spray-paint (not brush). I used masking tape and all the anomalies are due to me removing the tape when the paint was still fresh.
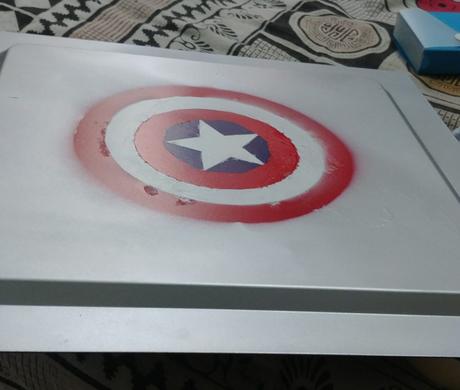 Good enough?!
Burnt the RGB Strip
Upon assembly, I found out that the case RGB strip did not light up. I spent hours working on it, trying everything I could think of, but to this day it does not light up.
Finally, the Ryzen Upgrade
After loads of research this time, I ordered the AMD Ryzen 5 3600 with Asus Prime B450M-A (With RGB Headers-will talk about that later) and one stick of Trident Z 8GB DDR4 3000MHz RAM. I wanted dual channel kit, but couldn’t afford another stick  !
!
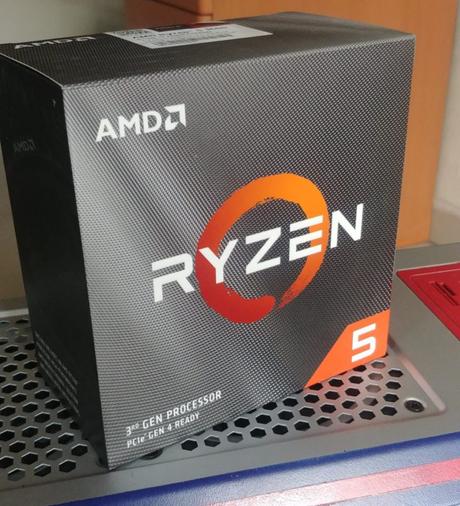 Ryzen 5 3600
I also ordered the Antec Prizm 5 Fans + Controller pack for the extra RGB bling and better cooling. (Could have saved the money on RGB for extra RAM stick but nah!)
The launch of Ryzen 3000-Series processors was ideal for me. Intel had no answer-doesn’t have it even to the day I am writing this blog. After almost a decade, Intel had some great competition in the budget as well as the prime segment, and competition is always good for the customer, isn’t it?
Parts arrive, installing first RGB Stick of RAM
2-3 days after placing the order on mdcomputer.in and Amazon, I received all the parts. It was time for another build!
But this time, the cable management was tough. The Antec NX200 doesn’t have much space at the back, and all the fan and RGB wiring was a pretty difficult job for me at that time. But it was done! The result looked awesome!
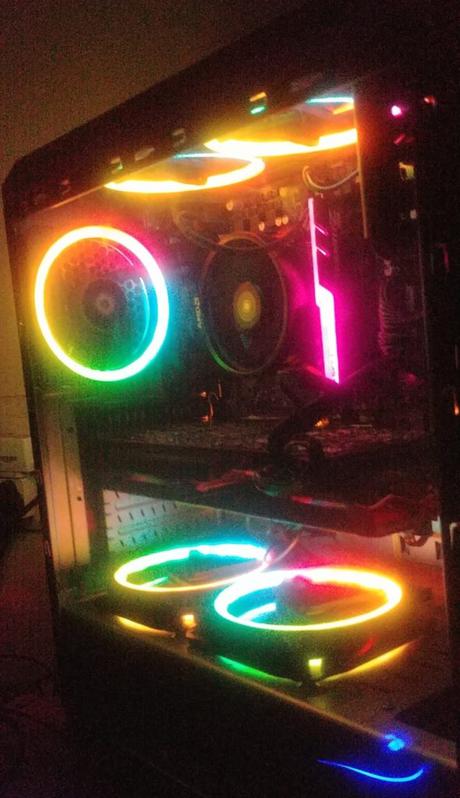 Antec Prizm ARGB fans and controller in action!
My joy was short-lived though. The Asus motherboard had only 4-pin RGB headers on it, and not the 3-pin 5V RGB headers that I required for the fans-poor me! I guess I should have known that beforehand. But at least I won’t make this mistake ever again!
One of the most crazy ideas!
I was watching a lot of JayzTwoCents back then, and I also came across Linus from LinusTechTips testing a $100 water cooling kit from banggood. I started wondering…….. could I?
Sketchiest site browsing
So the idea was pretty clear. Whatever money I had (It wasn’t much) should be able to provide me with all the parts I needed for water-cooling the CPU. I was pretty sure the GPU was undoable at that time, partly because the R9 290 is an ancient card and also I wasn’t ready to spend much.
I started looking at sites like Aliexpress because in India, the custom water-cooling parts market is hot pile of garbage. If you call a computer seller and ask if he has a 240mm radiator, you will be lucky if the owner or the receptionist even understands what you want. They will most probably try to sell you an AIO.
So I went to Aliexpress, sorted every part I wanted by low price, and ordered the first part that was good enough. Simple as that! The shipping duration though, that sucked. 45 days for a set of fittings from China to India? Alas.
Parts arrive! Its cutting time!
All the parts finally arrived after almost a month and a half (except the fittings), and the sellers on Aliexpress were quite polite and answered all of my questions before I placed the orders. The things arrived exactly as advertised, and I was hopeful nothing would go wrong this time.
I had chosen hard tubes – just because I wanted to show off! Yeah, the soft tubing would have made all things pretty easy, but what would have been the fun in that?
But before the tubes would arrive, I became impatient and searched the whole city for tubing that would fit the fittings I had. I found a metre of PVC soft (It wasn’t much soft) tubing and assembled the rig.
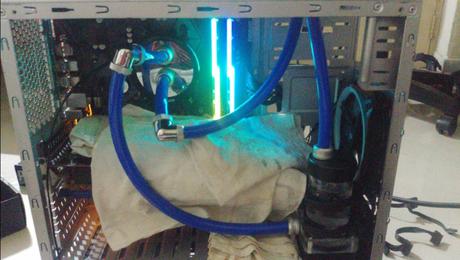
I had to make some adjustment to the chassis. After all, the Antec NX200 isn’t particularly built for a radiator on top.
One tech tip here though-prefer your radiator on top with exhaust out, as the hot air travels upwards easily through convection.
When the hard tubes arrived, the measurement and cutting process took another day, and I leak-tested the system for a day as well. Everything was going way too smoothly.
Pump failed 
Just a normal day, me watching LTT videos as usual, and the PC rebooted at random. Upon powering up again, the BIOS showed ‘CPU Temp too high!’ Upon further inspection, I realized that CPU fan reading (the header to which I connected the pump to) showed a 0 rpm reading.
It was clear that the pump had failed.
Wandering around in the city to get the pump fixed
I went to every electronics repair shop around me to only find out that it couldn’t be fixed. Maybe with the right tools, I can, but I didn’t have the right tools at that time. So, the seller to the rescue again.
The Chinese seller helps out
The seller acknowledged that the way pump failed, shouldn’t have happened. He shipped a replacement core for the pump, so I had to wait for it to arrive again.
Another tech-tip here: Put the pump to a fixed speed, something like 50-60%, if the pump has a PWM fan header. Running the pump at 100% (PWM) at all times is not ideal, neither is putting a variable fan curve on it according to temperature.
Final Assembly
When I received the new pump core, I managed to put the CPU fan speed fixed at 55% until the CPU reaches 70C, and haven’t had any issues for the last five months!
Another thing to note here, I used filtered tap water by DIY distillation. No fancy biocide stuff, mostly because it wasn’t available.
et Voilà
Doesn’t the PC look awesome?
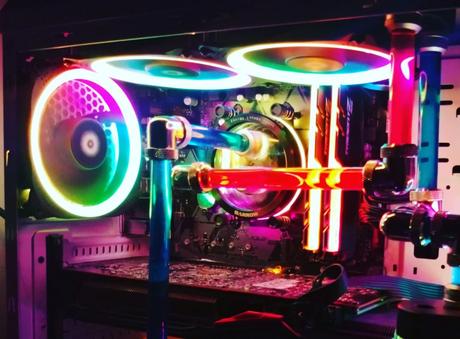 Water cooled rig!
What do you think about the overall journey? Let me know in the comments section below.
Also, suggest topics to write on/projects to take on.
See you guys, until next time.

