


My most challenging sewing project so far: a bespoke drum bag | #LRCrafts - DIY Passion: if you can think it, you can make it
I am an Irish dancer, and I’ve always loved anything even remotely related to Irish music and culture. So when the opportunity came up to buy a second-hand bodhrán for a very fair price, I didn’t think twice. I had tried one once with a friend and completely fell in love with it.
As soon as my bodhrán arrived, I knew I wanted to learn how to play it properly, so I subscribed to a bodhrán course. The lessons were scheduled to begin a few months later, after the summer, and that’s when a thought crossed my mind: why buy a bag to carry my instrument to class when I could make one myself?
It wasn’t about saving money or time: anyone who sews knows that handmade projects often cost more than buying the finished item, and take far longer too. But making my own bag meant freedom: no bulky external pockets, straps exactly the way I wanted them, in short a design tailored to my needs. I also had two pieces of tartan fabric that an aunt had given me, which felt absolutely perfect for this project and more than enough to get started. And so, with enthusiasm and a fair amount of bravery, I set out to tackle what would become my most challenging sewing project so far.
Embroidery and sewing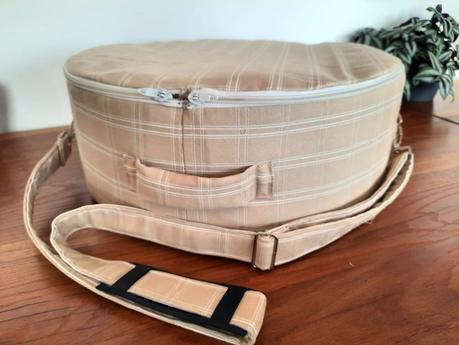 Drum bag (for bodhràn) made to measure
Click for the finished project detailed photos
Planning the bag
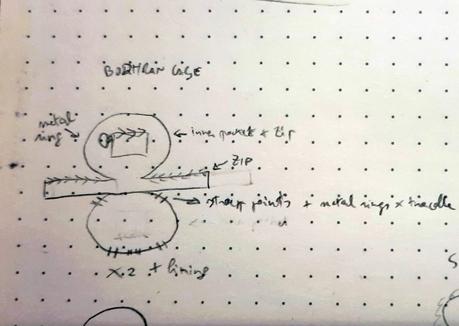 The first sketch I made to plan the construction of my bodhran bag
Like any respectable crafting project, this one had to start with a plan. I sketched my idea on paper and then sat down to discuss it with my engineer husband, who also happens to be the grandson of seamstresses, to make sure all my ideas were actually doable.
My goal was a snug-fit round bag, fully lined to protect the instrument from bumps and damage. I wanted a long zipper that would open almost all the way around, so I could easily place the bodhrán inside and take it out without struggling. I also needed rings on the outside to hold the shoulder strap. At first I was thinking about making a backpack, but discarded the option in the end after carrying my instrument in a makeshift bag once.
Inside, I imagined a zippered pouch attached to the inner “lid” of the bag using rings and carabiners, a removable “pocket” for tippers and small accessories. We discussed this last detail at lenght, my husband and me. He wasn’t entirely convinced that a detachable pocket was a good idea, while I was determined to at least try. In the end, we agreed that it was something I could figure out later on, once the main structure of the bag was underway.
Before worrying about pockets and details, though, there was a much bigger question to answer: how on earth do you actually construct a round, tightly fitted, fully lined bag like this in the first place? My only experience with bags so far was the one I made for my embroidery projects, and it wasn’t even lined inside. I did not let this discourage me, though, and decided to proceed on a slow pace, step by step.
Sewing and construction
The first step was sewing the basic pieces: two circles for the front and back, and one long strip to wrap around their circumference and connect them. Each of these three main elements needed to be doubled, as the bag was fully lined.
I chose to use my cream tartan fabric on the outside and my red tartan for the inside, since it was slightly lighter in weight. For the padding, we had the perfect thin filling sheets in our stash. To give the bag even more structure, I added sheets of orange felt paper, already in my stash for another project, to reinforce the outer layers and provide extra rigidity where it mattered most.
Cutting the pieces turned out to be the easiest part of the whole process. I’m usually a little intimidated by cutting fabric, but this time it felt almost effortless. And, as it turned out, it really was the lightest step of the entire project.
Unfortunately, I don’t have photos of every stage of the making process. Some steps had to be done quickly, squeezed into small pockets of free time during a busy summer with family life, when documenting everything simply wasn’t always possible.
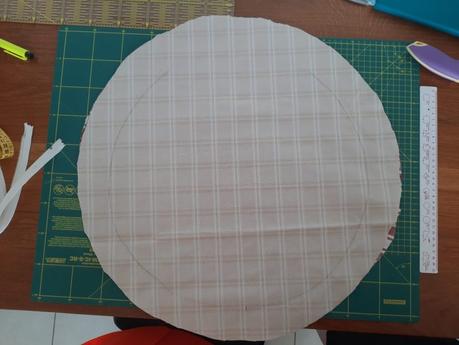
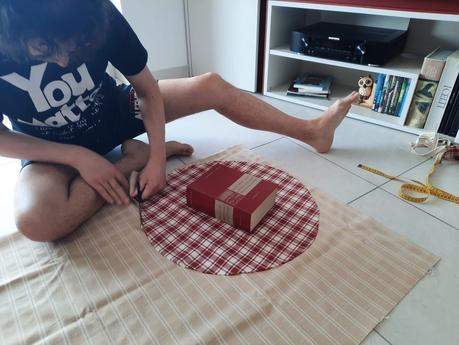
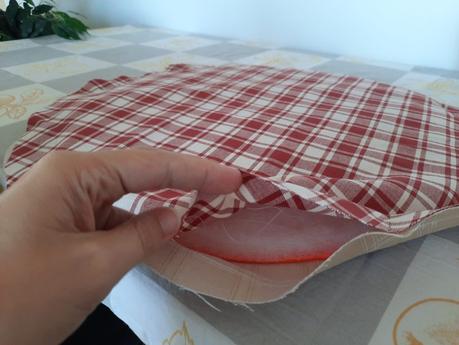
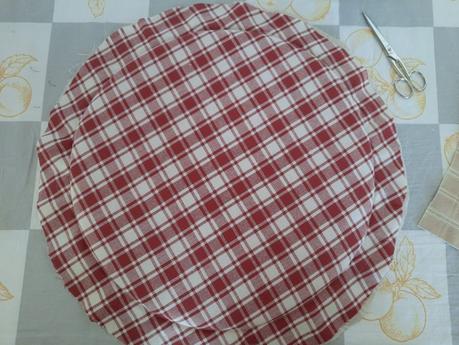
I started by sewing the two circles that would become the back of the bag and the opening. Each one was made with the cream tartan on the outside and the red tartan on the inside.
The first circle was fairly straightforward: I simply sewed the two fabric layers together, leaving an opening so I could insert the padding. The second circle required a bit more care, as this was where I also sewed in one side of the main zipper. Luckily, I already had a long, sturdy white zipper in my stash, so no zipper hunting was required for this project. My husband carefully watched my work here, and helped me position the zipper so that the top opening aligned with the tartan design.
Both circles were sewn with the wrong sides together, leaving a generous seam allowance. That extra fabric would be essential later on, when it came time to assemble the bag.
And that’s where the real challenges began. The next step was to join the two circles using the long fabric strip that would wrap around them and give the bag its actual shape. Here, I would definitely prove if my construction ideas were good enough.
For the wrapping strip as well, I cut two separate pieces: one red for the inside and one cream for the outside. I began by carefully pinning the loose side of the zipper to the two strips, sandwiching the zipper neatly between the fabrics and making sure it would close properly once sewn.
I deliberately cut both fabric strips longer than necessary. In sewing, I firmly believe it’s much better to trim away excess fabric later than to discover (maybe after everything is already stitched together) that you’ve come up short. That’s a philosophy my husband doesn’t agree with, since he hates sewing with a big bulk of fabric in the way. And you? Which side do you take? Let’s discuss in the comments below!
After adding loads of pins to the cream tartan, I moved on to pinning the red tartan as well, slowly and carefully, to avoid unwanted wrinkles and stretches. A double step, maybe unnecessary, but I wanted to be extra sure and check every step of the process carefully. When I was happy with the result, I checked my final size (because, you know, better safe than sorry) and slowly sewed everything in place. The first scary step was a success: this time I sewed the pieces right sides together, and when I turned everything right side out, I had both sides of my zipper sandwiched between red and cream fabric, one side to the front circle and one to the wrapping strips. Now I could finally start seeing the bag shape emerge.
Then, it was time to handle the other circle, and the most difficult part was handling the padding inside the wrapping strip.
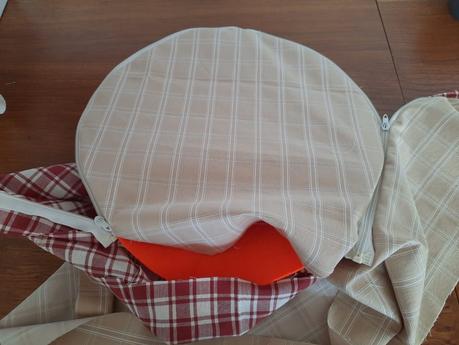
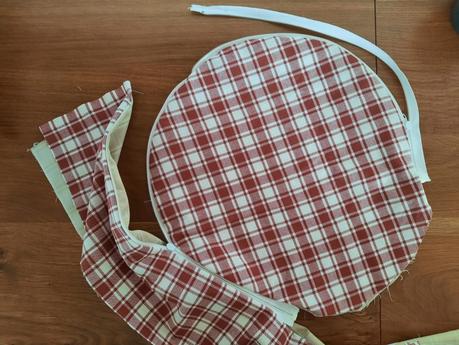
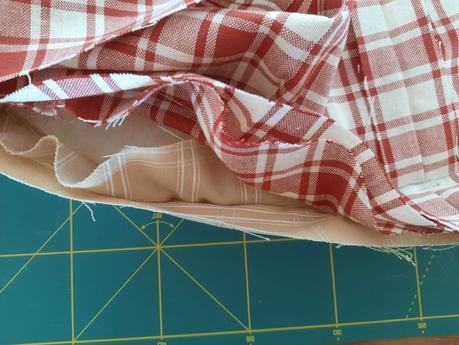
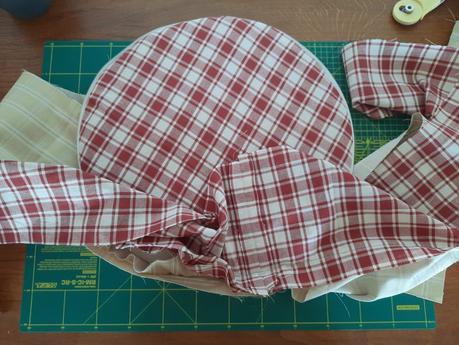
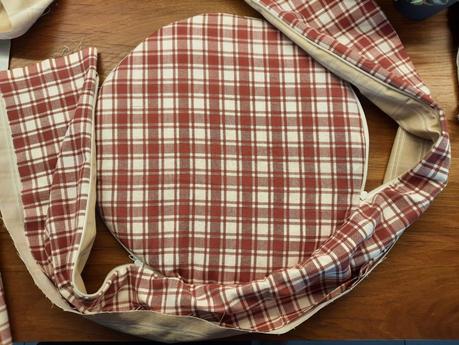
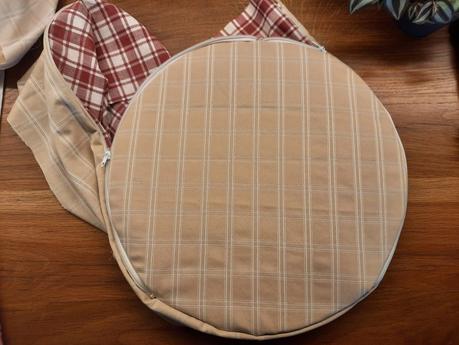
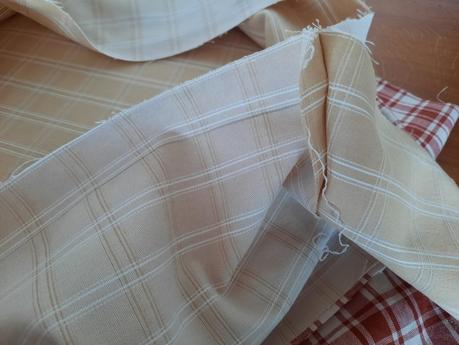
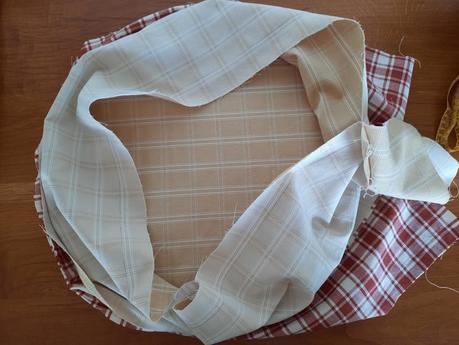
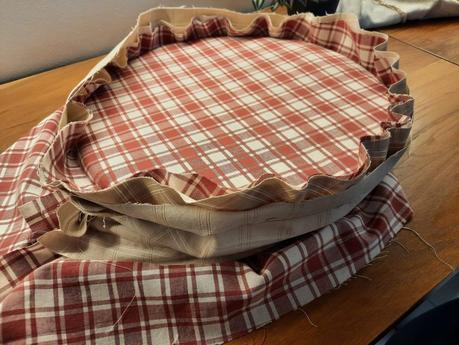
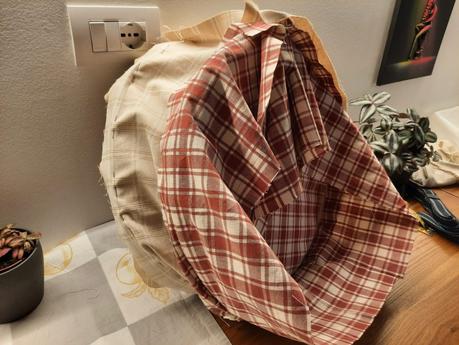
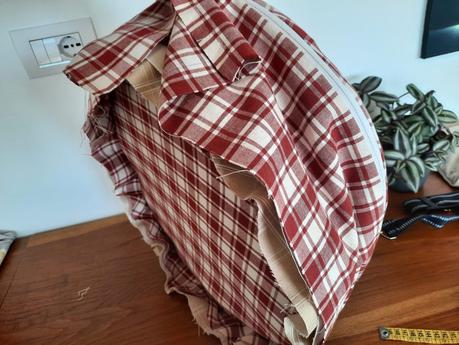
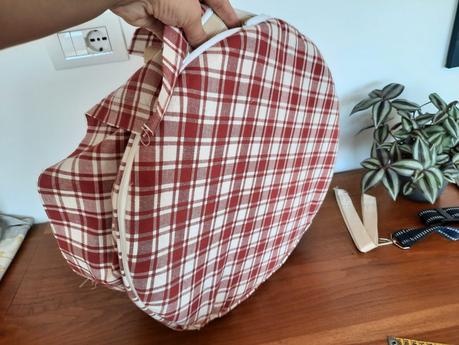
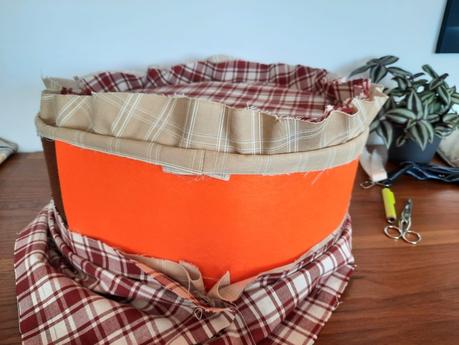
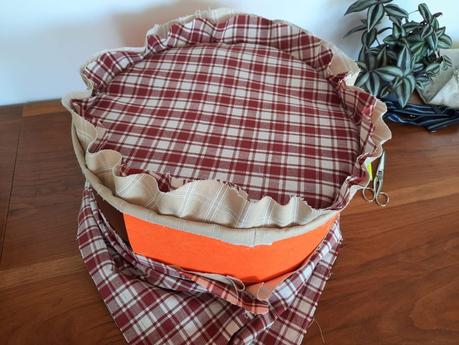
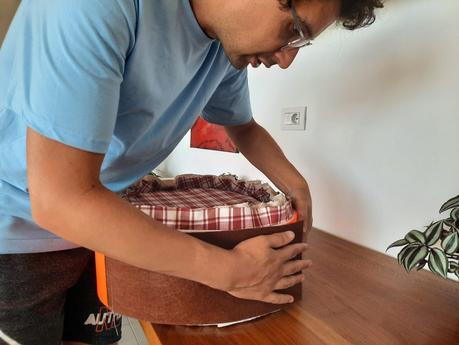
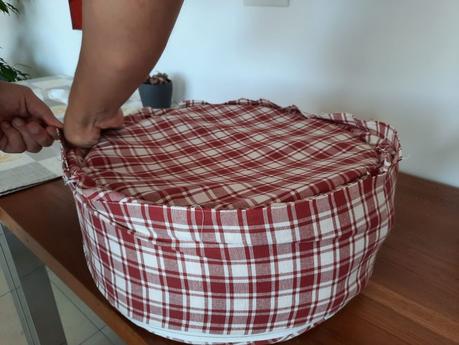
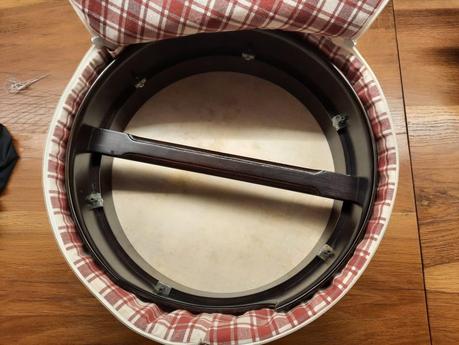
First, I sewed the short sides of the cream wrapping strip together to close it into a ring. At that point, I could finally see the unmistakable drum shape taking form.
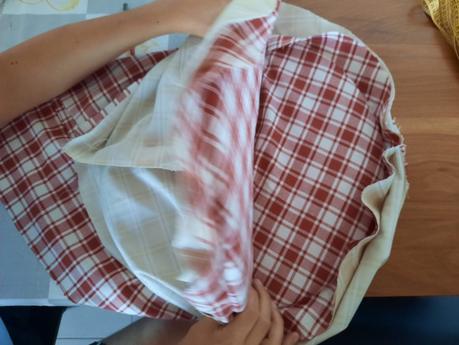
I then turned the entire bag inside out and began pinning the outer wrapping ring to the back circle, carefully working my way around and leaving the inner wrapping strip loose for the moment. I had spent a long time planning this construction method and discussing it with my engineer husband, who (unsurprisingly) offered plenty of useful advice.
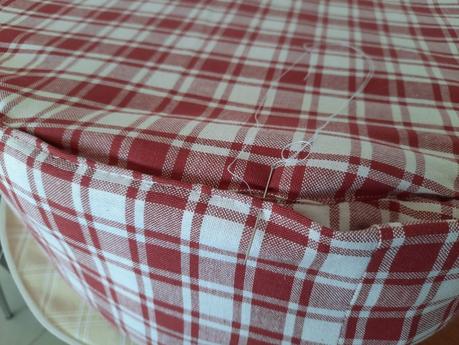
Before closing the wrapping ring, I had to insert the padding. As before, it was made from thin filling sheets reinforced with felt paper. I sandwiched the padding inside the wrapping strips, with the bag still inside out. At this point, there was really only one way to conceal the seam allowance: tucking it in and hand sewing it in place.
I’ve never been afraid of long hand-sewing sessions, but this one was especially slow: I took my time, making sure the stitches were as strong and secure as possible. I hand sewed all the way around the circle, joining the red tartan of the back circle to the red tartan of the wrapping ring.
In the end, the effort paid off. I was rewarded with a fully functional bag: sturdy, well-fitted, and exactly the right size for my bodhrán.
The bag strap and handle
The bag structure was finally finished, but it wasn’t functional just yet. It still needed a strap.
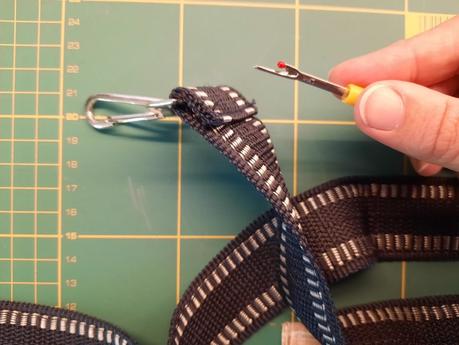
The plan was to attach two metal rings to opposite sides of the wrapping band and then make a long, adjustable shoulder strap that could hook onto them with carabiners. To be completely honest, I already had a leftover strap from a broken bag. The only problem was that it was blue, a color that really didn’t work with my tartan bag. So instead of starting from scratch, I reused all its components: the carabiners, the shoulder pad and all the metal hardware.
Using my cream tartan fabric, I sewed a long, multi-layered strip to replace the original blue strap. I used four layers of fabric to make it sturdy while still keeping it thin enough to fit inside the shoulder pad. Turning it right side out after sewing was not easy. My husband and I did a few small-scale test pieces to figure out the best construction method before committing to the full-length strap.
I also took great care to align the tartan pattern properly, and in the end I was genuinely proud of the result. Compared to the complexity of the bag itself, the strap might seem like a minor detail, but it added a carefully planned, personal touch. That custom tartan strap gives the whole bag a sort of wow effect, especially when compared to a standard, factory-made black one.
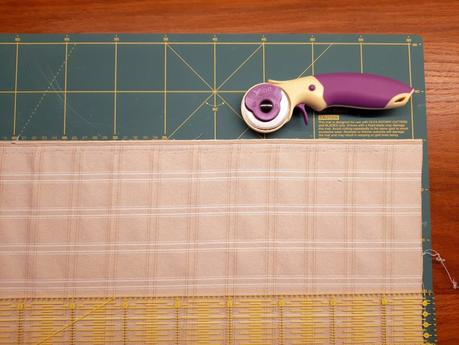
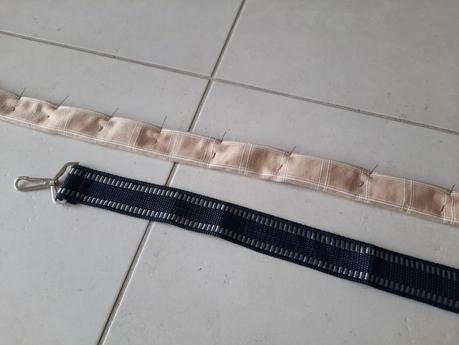
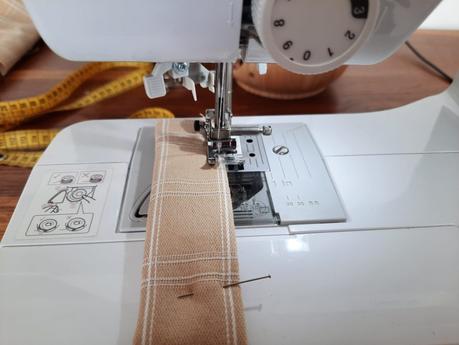
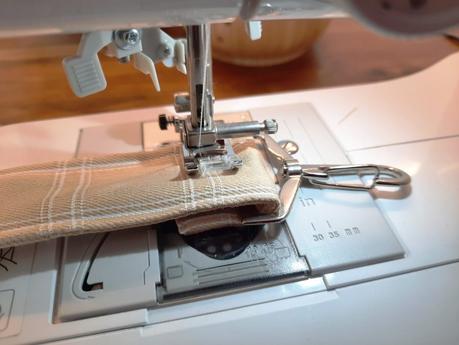
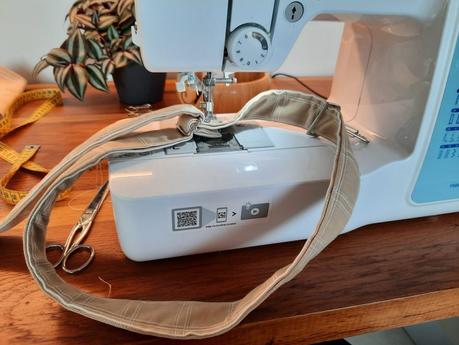
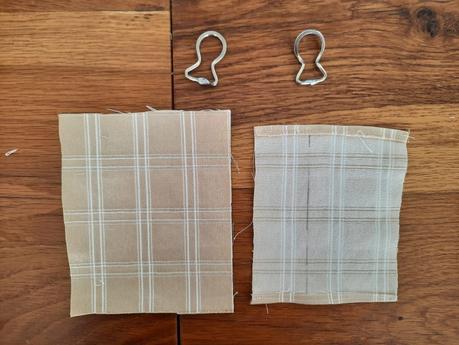
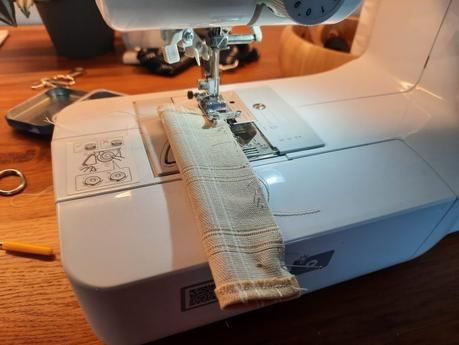
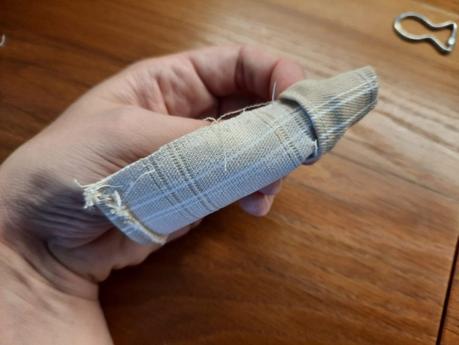
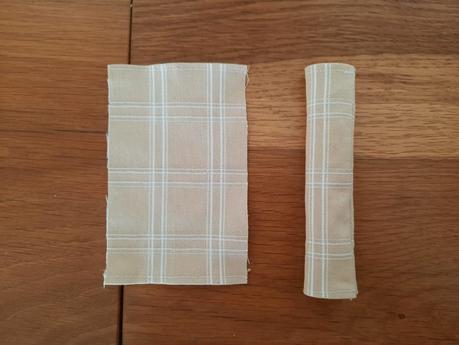
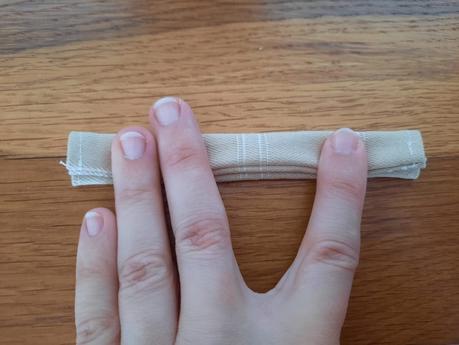
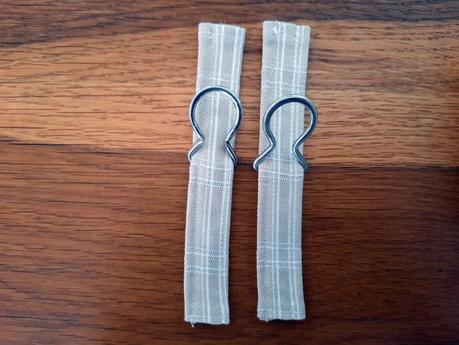
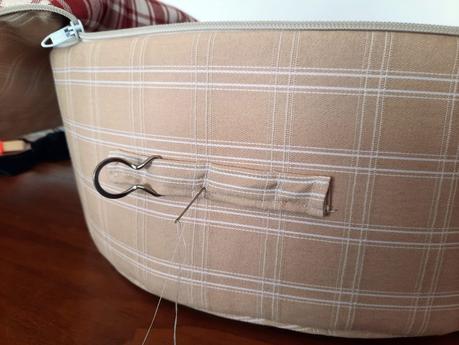
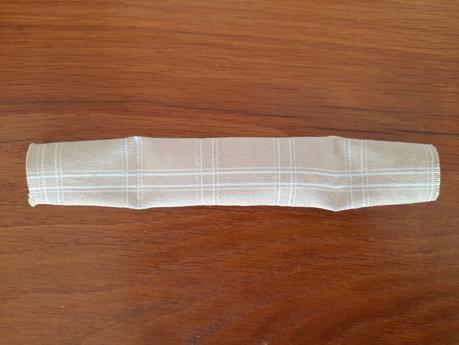
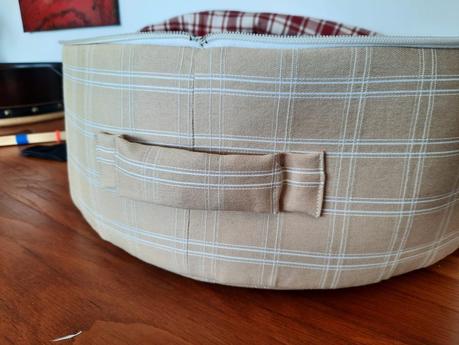
To attach the strap, I used the same cream tartan fabric to make two equal strips for the sides of the bag, plus a larger strip that would become a handle on top. The side strips were sewn in four layers of fabric like the shoulder strap, for extra strength.
Next came the tricky part: sewing the strips to the bag, all the way through to the inside, passing through the padding. My domestic sewing machine couldn’t handle so many layers at once, and I didn’t have access to granny’s industrial Singer machine, so I had to return to hand sewing. It was hard and slow, carefully stitching through fabric and padding to make sure everything would hold.
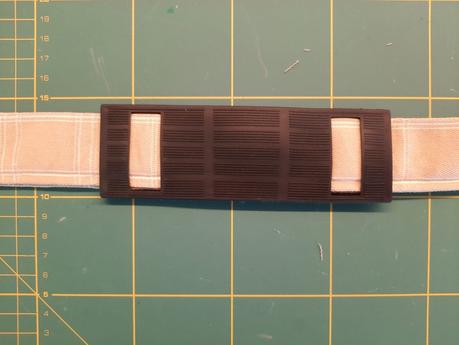
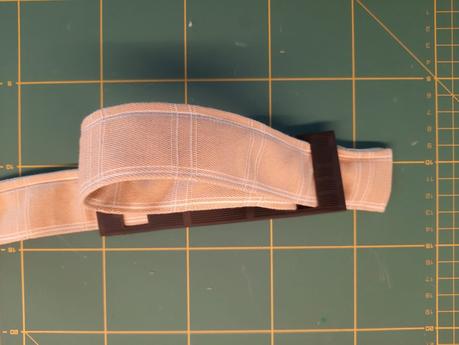
For the top handle, I added padding inside as well, leaving two small squares on either side unpadded to make sewing easier. Easier, I say, but still tedious and slow: I wanted the stitches to be strong, since this part of the bag would bear the most stress.
Finally, after hours of patient sewing, the strap and handle were securely in place. And with that, the bag was truly finished and ready to use!
What about the pocket?
Oh, and what about the pocket? From the start, I planned to include a removable “pocket” for tippers and small accessories, rather than a bulky external one. After all, the drum is essentially a hollow shell: once it’s inside the bag, there’s plenty of space to hold other things, right?
I ended up discussing my idea with other bodhrán players, and quickly realized the drum is far less fragile than I had feared when I first touched one. My teacher likes to say, “The goat skin is already dead: you can’t do more damage to it”. Many experienced players told me they simply stuff items inside the drum itself. Apparently, it even has enough space to be convenient for travel, clothes included!
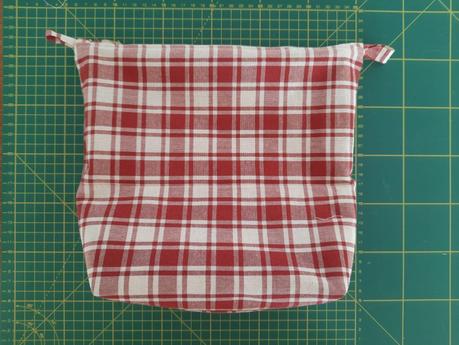
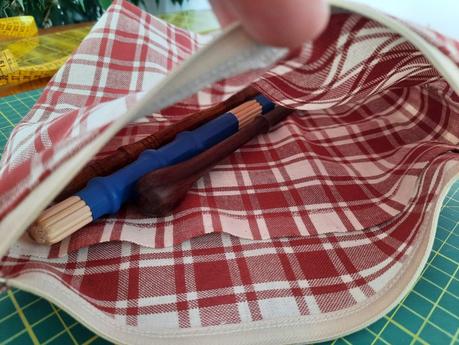
So I decided to simplify things. Instead of a complex removable pocket, I made a straightforward zipper pouch, large enough to hold tippers and other small accessories. I gave it two compartments, inspired by the double-compartment solution I use for my handmade embroidery project bag, which I’ve found very practical when travelling.
Sometimes the simplest ideas really turn out to be the handiest.
Let's sum up
Being able to finish this bag was incredibly rewarding for me. It is, without a doubt, the most complicated sewing project I’ve tackled so far, and being able to carry it to completion filled me with a real sense of accomplishment. Every time I pick it up, I’m reminded that I can turn sewing challenges into real projects, with patience, planning, and also a bit of stubbornness.
Now I go to every bodhrán class with my custom bag, made exactly to my taste. I was lucky I had those two fabrics and all the other materials in my stash: in the end, the making didn’t cost me money at all, just hours of my free time, that I would have spent sewing anyway. Also, every time I pick my bag up, I feel my learning curve stitched into every seam. It’s unmistakably mine.
If I had to change something, I might add a full-width zippered pocket to the inside of the opening circle. That said, I’d probably only use it for very thin items, to avoid a too bulky lid, so it’s not something I truly miss. For now, the bag works beautifully as it is, and I’m happy to leave that idea for a possible future round bag.
And now I’m curious: what has been your hardest sewing project so far? I’d love to hear about it: successes, struggles, lessons learned. Please feel free to share in the comments below.
Sharing handmade journeys matters. And with projects like it matters even more. I love to share my behind-the-scenes to show that every finished piece begins with someone daring to try something hard. And that “if you can think it, you can make it”.
by Rici86.