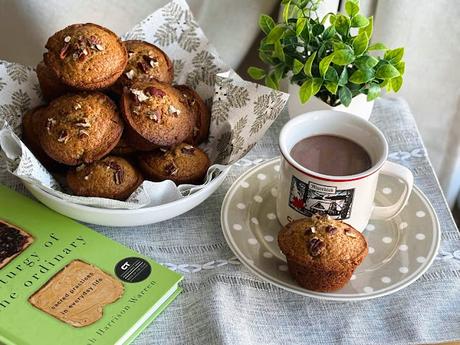
If you are like me, you will find yourself with a half empty jar of mincemeat after the holidays. I love mincemeat and usually make my own every year, but it is also something which I tend to keep a few jars of on hand all the time. It comes in handy for making all sorts of lovely desserts and bakes.
Once I have a jar opened however, I want to use it up. I had about half a jar of it left over after I made my frangipane mince pies for the holidays. There are, of course, lots of things I could have done with it, but I decided to bake some muffins with it. I knew that I would enjoy them and that they were something which I could freeze to enjoy as and when I desired a muffin.
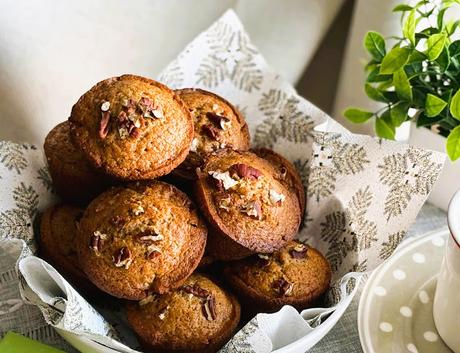
I adapted a recipe which I found here. I found a few muffin recipes that looked promising, but this is the one I decided to use. When I want a muffin I want a muffin, not a cake. I want something a bit sturdy with a muffin-like texture.
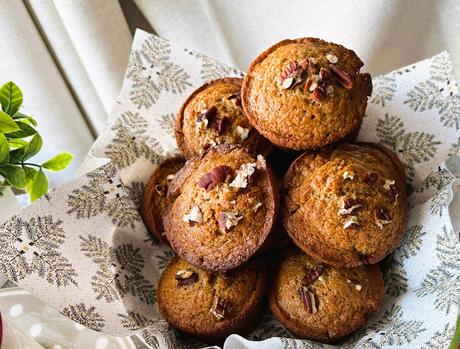
These turned out beautiful. With lovely flavors. Not too spicy either. They required just the amount of mincemeat that I had left in the jar as well. Bonus. They smelled heavenly when they were baking.
It is a full batch recipe, making 12 muffins, but I did want to pop some into the freezer to enjoy in the coming days. I also wanted to gift my next-door neighbor Sheila with a few. This is an excellent muffin recipe that I highly recommend!
WHAT YOU NEED TO MAKE MINCEMEAT MUFFINS
Just a few simple baking cupboard ingredients.
- 1 3/4 cup (219g) plain all-purpose flour
- 1 tsp baking powder
- 1/2 tsp baking soda
- 1/2 tsp salt
- 1 tsp ground cinnamon
- 1/2 tsp ground nutmeg
- 1/2 cup (115g) butter, at room temperature
- 1/2 cup (100g) granulated sugar
- 1/2 cup (100g) soft dark brown sugar, packed
- 2 large eggs, room temperature
- 1 tsp vanilla extract
- 1 cup (225g) mincemeat
- 1/2 cup (120ml) buttermilk (see notes)
- 1/2 cup (58g) chopped walnuts or pecans
Everything is pretty self-explanatory. I used British Mincemeat for this which is like a thick jam. Not dry at all. I also like to grate my own nutmeg using a small micro-plane grater.
No buttermilk? No problem! If you don't have any buttermilk, you can use one of the following substitutions:
- Whisk together equal parts of whole milk and full fat plain yogurt. Leave for a few minutes to clabber.
- Add 1/2 TBS of white vinegar or lemon juice to a measuring cup and add whole milk to the level of milk required. Leave for 5 minutes to clabber.
HOW TO MAKE MINCEMEAT MUFFINS
These are not hard to make and go together very quickly.
Preheat the oven to 375*F/190*C/ gas mark 5. Line a 12-cup muffin in with paper liners or spray it generously with non-stick cooking spray.Sift the flour, salt, baking powder, baking soda, cinnamon and nutmeg into a medium sized bowl.Cream the butter and both sugars together until light and fluffy. Beat in the eggs, one at a time, taking the time to incorporate each egg fully before adding the next and proceeding. Stir in the vanilla.
Fold in the mincemeat and buttermilk, alternately with the dry ingredients, making three dry additions and two wet additions. Mix together just to combine.
Spoon into the prepared muffin tins, dividing the mixture equally amongst the cups. They should be filled about 2/3 full.Sprinkle the chopped nuts on top.Bake in the preheated oven for 18 to 20 minutes. 'When done a toothpick inserted in the center should come out clean and the tops should spring back when lightly touched.Leave in the tin to cool for 5 minutes, then remove to a wire rack to cool completely.
HINTS AND TIPS FOR MAKING MAGNIFICENT MUFFINS
Here are my hints and tips for making sure that your muffins turn out beautifully every time:
1. Mix wet and dry ingredients separately. To prevent the mix from being overworked, first mix the wet ingredients together in one bowl and mix the dry ingredients in another. Make a well in the dry ingredients, carefully pour in the wet ingredients, then stir the mix a couple of times to roughly combine. 2. Don't over mix your muffins. The most important rule of muffin making is to not over stir the mix. What you really want is to just moisten the ingredients. Do not stir or beat the batter until it is smooth and lump free. You want the final mix to be lumpy, and thick with a few floury streaks. 3. Add your flavors last. While spices should be added with all the other dry ingredients, additions like fruit and nuts should be added last. Give the batter one more light-handed stir once you've added them in just to combine. 4. Line the pans. You can choose to either grease the muffin tin or line it with paper liners. If you choose to forgo the liners, make sure you grease the base and sides of the cups with oil spray or a little melted butter. If you're not going to eat the muffins for a while, do use paper liners as these will keep the muffins fresher for longer. 5. Don't overfill your pans. Aim to fill the cups ¾ full to get muffins with nice round tops and to prevent them from spilling out over the top of the cups. Often if your tins are over filled the muffins will rise to the top and then collapse on themselves. 6. For extra interest, add a flavorful sprinkle on top. Once the muffin cups are all filled, you can choose to sprinkle the tops with more fruit, nuts or a crumble topping, even sanding sugar or cinnamon sugar, for even more taste and or crunch. As the muffins rise these toppings will cook into the tops of the muffin. 7. Protect your baking pan. If there isn't enough batter to fill all the cups, half fill the empty ones with water. This will help the muffins bake evenly and will help to protect your pan from buckling. 8. Cooling them down. Once you remove the muffins from the oven, let them sit in their pan for a few minutes before removing to a wire rack. This is especially important for muffins that aren't in a paper liner, as it will help them from falling apart. However, remove them after five minutes otherwise you risk them going soggy as they cool in the pan. 9. Freeze extras for later. Muffins freeze beautifully, so if you can't enjoy them all on the day they're baked, wrap them in plastic, and put them in the freezer for later. They will keep for about 3 months and reheat wonderfully in the microwave for about 30 seconds on high from frozen.
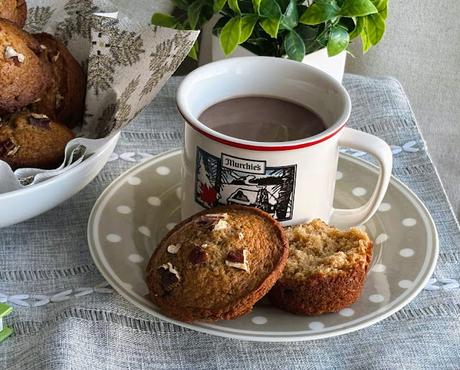
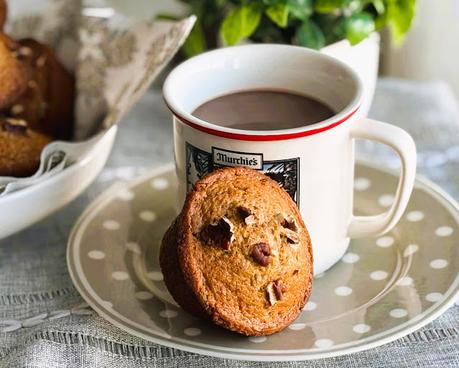
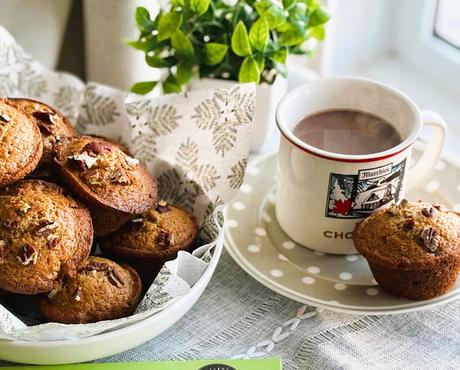
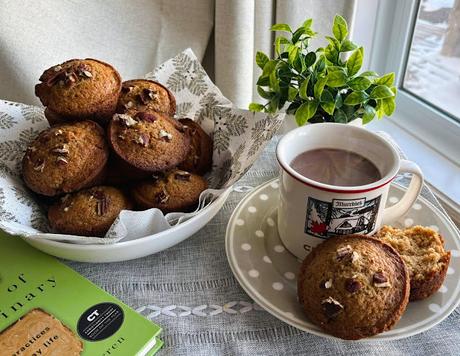
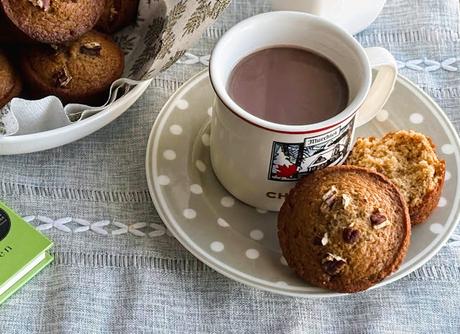
I was a bit worried that these would end up tasting more like cake than muffins, but all my worry was for naught. They have a beautiful, perfect muffin like texture that goes very well with a hot drink. I loved the addition of the toasty nuts on top.
I think they would also freeze very well. In order to do so I would wrap each one individually in plastic cling film and pop the whole lot into a zip lock baggie. That way you could take out one at a time whenever you were wanting a fresh muffin to enjoy.
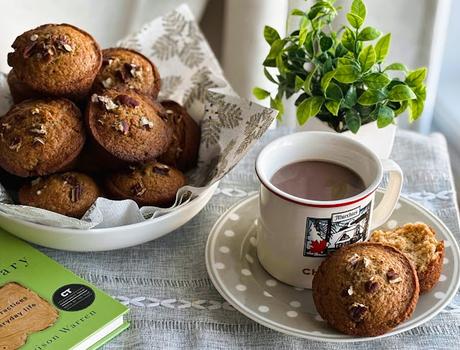
If you are like me and you have leftover mincemeat from the holidays that you want to use up, you might also enjoy the following recipes!
MARY BERRY'S MINCEMEAT LOAF CAKE (S) - Lovely fruited cakes that are very simple to put together and taste beautiful served cut into slices and spread with softened butter along with a hot cup of tea. I don't know anyone who doesn't love these.
BAKED HOLIDAY CUSTARD - Custard was always a favorite dessert in my home, especially baked custard like this recipe. For this a quantity of mincemeat is spooned into the bottom of each of four ramekins and then the custard mix is poured over top before baking to baked custard perfection. Can you say delicious? This is a dessert with beautiful textures and flavors.
Yield: 12 muffinsAuthor: Marie Rayner
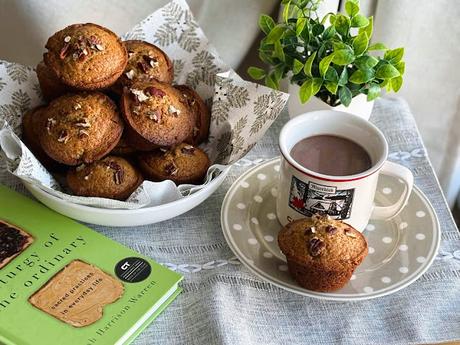
Mincemeat Muffins
Prep time: 10 MinCook time: 20 MinTotal time: 30 MinA foolproof recipe and great way to use up some of the mincemeat that you have leftover in the refrigerator after the holidays. Studded with deliciousness and easy to put together, this is a real winner of a muffin recipe.Ingredients
- 1 3/4 cup (219g) plain all-purpose flour
- 1 tsp baking powder
- 1/2 tsp baking soda
- 1/2 tsp salt
- 1 tsp ground cinnamon
- 1/2 tsp ground nutmeg
- 1/2 cup (115g) butter, at room temperature
- 1/2 cup (100g) granulated sugar
- 1/2 cup (100g) soft dark brown sugar, packed
- 2 large eggs, room temperature
- 1 tsp vanilla extract
- 1 cup (225g) mincemeat
- 1/2 cup (120ml) buttermilk (see notes)
- 1/2 cup (58g) chopped walnuts or pecans
Instructions
- Preheat the oven to 375*F/190*C/ gas mark 5. Line a 12-cup muffin in with paper liners or spray it generously with non-stick cooking spray.
- Sift the flour, salt, baking powder, baking soda, cinnamon and nutmeg into a medium sized bowl.
- Cream the butter and both sugars together until light and fluffy. Beat in the eggs, one at a time, taking the time to incorporate each egg fully before adding the next and proceeding. Stir in the vanilla.
- Fold in the mincemeat and buttermilk, alternately with the dry ingredients, making three dry additions and two wet additions. Mix together just to combine.
- Spoon into the prepared muffin tins, dividing the mixture equally amongst the cups. They should be filled about 2/3 full.
- Sprinkle the chopped nuts on top.
- Bake in the preheated oven for 18 to 20 minutes. 'When done a toothpick inserted in the center should come out clean and the tops should spring back when lightly touched.
- Leave in the tin to cool for 5 minutes, then remove to a wire rack to cool completely.
Notes
If you don't have any buttermilk, you can use one of the following substitutions:
- Whisk together equal parts of whole milk and full fat plain yogurt. Leave for a few minutes to clabber.
- Add 1/2 TBS of white vinegar or lemon juice to a measuring cup and add whole milk to the level of milk required. Leave for 5 minutes to clabber.
Did you make this recipe?
Tag @marierayner5530 on instagram and hashtag it #TheEnglishKitchen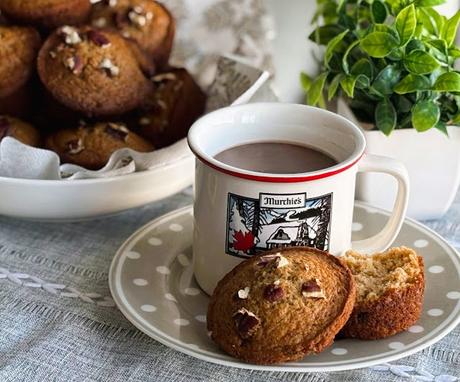
This content (written and photography) is the sole property of The English Kitchen. Any reposting or misuse is not permitted. If you are reading this elsewhere, please know that it is stolen content and you may report it to me at: mariealicejoan at aol dot com Thanks for visiting! Do come again!!
If you like what you see here, why not consider signing up for my newsletter and/or subscribing/following me on Grow. You can also bookmark my recipes via the Grow platform. Check out the heart on the right hand side of the screen.Also, if you have not checked out my YouTube Channel yet, do give it a gander. I would really appreciate it, and if you want to subscribe that would be even more appreciated! Thank you so much! It is not really fancy like some people's channels. I am very much learning as I go along, but what you get is authentic at least! There is nothing fake there! No filters, bells or whistles. Filmed in real time and unedited!

