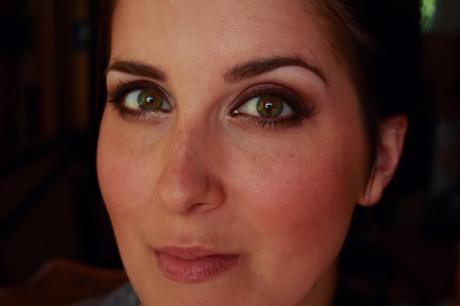
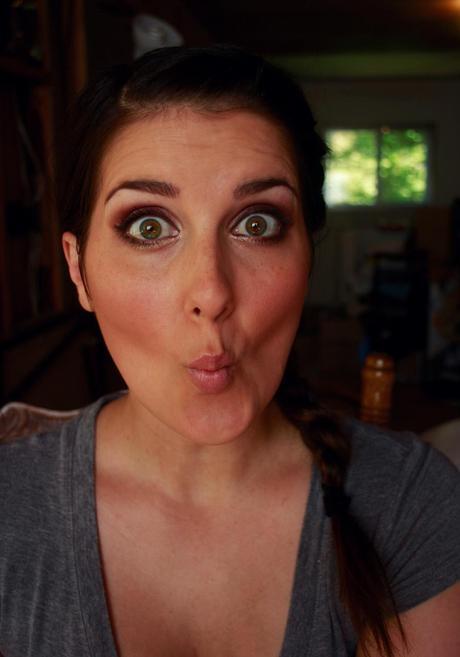
I always used to wish that my eyes were full-on green, instead of the brown/green hazel, because so many people just say (and argue) that they’re brown. And while I like brown eyes, I always loved green eyes… so I love wearing makeup that emphasizes the green, especially. So yesterday, as I was browsing makeup looks, I came across one that reminded me I have some gorgeous plum shadow I never use, and… voila! This tutorial was born.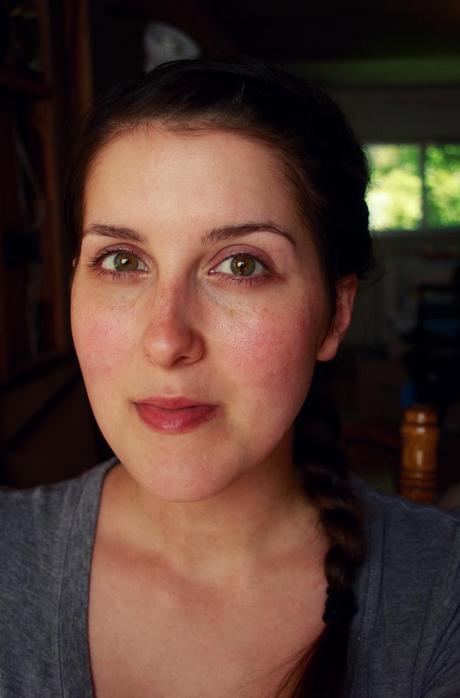 I also wanted to do a look that leaves my freckles as exposed as possible, so I recently bought some BB cream, and it’s perfect for summer — it’s nice and sheer, but adds just a bit of color so that my face is the same color as my arms (my face doesn’t tan as quickly as the rest of me.) So! Start out with a bare face. I just realized, via youtube, that it is a way better idea to do eye makeup first, and skin makeup later. That way, the fallout is SO much easier to clean off!
 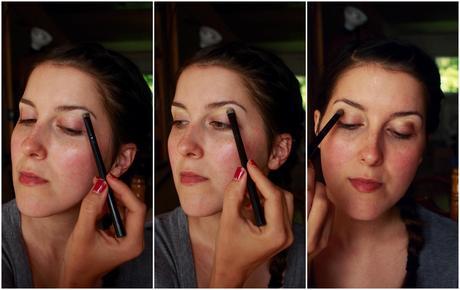 With a matte white shadow, highlight your brow bone, and the inner corners of your eyes. Then, work a creamy shimmer shadow into your crease, and deepen the outer corners of your eyes (in the crease and along with lash line) with a medium-brown shadow.
 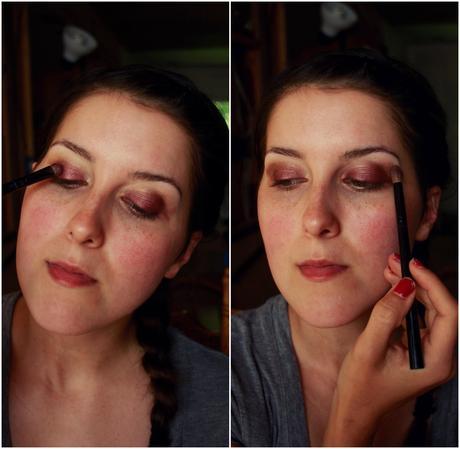 With e.l.f baked eyeshadow in burnt plum (or a similarly plummy shadow), cover your lid up to the crease, and blend it all with a nice fluffy shadow brush. If you like, you can add a bit more dark brown to increase the smokiness of the look.
 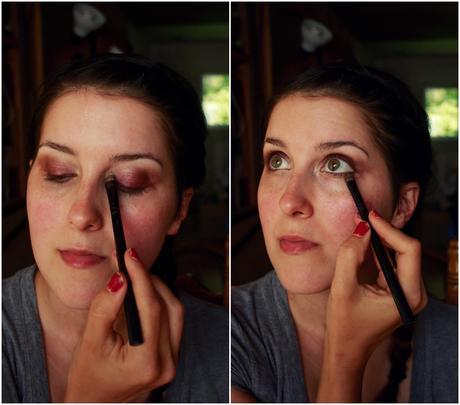 Using the same creamy shadow you put in your crease, add a bit more highlight to the inner corners of your eyes, and draw it underneath your lower lashes.
 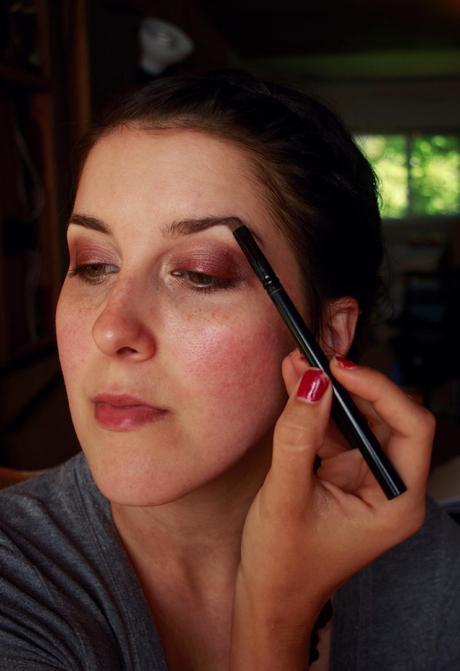 If you are going to do your brows, fill them in now. I generally use the same brush for shadow eyeliner as I do for my eyebrows, so I’m always doing my brows mid-shadow, haha!
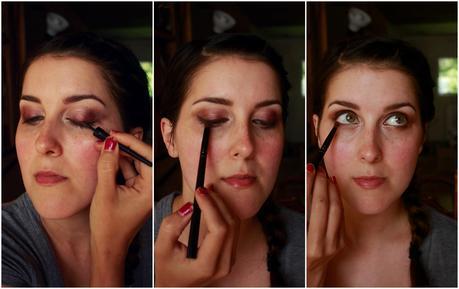 Next, line your eyes with a bit of a flick at the ends, using a liner like this e.l.f. cream pot liner, or a dark brown liner pencil. (For my skin tone and eye color, I think browns are much more flattering than stark black, but if you want more drama, use black!) Set the liner with dark brown shadow, and draw that same shadow under the outer corners of your lower lashes.
 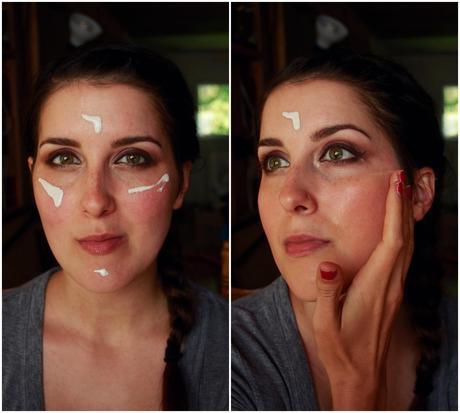 Next is skin! I use L’oreal Studio Secrets Magic Liquid BB Cream in light, which comes out white and magically turns color as you rub it in. I really like it, but it is a bit darker than my natural skin color. In the winter, that’d be a problem, but since it’s summer, it’s nice because it darkens my face to be the same color as the rest of me. You just have to be sure that if you use a BB cream like this, you blend really well into your skin and down your neck to ensure that you have no awkward lines. And a note, if you moisturize before using this product, be sure to wait and let your moisturizer settle in for 10-15 minutes, or the color of the BB cream as it reacts with your skin will be uneven.
As you’re putting on your foundation or BB cream or whatever you prefer to use, you can clean up the edges of your shadow a bit.
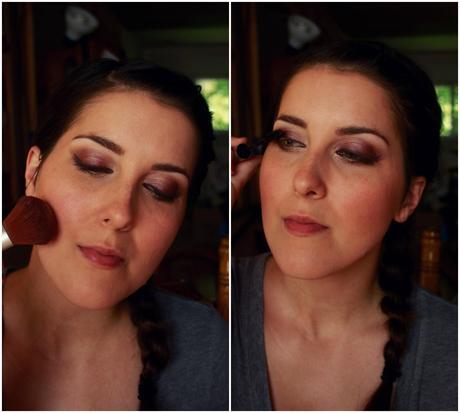
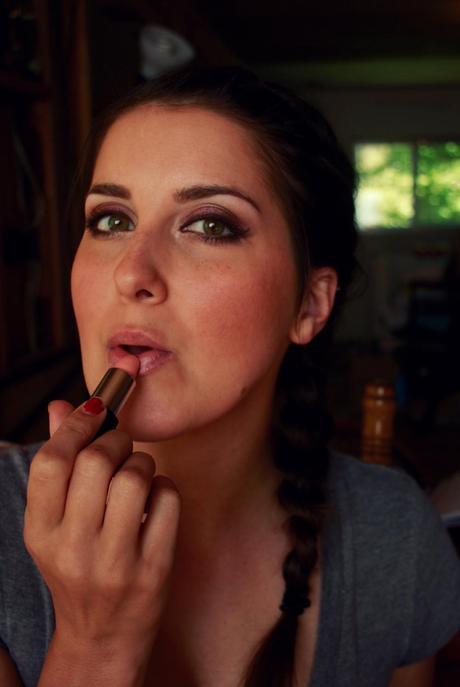
Then, add your mascara, pop on some sheer nude lipstick, and you’re done!
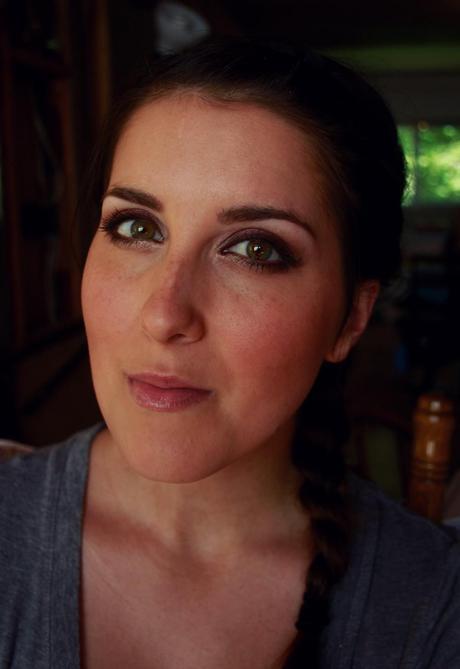
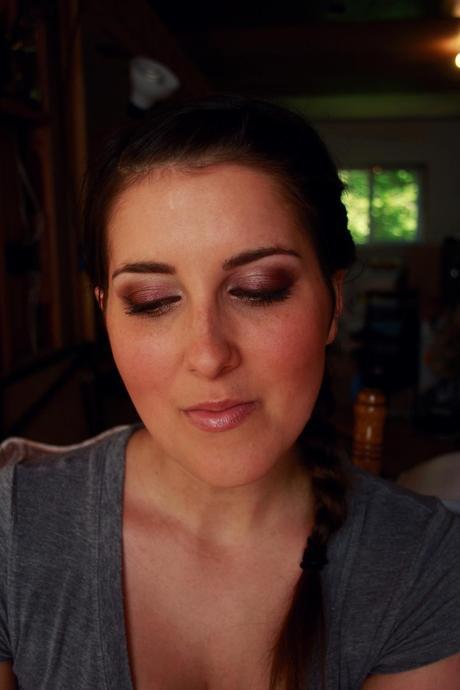
I really, really love this makeup. I think it’s my new favorite look for summer, seriously! It’s so easy, and good enough to go from day to night without much work, and it really enhances greens in your eyes. This would be beautiful on brown eyes, too!
I hope you are all having a lovely Thursday!

Bloglovin | Chictopia | Facebook | Twitter | Pinterest | Instagram | Fiction Press | Tumblr
