 Some of my DogVacay dog guests have brought their owner's t-shirts to help the dog not miss their owners so much while they are away.
So I thought this frugal tip might be a great combination of a dog owner's scent and a dog's favorite toy!
This is the first project in a new series, and it’s really easy and quick to make—I am sure you already have everything you need to get started.
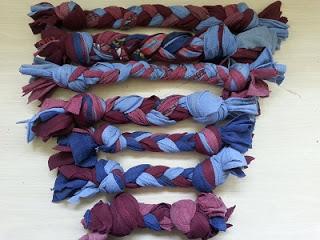
I wanted to have a few different colours in my toys, so I used four t-shirts, but ended up with 6 toys. So you probably could make this with just one old t-shirt. Perfect for chewing and tug-of-war!
Here’s what you’ll need:
• One or more old t-shirts, in different colors (if you want).
• Scissors
• Just a few minutes
NOTE: Your dog will like this toy better if you DO NOT wash the t-shirts first! Soft t-shirts work best, as they are easier to tie. But with bigger dogs and stronger teeth, you may want to use a tougher fabric, even something like denim.
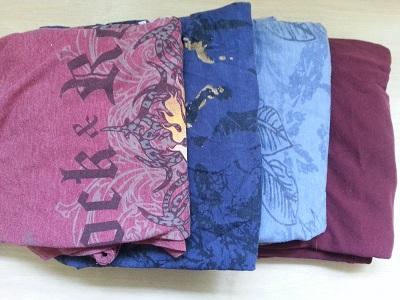
Step 1: Cut 15-30 pieces, 1-2" (2.5-5 cm) wide in 16"-30" (40-76cm) long. (Or even longer if you want!)
(Small dog - 15-20 pieces, 1" wide, Large dog - 20-30 pieces, 1"-2" wide).
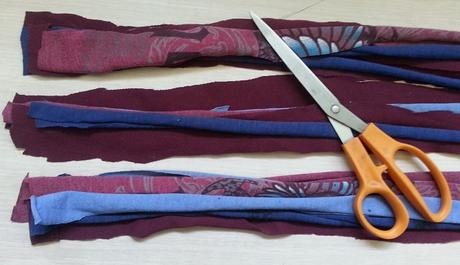
Step 2: Divide your 15-30 pieces into 3 piles of 5-10 pieces each.
For mine, since I have little dogs, with little teeth, I cut my pieces 1" wide (2.5cm), and only used 20 pieces for some, only 15 pieces for the shorter toys. I got shorter pieces from the hem to under the arm of the t-shirt (about 16"or 40cm), and longer pieces from the hem to the neckline (20" or 50cm).
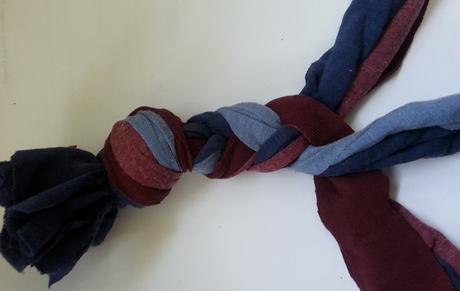
Step 3: Tie a knot in one end, making sure to pull tightly on the tassels so there’s an inch or more dangling after the knot. Separate the pieces into three sections, and make a few braids, as snugly as you can, leaving at least 5 inches for your second knot.
I found even at just 15 pieces, the knot took up more of the fabric than I expected, and was a bit fiddly to get the tassels thru. So the longer you leave the tassel portion, the easier it will be to tie the knot. I also found I got better at making tight braids as I made each toy.
If the braids are too loose, your dog will be able to tear it apart easily, but since these toys didn't cost me anything, I can easily replace them. But watch your dog, and make sure to take the toy away if it is getting destroyed - for your dog's safety.
Step 4: Make a knot on the other end. You are done!
As I said, the four XL t-shirts I had made six small toys, of varying lengths, using 15 -20 pieces per toy.
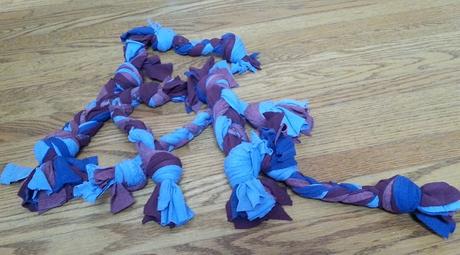
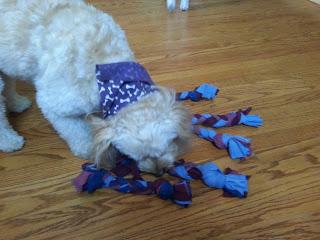
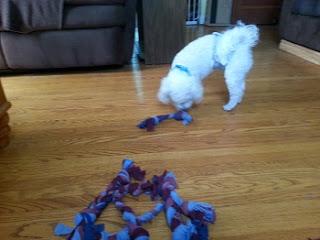
So I tossed the new toys on the floor to see if the dogs would have any interest?
Denny, Dexter and DogVacay guest, Percy immediately came over to check out the new toys.
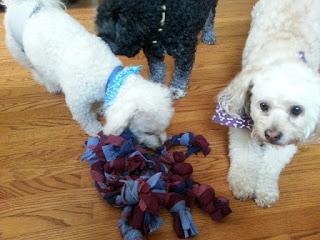
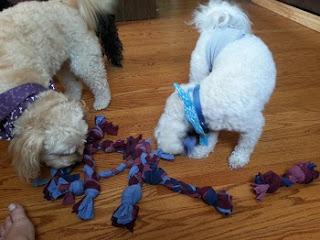
My dogs grabbed a toy each, but Percy didn't seem too interested. But then these toys didn't have his owner scent on them!
Hope you found this tutorial helpful. I’ll be making more frugal dog stuff in the coming weeks, so be sure to check back often!
