Well today is my birthday. Boo Hoo Fifty nine years old. However did that happen. No matter, happen it did and I am celebrating! Ten friends are coming over for lunch today and we are going to do it in style. I am looking forward to seeing and spending time with them.
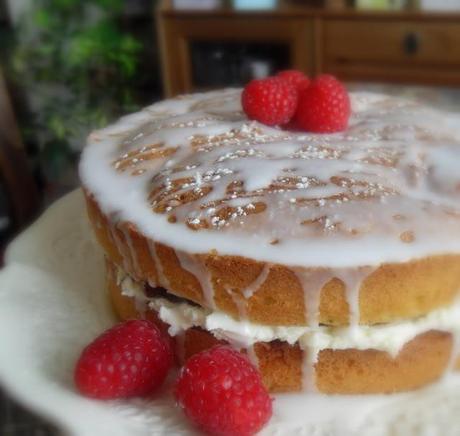
This is the cake that I always make for my Birthday. It just wouldn't be my birthday without it. I make it every year, no fail, and this year it is no different.
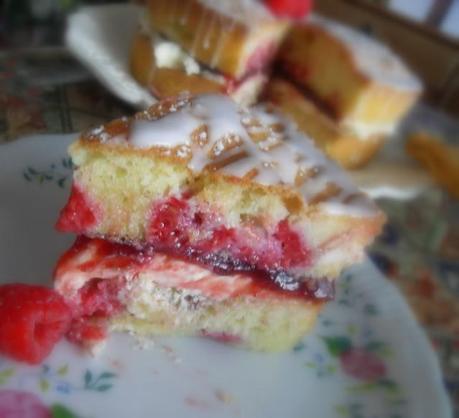
I have made it again. Two delicious sponge layers, with raspberries throughout the batter and sandwiched together with seedless raspberry jam and buttercream. A drizzle on top and some fresh raspberries to decorate, and it's done. Everyone loves it, but most importantly of all . . . I ADORE IT, and that is what a birthday cake should be all about don't you think?
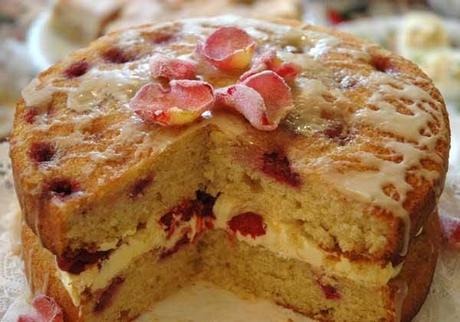
One year I decorated it with some sugared rose petals, and the result was so pretty. Simply brush fresh pesticide free and clean unbruised rose petals with some beaten egg white and dip them into fine (caster) sugar. You put them onto waxed or parchment paper to dry overnight and the next day, voila! You have some very pretty edible floral deorations!
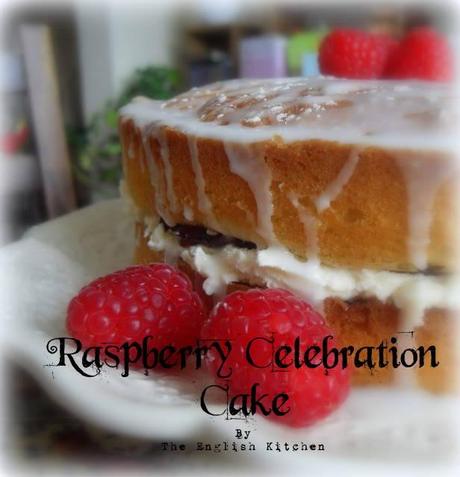
*Raspberry Celebration Cake*
Cuts into 12 scrummy slices
Printable Recipe
This is the cake I always bake for summer birthdays. A light moist sponge, filled with lovely raspberries, butter cream icing and seedless raspberry preserves. Top with a sweet glaze and serve with more raspberries.
For the Cake:
175g of caster sugar (3/4 plus 1/8 cup)
175g of butter, softened (13 TBS)
4 large free range eggs, separated
100g self raising flour (a scant 3/4 cup)
1 tsp baking powder
100g ground almonds (1 scan't cup)
a few drops of almond extract
125g of fresh raspberries (a heaped cup)
For the buttercream:
75g of butter, softened (1/4 cup approx.)
125g icing sugar, sifted (about 3/4 cup)
few drops vanilla
For the glaze:
100ml icing sugar sifted (1/3 cup approx.)
water to thin
Also about 4 heaped dessertspoons of seedless raspberry jam
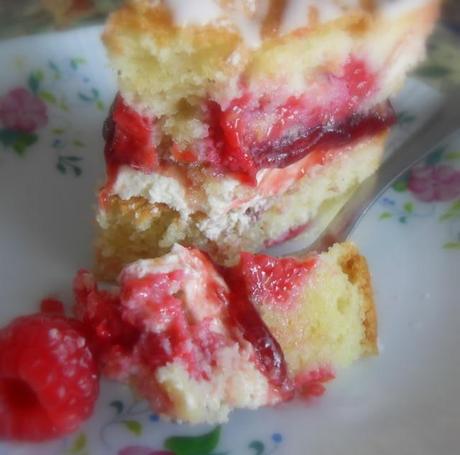
Preheat the oven to 180*C/350*F/Gas mark 4. Butter two 8 inch sandwich cake tins. Line the bottoms with parchment paper. Set aside.
Cream together the butter and sugar until pale and fluffy. Beat in the egg yolks. Sift the flour and baking powder over the creamed mixture and then fold in using a metal spoon. Fold in the ground almonds and exract. Fold only until all traces of the flour have disappeared.
Beat the egg whites until they just hold their shape. Fold them in gently, by thirds, being careful not to overmix and lose the lightness of the whites. Lightly fold in the berries. Divide between the two prepared cake tins and level off carefully.
Bake in the heated oven for 30 to 35 minutes, just until they test done. A toothpick inserted in the center should come out clean and they should spring back when lightly touched on top.
Remove from the oven. Let cool in the tins for five minutes, then tip out onto wire racks, peel off the baking paper and allow to cool completely.
Make the buttercream by beating together all the ingredients until smooth and creamy.
Place one cake, bottom side up on a cake plate. Spread completely with all the buttercream. Spread the raspberry jam over top of the buttercream and then top with the other cake layer, placing it right side up. Whisk together the icing sugar for the glaze and enough water to make a smooth drizzable mixture. Drizzle decoratively over the top of the cake. Allow to set, then dust with more icing sugar if desired.
I was thinking this morning about Birthday Parties. I can remember only having a very few when I was a child. My mother wasn't one for having a lot of mess and fuss in the house, although I did go to a lot of other people's parties. As well . . . having a Birthday in August meant that more often than not a lot of my friends were away on holidays so they wouldn't have been able to come anyways.
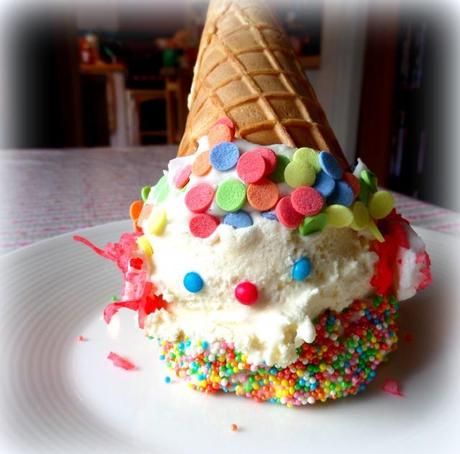
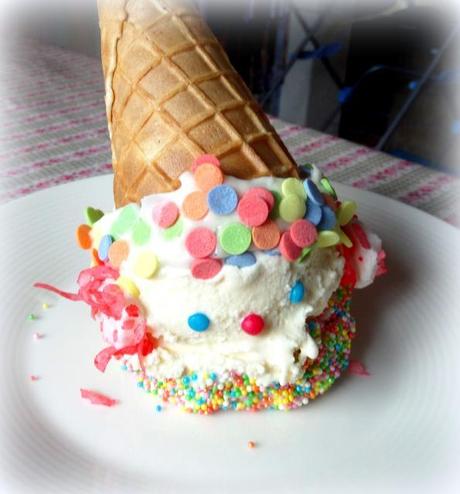
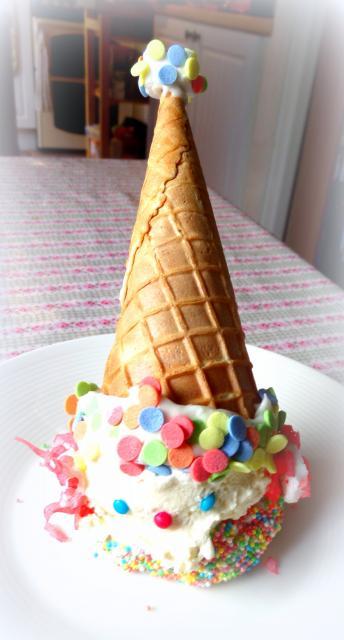
I remember one party though that my mother made these lovely little Ice Cream Clowns. Scoops of ice cream on a plate, with a face made from candy and an ice cream cone hat. I can appreciate how much trouble it was for her, and I can remember how very delighted we all were with them.
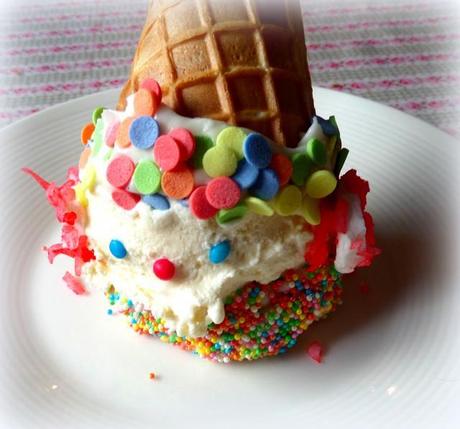
So anyways, I decided to make some for my birthday, just coz I wanted to. Well, I made one . . . for me, the day before and I ate it all myself . . . every single bit of it. (Don't judge me) I had never done this before and it was not as easy as you might think. Having made just one I have come away with a deeper appreciation of just what my mother had done for me and my friends. Thanks Mom!!
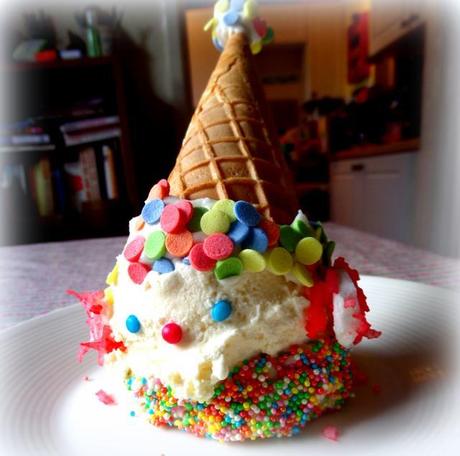
I have come up with a list of tips to make it easier for you to do the same. Here we go!
1. Make sure all of your ingredients are put together and assembled ahead of time. For instance, ice and decorate all of the cookies for the clown ruffs and have them on the serving plates, just waiting for the clown heads to be set upon them.
2. I iced the edges and tops of large round jammy dodger cookie (s), having put the sprinkles in a little bowl, which I then rolled the cookies in. I attached each cookie to each plate with a dab of icing.
3. Scoop out all of your balls of ice cream onto a large cling film lined baking tray and then place the balls in the freezer to keep them frozen.
4. I edged the cone (s) with some more buttercream icing and then rolled them, once again, in a small bowl filled with a different kind of sprinkles. Set them aside to dry and set. As well, I iced some mini marshmallows and rolled them in sprinkles to pop onto the tips of the cones as "pom poms." Nice but not necessary if you think it is too fiddly. Your kids probably won't miss them.
5. For the hair I used large marshmallows cut in half and then rolled in flaked coconut which I had shaken in a jar with a few drops of red food colouring.
6. Have all of your face decorations ready to go . . . coloured balls for the eyes, cheeks, mouth, nose, etc. Tweezers are invaluable in setting them into place on the clowns.
7. Take your ice cream balls out of the freezer and working very quickly, or on just a couple at a time (keeping the others frozen) decorate them with the bits of hair, eyes, noses, mouths, etc. and then pop them back into the freezer until you are ready to serve.
8. When you are ready to serve, have the cookie topped plates all lined up and ready to go. Take the ice cream balls out of the freezer, pop them on top of the cookies, top with the cone hats and roll them out. Bob's your uncle!
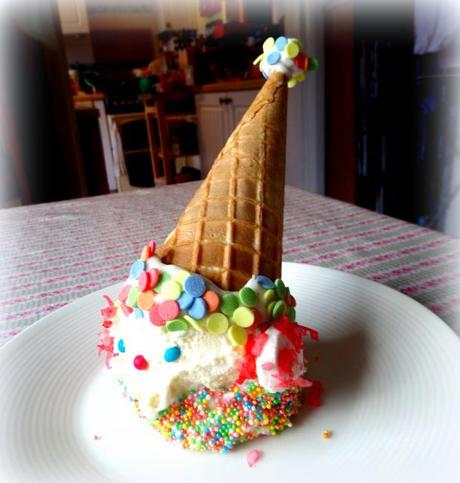
I think these are really cute and not all that hard, providing you take my tips on board! I can't think of any child that wouldn't be thrilled to have these at their birthday celebrations! I reckon they would be worth a vote for Mom or Gran of the year! ☺

