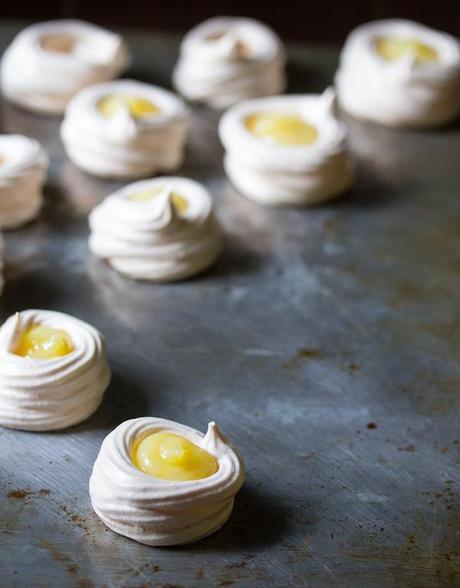
These two-bite lemon meringue pie bites are the best way to celebrate summer! Meringue nests are filled with lemon curd in this lighter and miniature version of the pie.
Sigh. August is almost over.
I’m finally coming to grips with this fact, and am finally starting to look forward to autumn. I am going back to work near the end of September, and although life is going to get CA-RAY-ZY then, I think it will be good for me to spend some time with other adults. And it will be good for Kai to be around other kids.
Things I’m looking forward to in autumn: Kai’s 1st birthday party, apples, soups, wearing leggings, butternut squash, changing leaves, warm drinks, not having to water my garden, and anything sage…so much to look forward to!
One thing has been bothering me, though, just this one thing and then I can finally move on from summer: there has been a serious lack of lemon meringue pie in my life this summer. I played around with key lime…um…LOTS, but no lemon meringue pie. It’s just not right!
Of course I couldn’t just be normal and make a lemon meringue pie…for one thing, I would probably have to consume the entire thing myself {Ben doesn’t like sweets—whaaat!? I know!!}
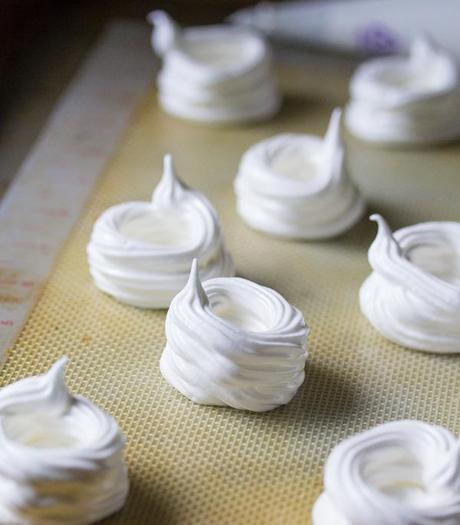
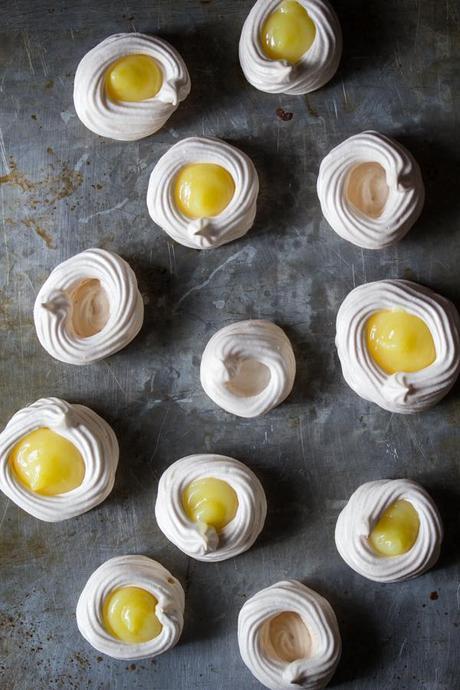
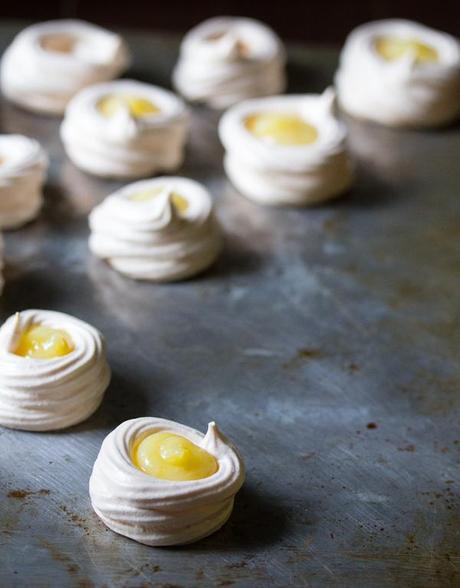
So I decided to get a little bit creative and make meringue nests, and fill them with lemon curd.
And they taste just like lemon meringue pie…without the crust, and in miniature form. Perfect!
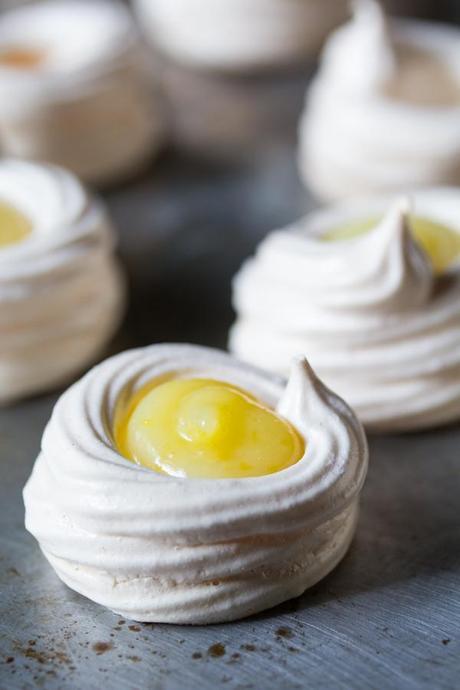
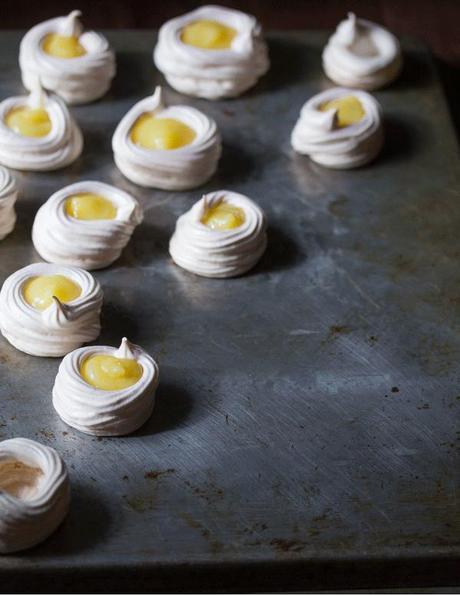
Ah! Look! I made a GIF :D A pretty basic, lame-o one, but it’s actually playing! Denise: 1, Technology: 0. Ha ha!
So here’s the deal: I preferred these in miniature, because the lemon curd: meringue ratio was perfect, and they were much easier to eat. I used a Wilton 21 tip to pipe the meringue nests. However, you can also make these larger {and prettier} using a 1M Wilton tip to pipe the meringues.
Also: the lemon curd. I couldn’t find it in the store, anywhere…in fact I’ve never seen it in the store in Canada. So I used Ina Garten’s recipe which worked beautifully {see below for my tips on this recipe}. If you can find store-bought lemon curd you are saving yourself about 40 minutes of work, although the homemade version is absolutely divine.
So this is my last summer recipe for awhile. Autumn isn’t officially until September 21, but Mother Nature doesn’t seem to know that. It is really starting to feel chilly and brisk. And I’m finally OK with that!
What are you looking forward to this autumn?
- 4 egg whites {from large eggs; at room temperature}
- ½ tsp cream of tartar
- 1 cup granulated sugar
- 2 cups of lemon curd {see below for recipe recommendation}
- Pre-heat oven to 300°F. Line two cookie sheets with parchment paper or baking mats, set aside.
- In a clean, dry stand mixer bowl, beat eggs on high until they become frothy and form soft peaks {that slowly sink back into the bowl; takes around one minute}.
- Add the cream of tartar, then begin adding the sugar by the tablespoon, while continuing to beat on high. Go slowly; this part may take 5-10 minutes of continuous beating/adding sugar. Make sure to scrape the sides of the bowl to get all sugar.
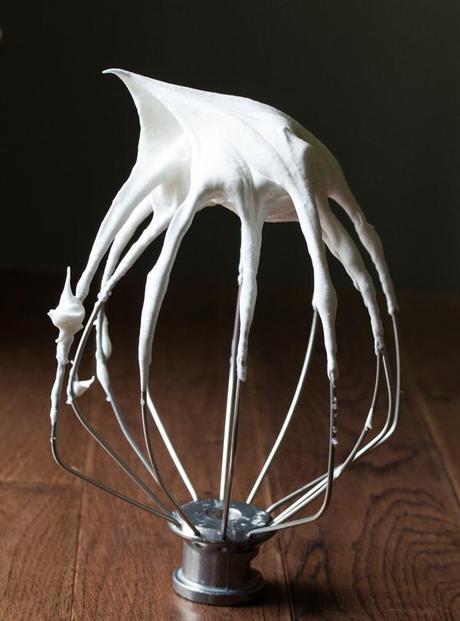
- When mixture has formed stiff peaks {see photo of stand whisk above if you are wondering what a stiff peak looks like}, fill a piping bag fitted with a Wilton number 21 tip.
- Going slowly, pipe a 3-5 cm circle on the parchment-lined baking sheets. Without lifting the tip, do the second and third layers around the outside of the circle, forming a mini nest.
- Bake for 20 minutes at 300°F, reduce the temperature to 250°F and continue baking another 15 minutes. Turn oven off, open oven door slightly, and allow to cool for one hour in the oven.
- Spoon lemon curd into the 'nest' and serve immediately.
- Nests and lemon curd can be stored separately for several days.
My advice for Ina’s Lemon Curd Recipe:
- don’t freak out when your curd looks…um…curdled. Keep heating/stirring it and it will become smooth
- Ina recommends to heat the curd over low, but mine never got to 170°F on the low setting; I eventually raised the heat to medium and finally got my curd to temperature/thickened.
