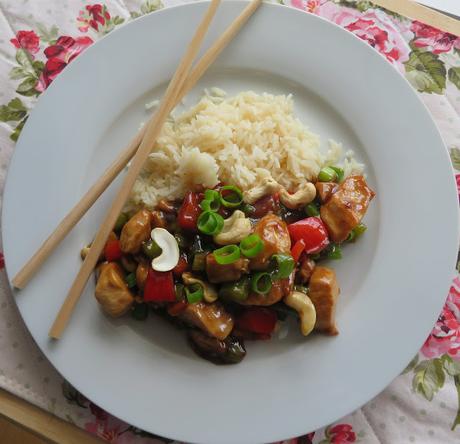
I am a huge fan of Asian flavors, or at least North Americanized ones. I have never been to the Orient actually, but what I have tasted both here and, in the UK, was always very delicious.
We have a Chinese restaurant here in town. It was always very good, but I find that since my return from the UK, it is not very good at all anymore. I am not sure if it has changed hands or what, but worst Chinese food ever. Worst.
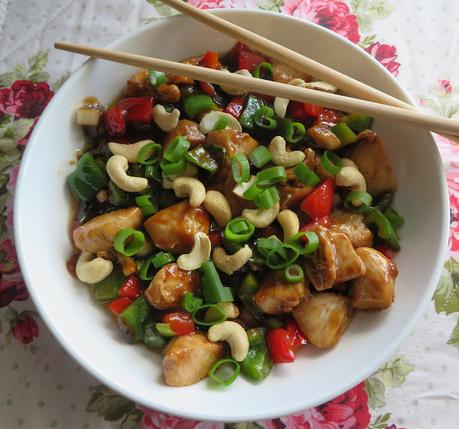
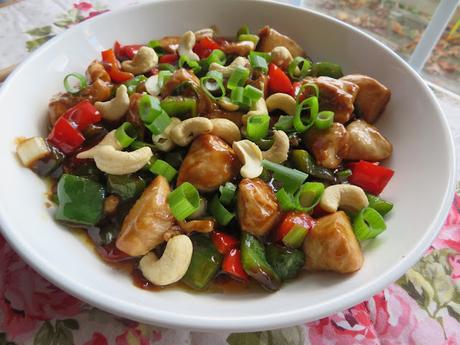
This recipe for Kung Pao Chicken I am sharing today is one which I adapted from A Bountiful Kitchen. She calls it Better Than Takeout Kung Pao Chicken.
I call it delicious. I have never had Kung Pao Chicken from a takeaway, but I recently bought Si's new cookbook, entitled, A Bountiful Kitchen, and the photograph of this dish immediately caught my eye, so I just had to try it.
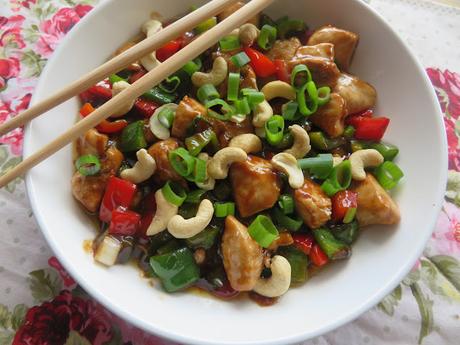
I cut all of the ingredients in half to make only two portions. If you want to make the full-sized version, you can get those measurements on her page, or in her book.
I love the book actually. Si is such a lovely person and it's really exciting that she now has this cookbook available. Do check it out. It's filled with lots of lovely recipes, sweet anecdotes, and beautiful photographs of both her home, her family and her food! I predict she will do very well with it!
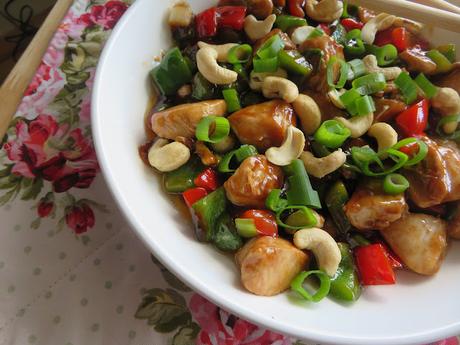
One thing I really liked about this recipe is that it didn't require a whole lot of different outlandish ingredients. Si and her husband served a mission for our church in Spain for 18 months and while there, she had to adapt many of her old favorites to ingredients which were available in Spain, much the same as I had to in the UK.
She gives loads of substitutions for things that you can use, things which most of us will have readily available in our kitchens.
Another thing I liked about the recipe was the ease of preparation and how quickly it went together. I am all for easy peasy and quick recipes these days!
WHAT YOU NEED TO MAKE KUNG PAO CHICKEN
It looks like a lot but its small amounts of a variety of things. If you are like me, you probably have an Asian flavors store cupboard filled with the things you need to make these types of dishes.
For the chicken:
- 1/2 pound (250g) boneless skinless chicken, cut into 1-inch pieces (use thighs or breasts)
- 1/2 TBS soy sauce
- 1 tsp corn starch (corn flour)
- 1 tsp rice wine vinegar (or cider)
For the sauce:
- 1 TBS soy sauce
- 1/2 TBS hoisin sauce (or 1 TBS balsamic vinegar)
- 1 TBS toasted sesame oil
- 1/2 TBS sugar
- 1 tsp corn starch (corn flour)
- 2 TBS canola oil
- 3/4 cup (150g) red bell pepper, chopped
- 3/4 cup (150g) green bell pepper, chopped (can use Zucchini instead)
- 3 spring onions (both the white and green bits), chopped
- 1/2 tsp grated fresh gingerroot (or 1/4 tsp dried)
- 1/2 tsp crushed red chilies
- 1/4 cup (40g) cashew nuts or peanuts
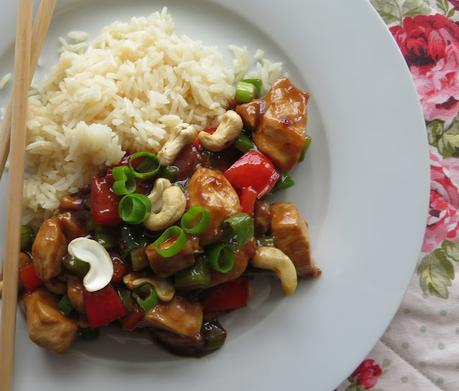
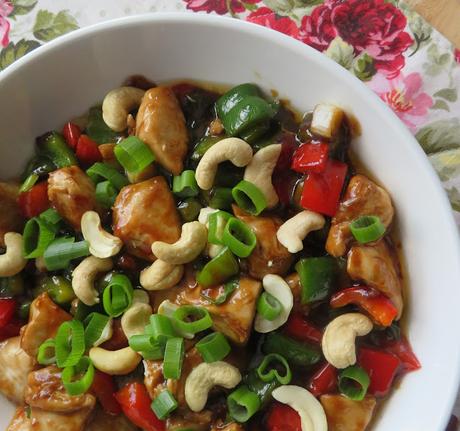
I think it is more traditional to use peanuts in this dish, but I used cashews because that is what I had. I did have peanuts, but they are old and also dry roasted. I didn't think they would be good to use. Cashews worked out well.
Si says you can use a variety of vegetables. I had both red and green peppers so used them. You can replace regular onions for the green onions, just cut them into chunks. You can even use celery. Just make sure for this version you have no more than 1 1/2 cups of vegetables.
You can also vary the heat of the dish by the amount of crushed chilies you choose to use. I use less because I don't like my food to be incredibly spicy.
HOW TO MAKE KUNG PAO CHICKEN
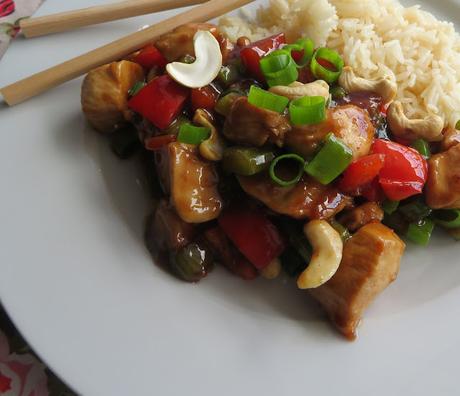
Nothing could be quicker or tastier. I gave this a 10 out of 10 and passed the recipe onto my sister as I am sure it is something they will all love! If you have all of the elements assembled ahead of time, it goes together lickety split. All you need is some rice on the side to serve with it. I am a huge fan of the pouches of already cooked rice that you just pop into the microwave. For one person or two, they are ideal!
Whisk together the soy sauce, corn starch, and rice wine vinegar for the chicken together in a bowl. Add the pieces of chicken. Toss to coat them and then set aside for at least 15 minutes. (You can chill, covered, in the refrigerator for up to 24 hours.)Prepare your vegetables and set aside.Whisk together the sauce ingredients. Set aside.
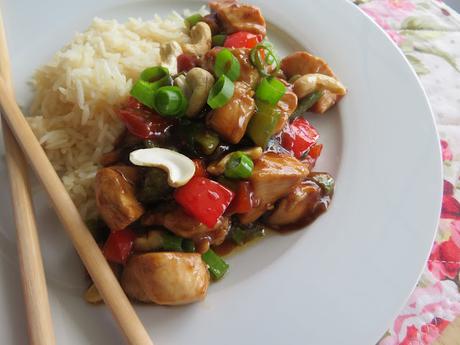
Heat 1 TBS of the oil in a medium sized non-stick skillet over high heat. Add the chicken. Stir fry to cook the chicken through, about 3 minutes. Scoop out to a plate and set aside.
Add the remaining oil to the pan and heat, again over high heat. When hot add the peppers. Cook, stirring, for two to three minutes until they are semi crisp.Turn down the heat to medium and add the onions (reserve a few to garnish) and ginger. Stir fry for a minute and then stir in the sauce, along with the crushed red chilies. Cook for a minute or so until the sauce thickens and bubbles up.Stir the chicken back into the pan and heat through. Serve immediately, garnished with the nuts and reserved spring onions.
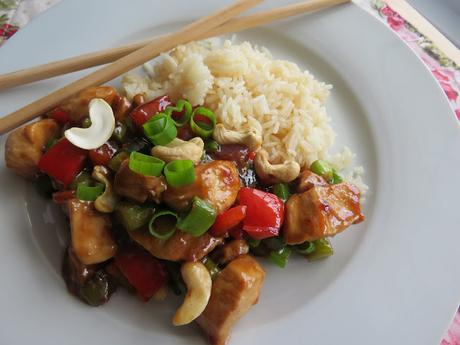
This tasted amazing. I am not sure how authentic it was, but that doesn't matter. If something is delicious that is all that counts! If you are also a fan of Asian/Oriental flavors like I am, you may also like these recipes:
SWEET AND SOUR CHICKEN BALLS - These are as delicious if not more so than any you might pick up at your favorite takeaway place. Crispy coated with a beautifully flavored sauce. I love these.
BEEF AND BROCCOLI - With plenty of tender pieces of beef and crispy tender broccoli florets, this always goes down a real treat. The sauce is just right. It is one of my favorites!
PORK FRIED RICE -This is one of those side dishes that uses up whatever vegetables and meat you have in the fridge that need using up and tastes great! I love little bit of this and little bit of that meals!
Yield: 2Author: Marie Rayner
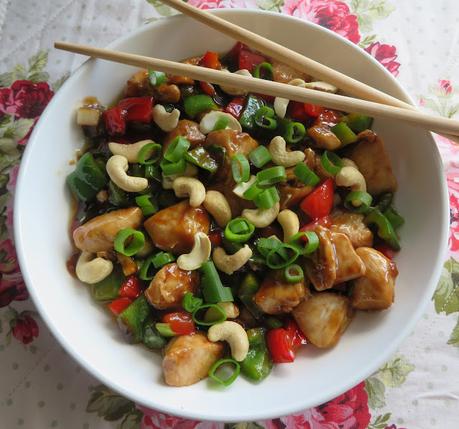
Better than Take Out Kung Pao Chicken
Prep time: 15 MinCook time: 10 MinTotal time: 25 MinThis Asian chicken dish goes together in minutes and is incredibly tasty. With tender, well flavored pieces of chicken and crispy vegetables in a delicious tangy, spicy sauce, it went down a real treat with some steamed rice.Ingredients
For the chicken:- 1/2 pound (250g) boneless skinless chicken, cut into 1-inch pieces (use thighs or breasts)
- 1/2 TBS soy sauce
- 1 tsp corn starch (corn flour)
- 1 tsp rice wine vinegar (or cider)
- 1 TBS soy sauce
- 1/2 TBS hoisin sauce (or 1 TBS balsamic vinegar)
- 1 TBS toasted sesame oil
- 1/2 TBS sugar
- 1 tsp corn starch (corn flour)
- 2 TBS canola oil
- 3/4 cup (150g) red bell pepper, chopped
- 3/4 cup (150g) green bell pepper, chopped (can use Zucchini instead)
- 3 spring onions (both the white and green bits), chopped
- 1/2 tsp grated fresh gingerroot (or 1/4 tsp dried)
- 1/2 tsp crushed red chilies
- 1/4 cup (40g) cashew nuts or peanuts
Instructions
- Whisk together the soy sauce, corn starch, and rice wine vinegar for the chicken together in a bowl. Add the pieces of chicken. Toss to coat them and then set aside for at least 15 minutes. (You can chill, covered, in the refrigerator for up to 24 hours.)
- Prepare your vegetables and set aside.
- Whisk together the sauce ingredients. Set aside.
- Heat 1 TBS of the oil in a medium sized non-stick skillet over high heat. Add the chicken. Stir fry to cook the chicken through, about 3 minutes. Scoop out to a plate and set aside.
- Add the remaining oil to the pan and heat, again over high heat. When hot add the peppers. Cook, stirring, for two to three minutes until they are semi crisp.
- Turn down the heat to medium and add the onions (reserve a few to garnish) and ginger. Stir fry for a minute and then stir in the sauce, along with the crushed red chilies. Cook for a minute or so until the sauce thickens and bubbles up.
- Stir the chicken back into the pan and heat through.
- Serve immediately, garnished with the nuts and reserved spring onions.
Did you make this recipe?
Tag @marierayner5530 on instagram and hashtag it # marierayner5530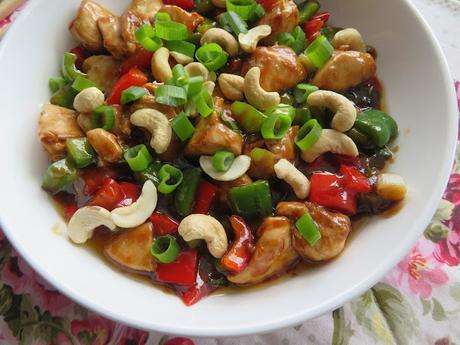
This content (written and photography) is the sole property of The English Kitchen. Any reposting or misuse is not permitted. If you are reading this elsewhere, please know that it is stolen content and you may report it to me at: [email protected]
Thanks so much for visiting! Do come again!
Follow me on Bloglovin

