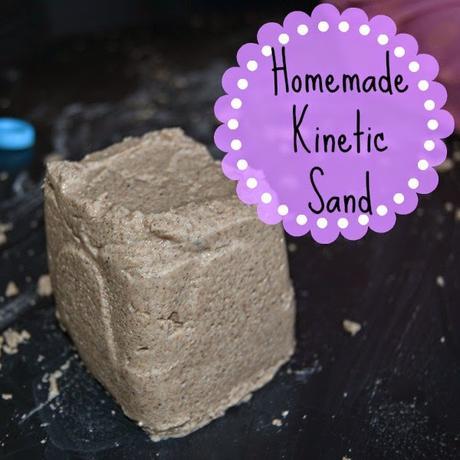
 Today we are back with the Adventures of Adam blog hop celebrating the A - Z of tuff spots. Today we are on the letter K, and today K is for....KINETIC SAND!
If you haven't heard of kinetic sand it is sand with "magical" properties. It's mouldable, but it also has it's own motion - it moves all on it's own! I have heard a lot about kinetic sand and seen videos of it, however when people mention it they always say they have bought it. It is readily available on Amazon, however it is quite expensive. Since I didn't know if Isabelle would like its texture I didn't want to spend a lot on it and decided to search for a homemade recipe. I found one here, which I tweaked to form our very own homemade kinetic sand.
To make the sand you will need:
+ 5 cups play sand
+ 2 cups corn flour
+ 1 - 2 cups water
+ 2 teaspoons of washing up liquid
Mix the play sand and the corn flour thoroughly, then combine the washing up liquid with the water. This is where it gets tricky. It is a very fine line between having mouldable kinetic sand and a soppy, gloopy mess. The best idea is to add the water in small increments, starting with half a cup to get going, and mix thoroughly. Decide if your sand is the right texture then add more as needed. My sand was totally dry when I started and I used almost 2 entire cups of water. If you make it too wet, just leave it to dry out for a little while as it does so very quickly.
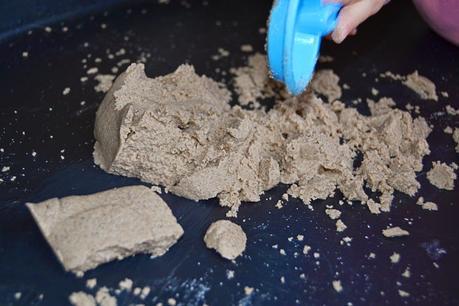
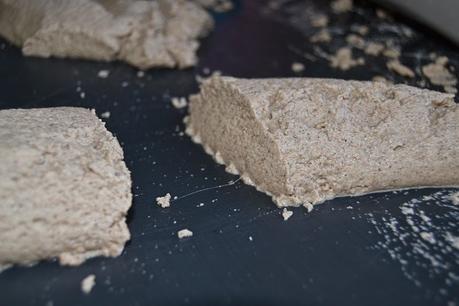
You can see the texture of the sand I made in the video below. It also shows the weird way kinetic sand works - you can mold it and cut it, but it moves and creeps all by itself. Really weird stuff...but very cool! I was so pleased with how the sand turned out. I was worried my homemade version wouldn't work at all, but I am very happy to report this is one of my proudest makes so far!
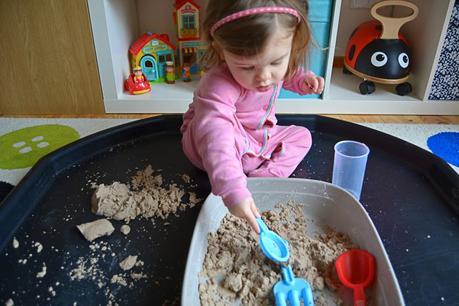
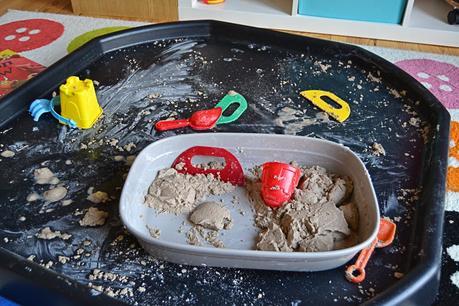
Of course, this is a super messy activity so it had to take place on our tuff spot. I mixed the kinetic sand in another tray and popped it on the tuff spot, before letting Isabelle loose. Since I wasn't sure exactly how it would move, I wasn't sure exactly what we should DO with it, so I got out our normal sand toys - bucket, scrapers, spades. Isabelle was convinced it was moon sand, but as soon as we started playing she shook her head and said "No, not my moon sand", so although they have some similar properties she could easily tell the difference.
The spades were great, as we were able to scoop the sand up and dump it down. As soon as it hit the tuff spot it started to creep and move, and it was just fascinating to watch. As the sand is still somewhat mouldable and stiff we were able to build sandcastles with it - although it took a few hard 'magic taps' to get them out of the moulds. Some of the sandcastles stood up with very little motion, and one or two spread out completely so Isabelle and I would make one each at the same time to compare the difference. We chopped the sand up using the paint scrapers, and talked about the color of each scraper as well. Isabelle also enjoyed digging at the castles I made to destroy them, however she was annoyed that they didn't crumble as easily as the moon sand castles usually do and she soon learnt to put a bit more force into destroying these castles - however, much of the time her efforts were no use as the castles smushed down themselves despite her best efforts!
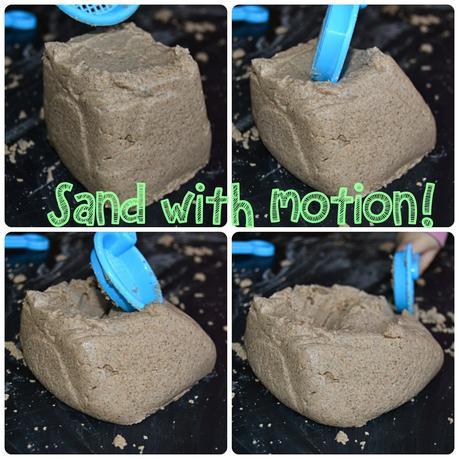
The one big difference between the homemade kinetic sand and bought sand is the mess. Apparently, bought kinetic sand is mess free as it only sticks to itself and leaves no residue. The same can NOT be said for our home made version. It is messy! That's why the tuff spot was so invaluable for this - the sand spread and left a white residue presumably from the cornflour. As it does leave a residue it needs to be used in an area where mess is no issue. It is still quite easy to pick up for tidy up, however, and the photo below shows I was able to scoop it back into the tray at the end of the activity. Isabelle isn't usually great with wet, messy textures so I assumed she wouldn't much like this. However, she was more than happy to get stuck in to play even when the sand did cling to her fingers. The sand does feel moist to the touch,and it has an unusual texture - not quite that of moon sand, but not simply wet sand either as it feels much more silky. It's so hard to capture photos which do this sand justice!
Isabelle soon tired of the sand as it wasn't her beloved sand (which she asked if we could get out afterwards). I, however, will never tire of this stuff and spent ages playing with it long after she had moved on. The way it spreads, creeps and slobs about is just so interesting to watch. I think older children would be so interested in the motion of this homemade sand. While it is not as dramatic as the bought sand I have seen in motion, it is clear to see it move to keep older children (and adults!) engaged.
I have kept the kinetic sand to dry it out and simply pop it back into Isabelle's sand pit where it will disperse amongst the rest of the sand and just get back to being normal old stuff. But now I know how easy it is to make, I know that I will be playing with homemade kinetic sand lots over the coming years.
