If you've found your way over here from the Heidi Swapp blog, welcome!
If you made it to this post before seeing Heidi's, head on over there super quick to see what's happenin'...
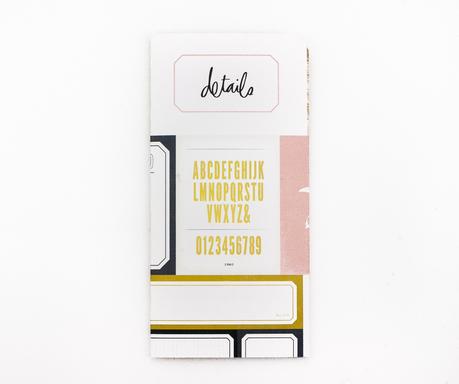
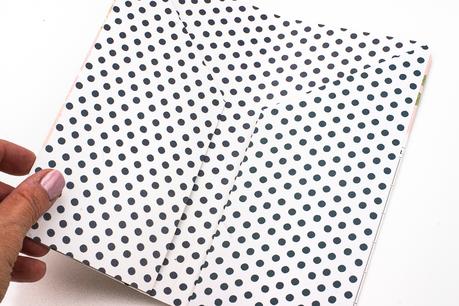
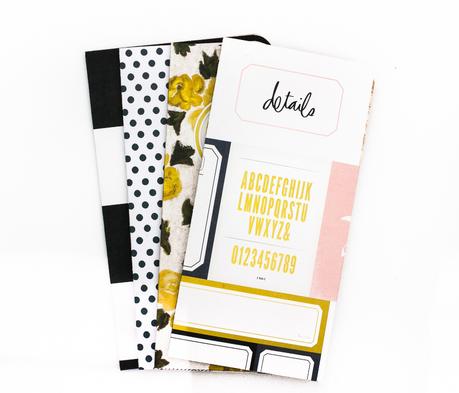 Here's the folder I gave you directions for on Heidi's site...
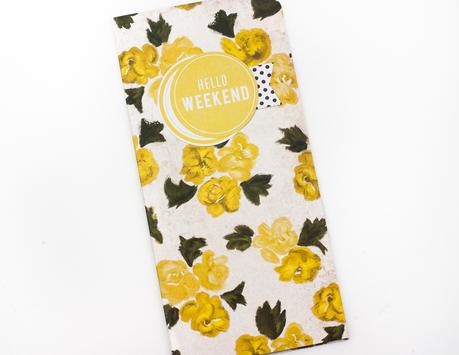
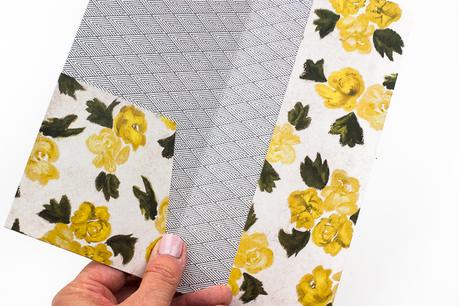
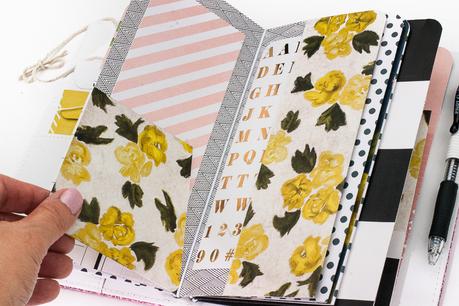
Next up are the instructions for the other two folders I showed you.
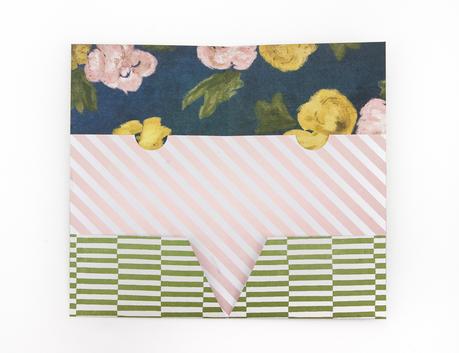
This first folder is probably the most straight-forward and easiest to make...just 2 sheets of 12x12 patterned paper (either double- or single-sided), and a couple of scraps are needed.
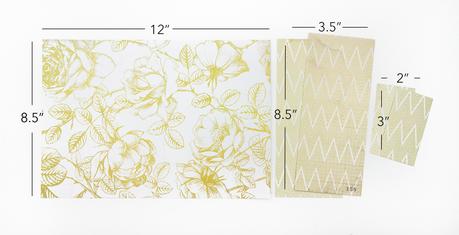
1. To begin, cut your papers to the following sizes: 12x8.5, 2 @ 3.5x8.5 & 2 @ approximately 2x3.
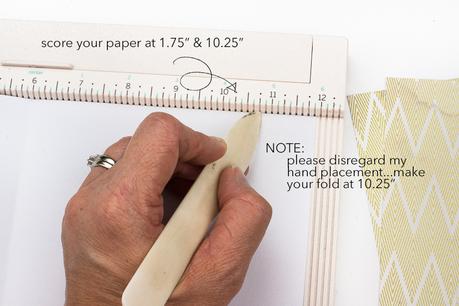
2. Turn your 8.5x12 paper over and score at the measurements shown below.
3. Then, fold this paper in half width-wise.
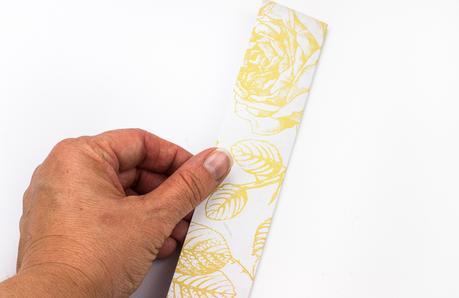
4. Fold over each flap at your score marks.
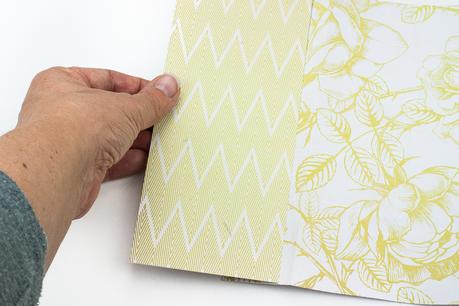
5. Turn your paper over and adhere one 3.5x8.5 piece to each flap...leaving just about .25" of paper on the outside of each score mark (or fold).
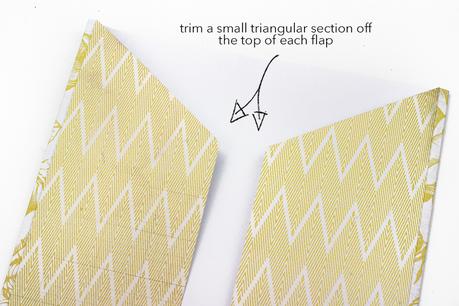
6. With your paper still turned over, and, using your craft knife, trim a small triangular section off the top of each flap, from the score (fold) mark inward toward the middle of the folded folder.
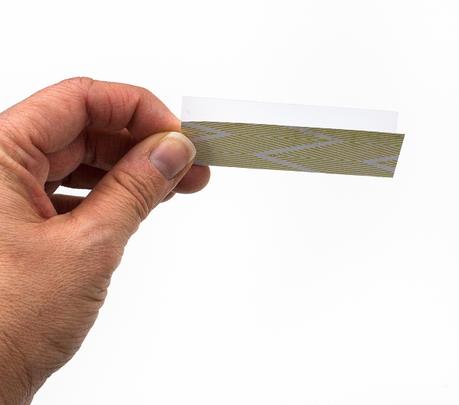
7. Fold each 2x3 scrap in half length-wise...
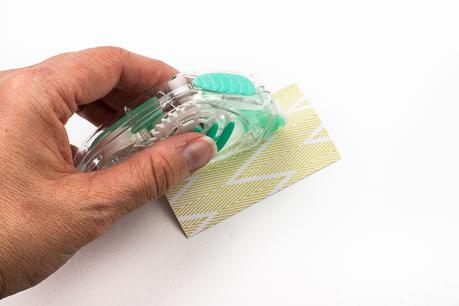
8. ...and apply adhesive to both sides of your fold.
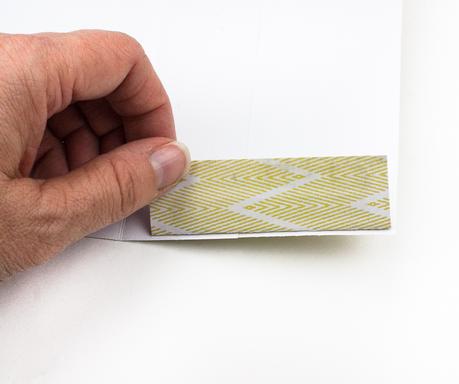
9. Open each flap on your folder and adhere your folded scrap along the bottom of each side...making sure to stay close to the outside edges of your flaps.
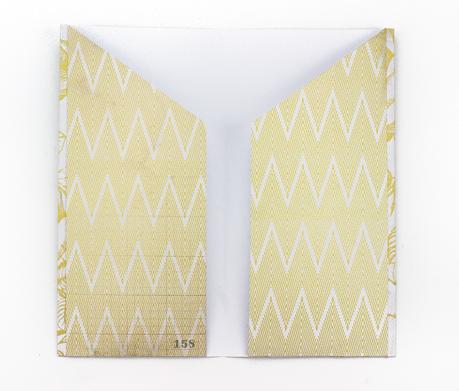
10. Fold in your flaps and press down along the bottom edges to make sure each side is securely adhered.
That's it! You're done!
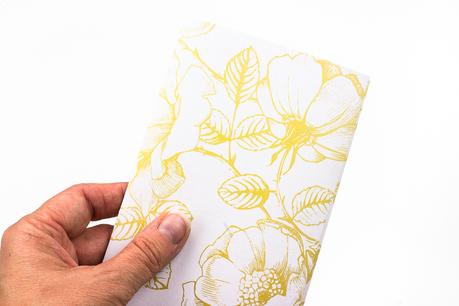
NOTE: You may choose to simply adhere the bottom edges of each flap to the back side of the folder directly. That's totally fine...adhering them to the scrap paper first just gives a little extra room inside your folder for more stuff.
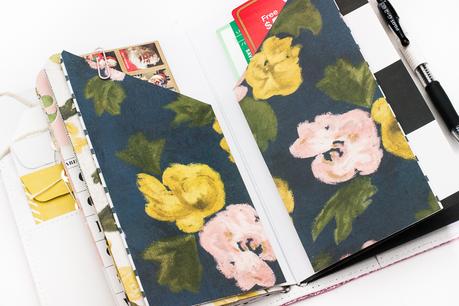
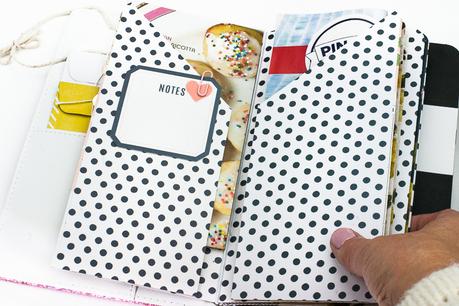
And, finally, we have the larger pocket insert...
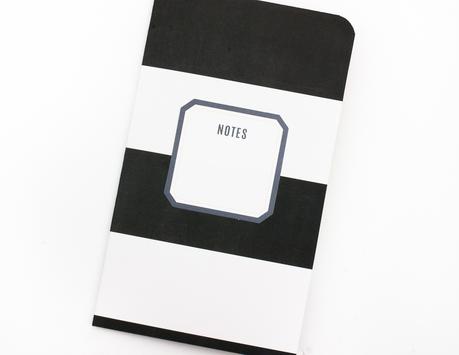
I love this design because it has both deep and shallow pockets and can be used for bigger items like passports or larger papers.
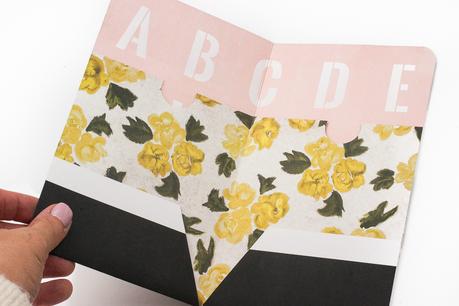
This insert calls for 2 pieces of patterned paper...cut to the following dimensions:
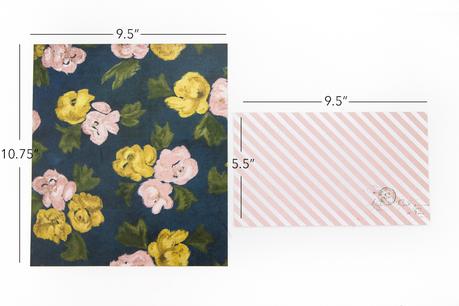
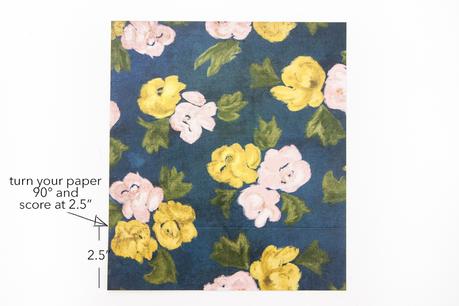
1. To begin, score your paper along the middle (at 4.75") and up from the bottom 2.5".
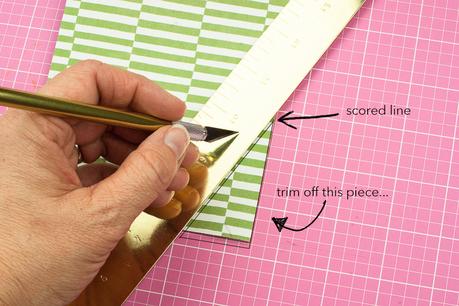
2. Fold your paper along the middle score line and trim off the corner created by the middle fold and your 2.5" score line.
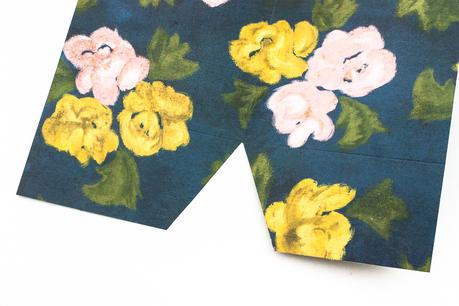
This is what your paper will look like when you open it back up...
3. Next, fold your 5.5x9.5 paper in half width-wise and, using your 1" circle punch, punch a half-circle into the middle of each side, along the top, of your paper.
NOTE: This step is totally optional...I just like the way the half-circles look punched into my pockets.
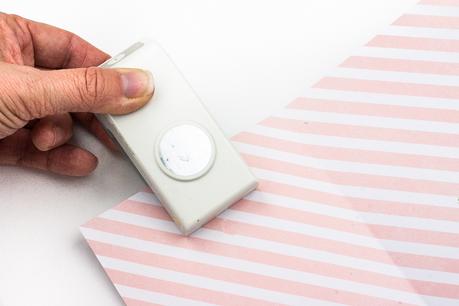
Here's what your paper will look like when you're done.
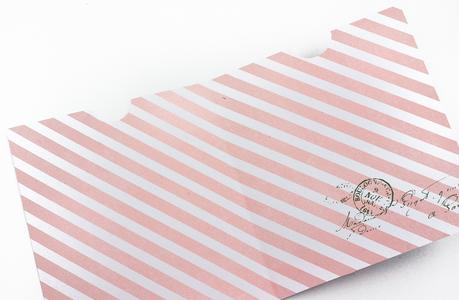
4. Place the bottom edge of your 5.5x9.5 paper along your 2.5" score line and adhere onto the inside of your 10.75x9.5 paper, along the sides and bottom only.
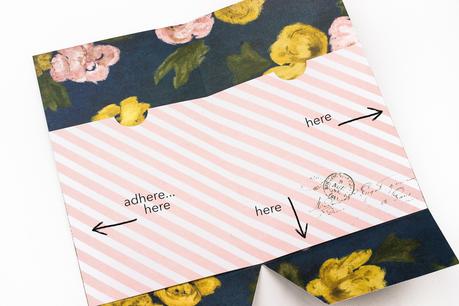
5. Fold up each bottom flap along your 2.5" score line...
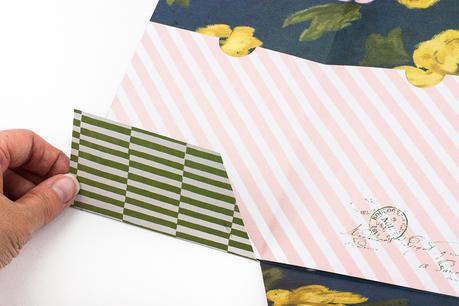
6. ...and adhere each flap along the left-hand edge to create your shallow pockets.
7. Fill with your favorite items and add to your journal!
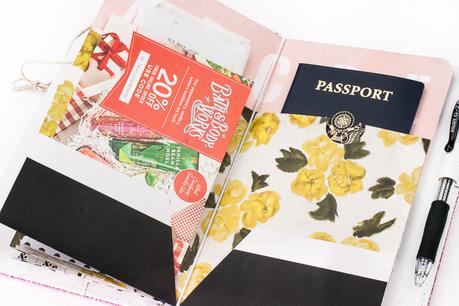
Thank you so much for stopping in to check out how I created these inserts!
I hope I've inspired you to play with some of your favorite paper today...
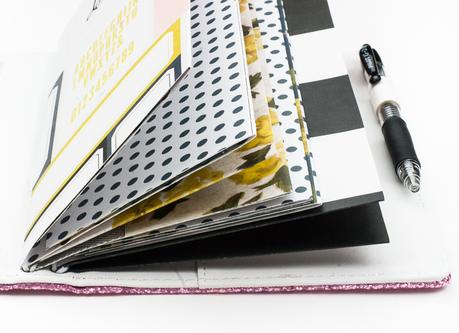
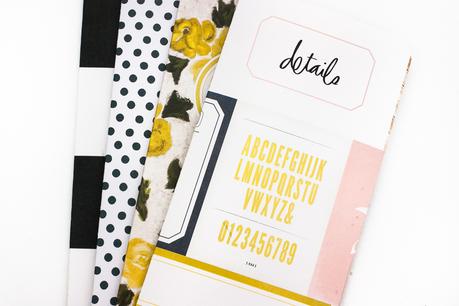
SUPPLIES | Emerson Lane Double-Sided patterned paper, Emerson Lane 12x12 paper pad, Emerson Lane Stickers, Emerson Lane Ephemera, scoring board & bone folder, craft knife, ruler, self-healing craft mat, adhesive, 1" circle punch (optional), corner rounder (optional)
