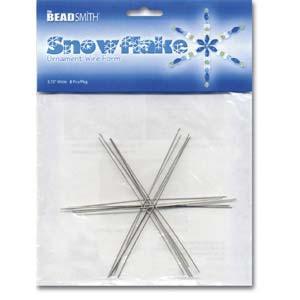
 First you need some snowflake frames, these come in two sizes and are available here. Then you need some sparkly beads (available all over but you can get some from here) The its a question of adding the beads to each arm and turning the end of the wire over in a loop, you will need pliers to do this and they are available here
Make sure when choosing beads that you have some tiny ones (seed beads) or thin tube (bugle) shaped beads to start each arm off as there is not much space at the middle of the frame. Glass beads or crystals work best as they catch the light beautifully .Finally add a loop of ribbon to hang from the tree, I have used dark green so they blend into the tree but you can use any you have hanging around.
Children love making these and its a great way to get them involved in giving your tree a really personal touch.
As time is short for me at the moment I checked out YouTube for a video to show you how to make the loops at the end of each arm of the snowflake, you can watch it here and I would recommended that you use the pliers for the first bit, the girl in this video must have very strong fingers!

