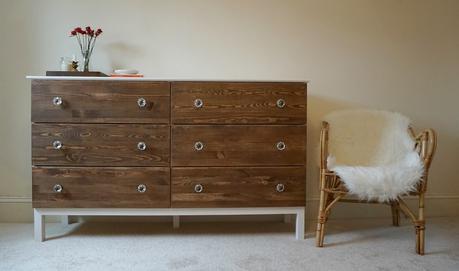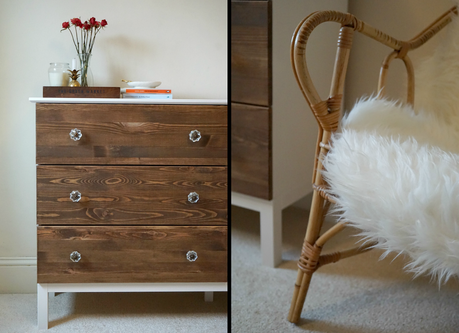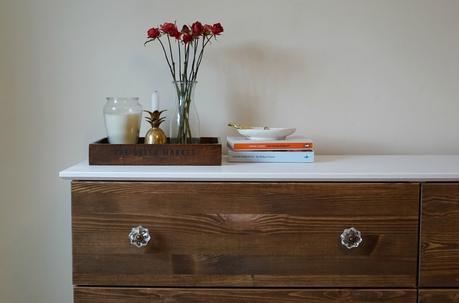
I've been really excited to share this post with you, as I am well chuffed with how it turned out!I'm not a particularly creative person, and although I have an interest in interiors, I often see hacks online but feel I wouldn't be able to execute them well. And that was the case when I begun this project; I was worried I was spending £125 on a chest of drawers that I would then alter badly and wouldn't be able to fix.
The good news? It wasn't as scary as I thought, was pretty straightforward, and the result was really pleasing. Oh, and I saved myself over £300.
So when I initially began shopping around for a new chest of drawers I had my eye on these from Made.com. At £449 I knew they were a no-no with our post-travelling budget, so started to look around for something similar but less pricey. The bad new was there was nothing quite right. So to IKEA I went.
Having bought most of our furniture cheaply from IKEA when we first started renting a good few years back and being left with a mix of styles and stains but largely poor quality, we knew this time round we wanted to do a little better. Not necessarily spend loads, but upgrade from the Malm collection (it's a rite of passage, right?) and find something with a bit more character. Which is when I started looking for IKEA hacks on Pinterest. I warn you, it's an addiction!
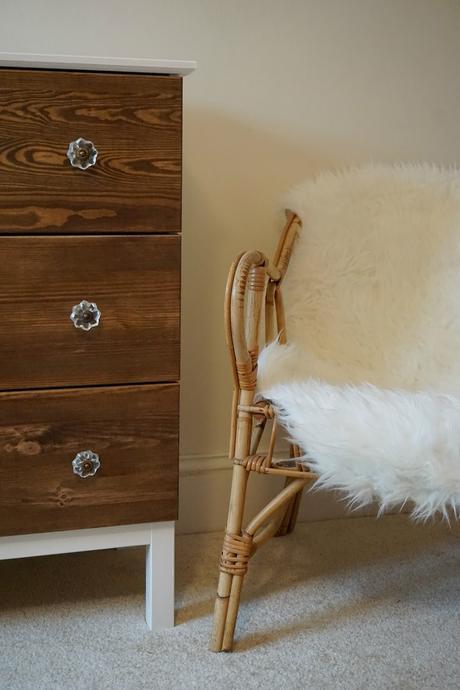
A long story short, we settled on the Tarva chest of drawers after seeing so many great projects online. At £125 it wasn't the cheapest IKEA buy, but was a significant upgrade from the cheapest. It comes in solid pine, ready for treating with stains, waxes etc. We wanted to create something with a mid-century style, and took ideas from various sources online.
CostingTarva chest - £125 (link)Rust-oleum satin furniture paint in cotton - £4.99 (link)Colron refined wood dye in American Walnut - £9.99 (link)Quick drying clear satin wood varnish - £6.99 (link)Drawer knobs - £12.99 (from HomeSense)Total cost = £159.96
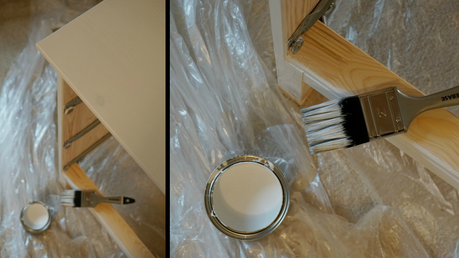
How to
1. Assemble the frame of the chest - but don't pin the back panel on, yet. There are loads of pieces in the pack, take some time to lay them all out in piles of each type. I also put all the screws and fixings into small bowls or tubs so I can clearly see which is which. Take your time working out which piece you should be using, which direction it should face, and which fixing you should use as you go. It took me a couple of hours to construct the frame, but I was determined not to make any mistakes - and I didn't! Success.
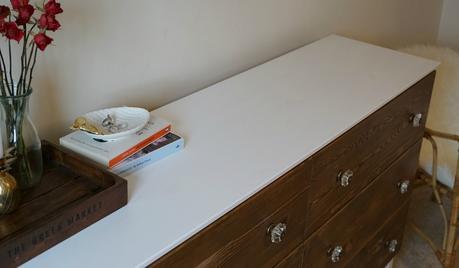
2. Once the frame is assembled, stand it on a piece of plastic sheeting and get painting. I painted the top and sides white. Be sure to wipe it down with a damp cloth before you start and leave to dry off. I did three coats of white paint, leaving about an hour in between each so it dried fully. You'll need to make sure you paint the central pole as you can see this slightly between the drawers. Also the fronts/edges of the side panels as you can see these too. Once these are all done, and totally dry (I left it overnight) flip the chest on to its top and paint the legs. Remember to paint the middle one! The paint I chose was specifically for wooden furniture, so worked well with the grain of the wood - paint with the grain in long sweeping strokes. I finished with a couple of coats of satin varnish to seal and protect. If you find you have any build up of paint around the edges, use a fine sandpaper to gently buff it away.
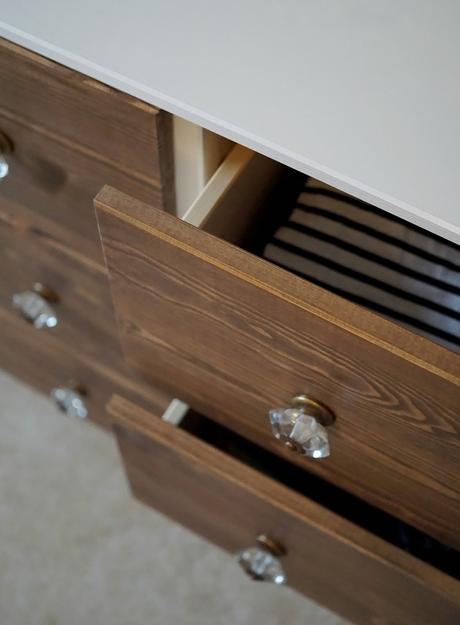
3. Time to stain the drawer fronts. I only stained the fronts of the drawers (the largest piece) as you don't see the sides once it's fully assembled. I did this before assembling the drawers for ease, and just did the front of the piece of wood - this saved my sanity and buying another bottle of stain. To apply, use a lint-free cloth and work quickly. Pour the stain on to the cloth, and rub in to the wood again going with the grain. If you make a mistake, just rub away with another cloth to help distribute the stain further. Do the sides, too. Leave to dry for about an hour between coats - I did three coats to get the depth of color I wanted. Then finish with a couple of coats of the clear varnish.
4. Assemble the drawers and pin the back panel on the frame. Add the knobs/hardware to the drawers using packet instructions; mine were super easy and took about ten minutes in all. Easy! Put the chest in to place and slide in the drawers, et voila!
This took me the best part of a weekend, but if you're a quick worker this could be done in a day.
I am so pleased with how it turned out, and keep finding myself sneaking into our bedroom just to catch another glimpse of my handiwork. As I said, I'm not a particularly creative person - at least I didn't think I was! The drawers feel solid, hold loads of clothes and look really unique. A complete success.
What do you think?Have you done any IKEA hacks?
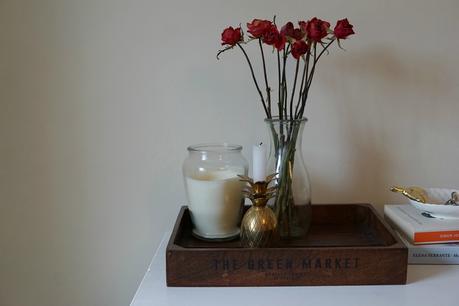
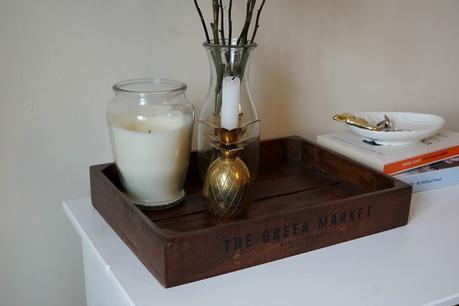
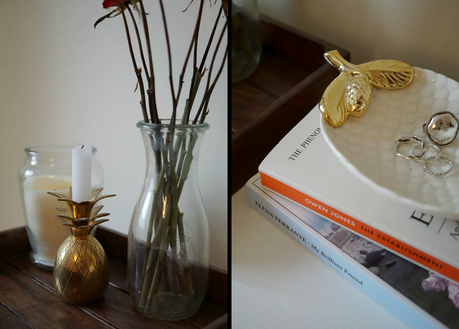
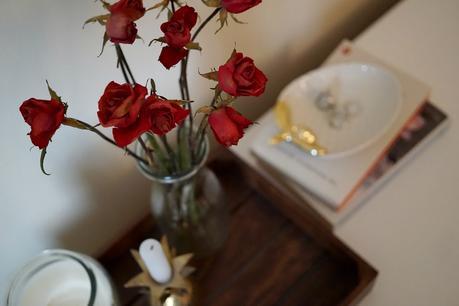
StylingWooden tray - H&M homeFlower vase - HomeSensePineapple candlestick - AntiqueJewellery dish - PackhouseRattan chair - Second HandFur throw - IKEA
