Who wouldn’t want that super power? It is a necessary one in my house, because I tend to procrastinate. Speed cooking helps me prepare delicious, healthy food at bargain basement prices and fast food speed.
How do I accomplish this feat, speed cooking, when I am a mere mortal? My handy, dandy pressure cooker. I *LOVE* my 8 quart stainless steel non-stick pressure cooker. It was a bit pricy when I bought it several years ago, but Amazon carries several for very reasonable prices. (Here’s an affiliate link to an 8-qt stainless cooker and another one for an 8-qt aluminum cooker.) I know I’ve mentioned it before, when I showed you how I used it to make my Cafe Rio inspired beef (see that post here), but the truth is, that post doesn’t show you the full potential of a pressure cooker. Using a pressure cooker will cut your cooking time to about 5-30% of the time it takes to stew the same dish. So, instead of cooking beans for 8-12 hours, you cook them for 25 minutes max!
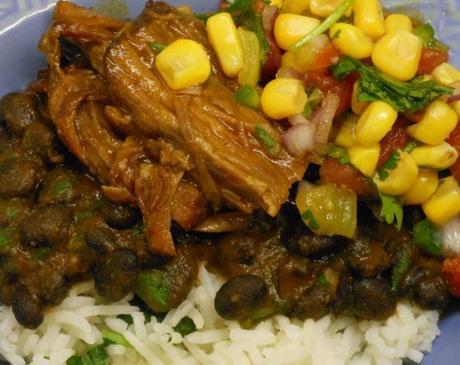
Cafe Rio Beef cooked in a pressure cooker, served with cilantro lime rice, Cafe Rio Black Beans, and tomato-corn salsa!
My most *FAVORITE* way to use my pressure cooker is cooking beans, especially black beans. It is super fast! If I didn’t soak my black (turtle) beans over night, I simply pressure cook them for 20-25 minutes after rinsing the beans. If I am on the ball and soaked the beans, they’re ready in a mere 4-6 minutes! And the great thing is, you can use your pressure cooker to make any kind of bean at super speed! I use this chart for cooking times as they vary depending on the kind of bean you use and whether or not you soaked the beans before cooking.
Want to possess this super power yourself? Take a look at my photo step-by-step, and you, too, can be a pressure cooking super hero!
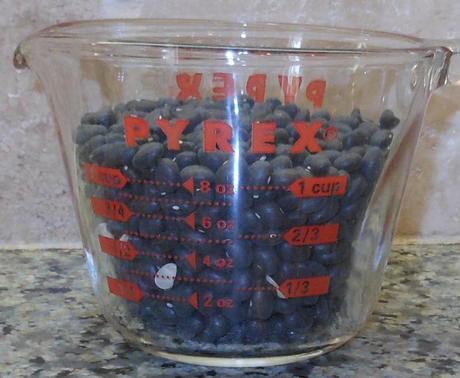
I measured out just over one cup of black (turtle) beans, which is about 1/2 pound of dry beans.
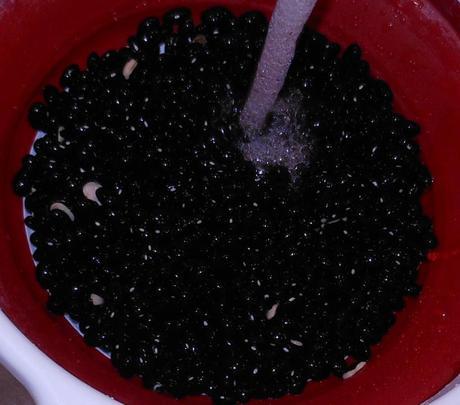
I rinsed the beans well and made sure there were no rocks, sticks, or other debris in the beans. While I don’t find things often, I have on occasion found a small rock, which is not something I want to bite into!
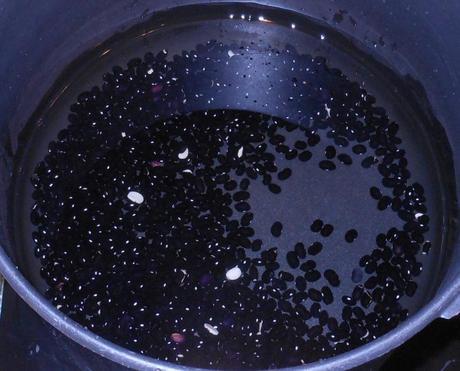
I put the beans in my pressure cooker and covered them with water. I used almost 5 cups of water, since I had a little over 1 cup of beans. Generally, you use 4 cups of water for each cup of dry beans.
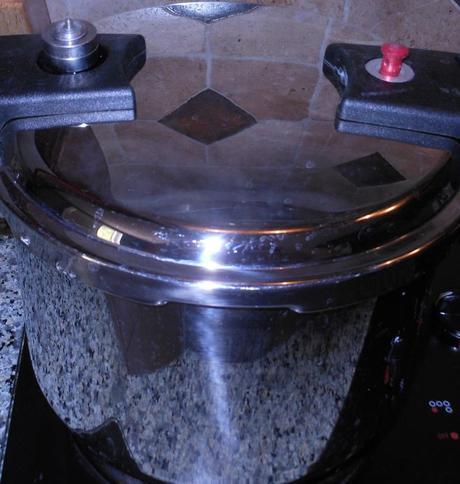
I put the lid on my pressure cooker, making sure it was locked in place, and turned the heat on high. Once the cooker was pressurized (see the red “button” popped up on the right), I turned the heat to medium-low to maintain the pressure inside the cooker.
* * * Your pressure cooker may have different instructions or safety features. Please make sure you read and follow the instructions that came with your pressure cooker. * * *
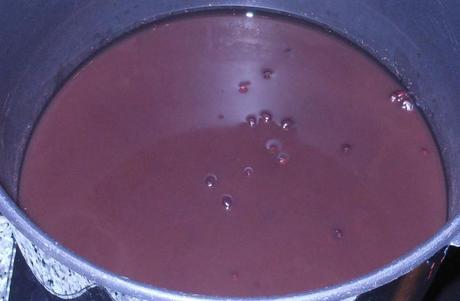
After 25 minutes, I turned the heat off and let the cooker depressurize on its own. There is a safety release valve, which I’ve used before, but I wasn’t in a hurry today, so I let it depressurize on its own. Then I removed the lid. Here are the cooked black beans in the cooking liquid.
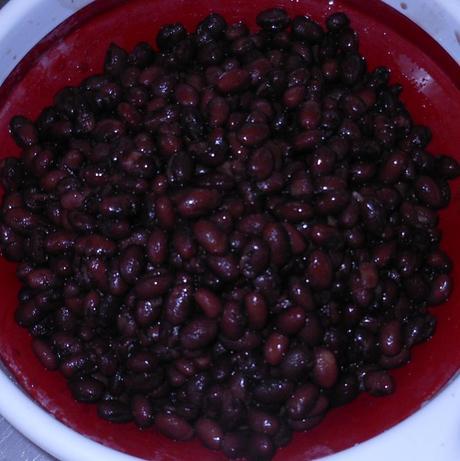
I drained the beans, and now they’re ready to be used in any recipe I desire. Or I can eat them as is. They have no seasoning, so I will need to add a little salt, but they are ready to go!
One of my favorite things to do is make a big batch of beans and then freeze the excess in one cup portions, above what I plan to use that day. Then I can pull them out when I need them and have perfectly cooked beans ready to use in all sorts of recipes!
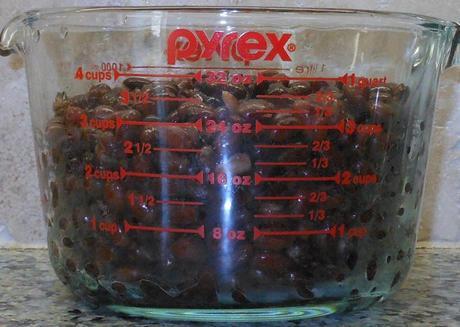
Remember, I started with just over 1 cup of dry beans, and I ended up with just under 4 cups of cooked beans.
Here in southern California, it’s about $1 for a 15 ounce can of beans, which contains 2 cups. I bought my beans in bulk (25 pounds for $15). One cup of dry beans is about 1/2 pound, so they cost me about 30 cents, and I ended up with the equivalent of 2 cans of beans. So I saved about $1.70, plus or minus a few cents when you consider the cost of water and gas (for my stove). Plus, I can control exactly what is in my beans, including the amount of salt.
So, there you have it! You can be a super hero, too, and save money to boot!
Have you ever used a pressure cooker? If so, what’s your favorite thing to cook in your pressure cooker?
If you haven’t, does this make you want to try one?
* * * This post contains affiliate links. For more information about them, please visit my About page. * * *
