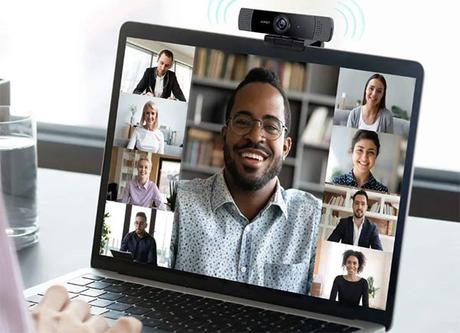
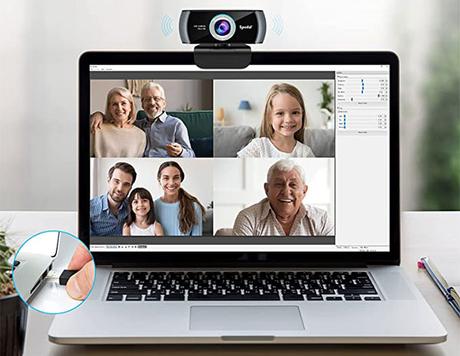
This is one of the most commonly asked questions related to laptops, how to use an external webcam on a laptop? After that, you need to connect your webcam cable to the USB port of your laptop. Actually, many laptops’ in-built cameras are not good as external webcams in terms of clarity and this is why we need an external webcam.
Firstly you need to make sure that your webcam is suitable for your laptop. The reason is that many webcams are not built for laptops. Secondly, need to check your laptop’s USB port and also other ports to connect external devices.
After that, you need to connect your webcam cable to the USB port of your laptop. A webcam is a very helpful device when it comes to online meetings or video conferencing with clients on Zoom, Skype, or Google Hangouts.
Once you have connected the cable and installed a webcam on your laptop, now you can use it for your online meetings or video conferencing. Ideally, a preview of what you’re viewing will show in a new window.
If not, then you need to open the Control Panel’s “Devices and Printers” section on your Windows laptop where you can see a secondary/external webcam, just right-click on it. Now to set the external webcam as the default, you need to click on “Set as Default Device”.
If you do not follow the above steps then the external webcam will not work on your laptop. Also, you need to check whether the external webcam-related drivers are installed on your laptop or not. If not, then you need to install that first.
So, without any further delay, let’s get started.
How To Use External Webcam On Laptop?
1. How To Connect An External Webcam To A Laptop Wirelessly?

If your laptop’s have limited USB ports to connect your webcam then there are some webcams available which has in-built Wi-Fi connection feature. So, to configure your external webcam wirelessly, you need to follow these steps.
Step 1: Connect Your Webcam And Router With Ethernet Cable
In this case, you’ll need to use an Ethernet cable to set up a direct connection between your webcam and router. This thing will help you to configure your webcam, but remember keep the cable plugged in even if your webcam configuration is done. So, don’t remove the cable till I am not telling you to do that.
Now, you need to click on the “Imaging Devices” link which you can see in the Device Manager list. Once Imaging Devices is open, need to click on “Disable” for the internal camera and then click on Restart. That’s it, start using the external camera.
Step 2: Configure Your Webcam With Wi-Fi
To use the webcam with WiFi you need to configure your webcam with your home/office WiFi network. So now, you need to do is connect your webcam with your WiFi network using its SSID. Once it’s connected webcam app will open and it will be turned on.
If your webcam is not starting then you should check once again on the “Imaging Devices” page whether you have selected the “Disable” option or not, to disable the internal webcam.
Step 3: Disconnect The Ethernet Cable
Finally, now you can unplug the Ethernet cable from the webcam and router so that webcam can directly connect to the Wi-Fi network.
2. How To Connect An External Webcam To A Laptop Through USB?

If you want to connect a USB webcam then simply you need to follow the below steps to make it run:
Step 1: First thing first, you will need to connect the webcam’s USB cable to your laptop’s USB port.
Step 2: Once you connect the webcam on your laptop, you have to wait until its setup page opens. Then follow the process which it shows you, this is a plug and play kind of setup. In most cases, there is no need for any kind of CD to install its drivers and all.
But in case the installation process of your webcam doesn’t install the drivers then you’ll need its drivers CD, which comes with your webcam. If you don’t have a CD or missing somewhere to install the essential drivers for your webcam then don’t worry you can download it from their official website.
Step 3: If the process properly starts then you need to click on the Install button then choose your preferences and settings for your external webcam.
Step 4: After the installation is complete, you need to choose the new webcam option from the camera devices list. Also, if it has “Preview” or “Test” webcam options in the settings menu then click on that to check out whether the camera properly works or not.
Final Word
Almost all the laptops come with an integrated webcam which you can use to do video conferencing, video recording, live streaming, etc. Most of the in-built webcams do not offer high resolution or clear video quality like an external webcam.
Also, if you want some advanced features which include higher video resolution, auto tracking, and panning then go with the external webcam.
Adding an external or second webcam on your laptop along with an in-built webcam is easy, but getting the external webcam to work properly with video capture apps is quite difficult. So, to work the external webcam properly with video capture applications you need to disable the laptop’s in-built webcam.
Here is why you need to go through this article so you’ll get a proper idea of how to use the external webcam on your laptop. Well, still if you have any questions, ask me without any hesitation.
