How often does it happen that the display space on a Mac isn’t sufficient? The answer is “usually” for those who use all the features of Mac or those who want to max out of its features for entertainment. No matter what category you fall into, Apple Thunderbolt Display is the answer to your prayers.
Acting as an external monitor, it’s the best option to increase the viewing space on your Mac. You can now explore the features of Apple Thunderbolt display for your presentations, to watch movies and much more. For those of you who don’t know, we’ve compiled a guide on how to use the Apple Thunderbolt Display.
Apple Thunderbolt Display External Monitor Device
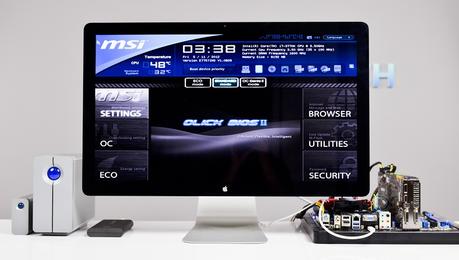
Introduced by Apple Inc. in the year 2011, the Apple Thunderbolt Display external video output device is a monstrous 27-inch flat panel computer monitor that is attachable to your Mac PC’s.

It came in initially as a newer, better version of Apple LED Cinema Display, defining itself apart from previous extendable monitors by the Thunderbolt connection that far overpowers the Mini Display Ports and USB ports used at the time and allowing much better and faster PC to Display data transfer.
The Thunderbolt port allows you to connect up to 6 devices at once through a single port with its super-fast10 Gbps throughput in both directions, making it 20 times as fast as the USB 2.0 and about 12 times faster than Firewire 800. But this, of course, its successor the Thunderbolt 2, gives double of the same features.
How to Use Apple Thunderbolt Display with PC
The Thunderbolt Display resolution is a cool high definition 2560×1440 pixels in a panoramic 16:9 aspect ratio; the aluminum and glass display device looks like the iMac and Macbook Pro aesthetically.
It also includes a 720p FaceTime HD camera, a microphone and stereo sound system with subwoofer (2.1 channels) for video chatting and other applications that need audio and video recording. The Thunderbolt port also allows you to daisy-chain the displays to create the imitation of a super large screen.
Sadly, the Apple Thunderbolt Display is not compatible with Macs from before its release in 2011 and as such can’t be used with them due to the Thunderbolt’s massive data requirements.
Using Apple Thunderbolt Display
Using the Mac Thunderbolt Display is fairly easy, but before you go ahead and start trying to connect the external Apple computer monitor, you first have to make sure that the Mac you’re trying to install it with is compatible. Here’s a list of Mac PCs that have Thunderbolt and Thunderbolt 2 ports:
- MacBook Pro (Retina, 13-inch, Late 2012) and later
- MacBook Pro (Retina, 15-inch, Mid 2012) and later
- MacBook Pro (13-inch, Early 2011) and later
- MacBook Pro (15-inch, Early 2011) and later
- MacBook Air (11-inch, Mid 2011) and later
- MacBook Air (13-inch, Mid 2011) and later
- Mac mini (Mid 2011) and later
- iMac (Mid 2011) and later
- Mac Pro (Late 2013)
- MacBook Air (13-inch, Early 2015)
- iMac (Retina 5K, 27-inch, Late 2014)
- Mac mini (Late 2014)
- MacBook Pro (Retina, 13-inch, Late 2013) and later
- MacBook Pro (Retina, 15-inch, Late 2013) and later
- Mac Pro (Late 2013)
If you own one of these, then you can go ahead and attach the display to the PC using Thunderbolt to Thunderbolt cable provided with the Apple Thunderbolt Display’s box.

Connecting Your Thunderbolt Display to Your Mac
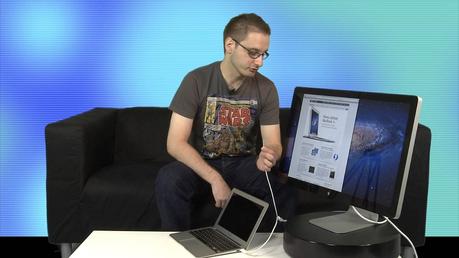
Connecting your Thunderbolt Display to your Mac is as easy as plug and play. Simply plug in the Thunderbolt Display into a wall socket for power and attach the Thunderbolt cable to the PC to connect it.
In order for the Mac to detect the Thunderbolt PC, the requirement is that the Thunderbolt must be connected to the PC when it is off. On booting, the Mac should detect and switch it on automatically. You may have to go through a small calibration process to do this:
- Connect the Thunderbolt display to the Mac.
- Power up the Mac and allow it to boot the OS X operating system.
- Open the System Preferences from the Apple menu and go to the “Display’s” preference name.
- Choose the Color Tab.
- Click on the “Calibrate” button.
- Check the box beside Expert mode. This will unlock more options, but may make the process of calibration more complicated. From my experience, it’s the better option, but not compulsory.
- Follow the on-screen instructions and adjust according to how you want the display to look. Take your time with this if you want to get it perfect, but for now, just do an approximate and continue to use the display.
- When you’re done, name the display profile and save it to be used later.
- Click Done to exit the program.
- Enjoy your extended Apple Thunderbolt Display.
Connecting Multiple Displays to the Mac

The Thunderbolt Device has two ways to connect to other Thunderbolt-enabled devices, the attached/in-built thunderbolt connector and a port to connect the Thunderbolt pin as well. If you are looking for dual monitor setup, here is How To Setup Dual Monitors.
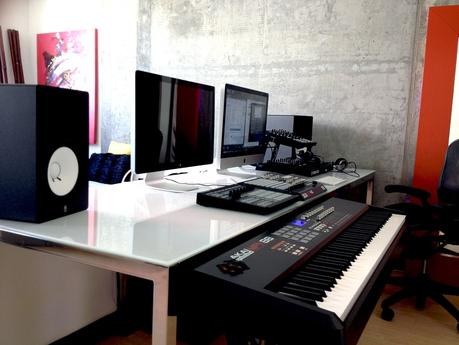
Using this, you can easily attach multiple Thunderbolt displays in a daisy chain network to create a wide display system for various purposes, including creating a panoramic view of your desktop and having multiple people see the same display on individual Thunderbolt Display devices.
The Apple Thunderbolt external display device is one of the most advanced pieces of technology, and it’s rumored that newer versions will have 4k displays and be integrated with Thunderbolt 2 Ports, more than doubling overall performance and providing the most real and lifelike experiences for users.
Don’t know How To Reset MacBook Pro? Don’t worry, we got you covered.
Despite the amazing performance of Apple Thunderbolt Display, plenty of people write it off as an unnecessary luxury, but if you’re interested in quality video and an enhanced Mac book experience, there really is no substitute for it. With great sound, camera, HD display and super-fast connectivity and networking, what more do you really want?
Over the years, my passion for Apple products has evolved into something I would only describe as love. I’ve enjoyed writing about it and hope that you found it helpful. Leave questions and comments in the comments section below and I’ll get back to you for more. Till then, have fun with your Thunderbolt!

