Hey guys, today I have something quite important for you! So Microsoft has dropped its latest version of the Windows Operating System on July 29th.
And unless you’ve been living under a rock the past few months, you’d know that this time Redmond has decided to make the update free for all Windows owners who are running a version of the OS that is 7 and above.
Now I can hear you say, “But is it worth it? What if it is bad as Vista or Windows 8?”
What’s New in Windows 10
Well to quell all your doubts about this update I’d like to point out a few major changes that make Windows 10 totally worth the upgrade!
- Cortana: Making an appearance for the first time is the digital assistant Cortana. You can ask Cortana questions, and have her organize your life and provide you with contextual updates.
- Dirextx12: Rumored to produce almost 4x times the performance of its predecessor Directx11, the latest iteration of the graphical platform provides an experience no gamers would like to miss out on!
- Start menu: The start menu is back and it has evolved into a beautiful mesh of old and new with the windows 7 style programs living side by side with live tiles of Windows 10 apps.
- Edge Browser: Internet Explorer is gone!! Need I say more? Edge is fast fluid and for those of you with a touchscreen, it’s the best browser as it has been built keeping touch interfaces in mind.
- Multiple Desktops: Yes Microsoft has finally listened and after years of complaining, we finally have multiple desktop environments on Windows.
Windows 10 Versions
Having seen this, you must be raring to get your hands on Windows 10! Well, Microsoft has made it pretty easy to upgrade from a previous version of Windows (all versions of 7,8 and 8,1 are eligible).
There are primarily two versions of Windows 10, Windows Home and Windows 10 Pro that is aimed for the home and average consumer while the other versions are garnered towards special sectors such as business, mobile, education and IoT (Internet of Things).
So which version of Windows 10 will you be having? That depends on what version of Windows you’ll be updating from!
Those of you who currently run Windows 7 Starter, Windows 7 Home Basic or Windows 7 Home Premium will be upgraded to Windows 10 Home. Those of you running Windows 7 Professional or Windows 7 Ultimate will be upgraded to Windows 10 Pro.
And for the rest of you running Windows 8.1 (the standard edition) will receive Windows 10 Home. And those of you running Windows 8.1 Pro or Windows 8.1 Pro for Students will receive Windows 10 Pro.
How to Upgrade
Now we get to the important part! How do we upgrade our system? First off, for all windows 7 users, you need to be on service pack 1 and have automatic updates turned on!
To check we open the control panel and click on System and Security. Then we turn automatic updates on.
Disclaimer: This method will work only on registered copies of the Windows operating system.
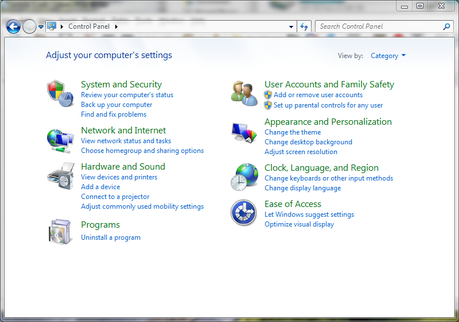
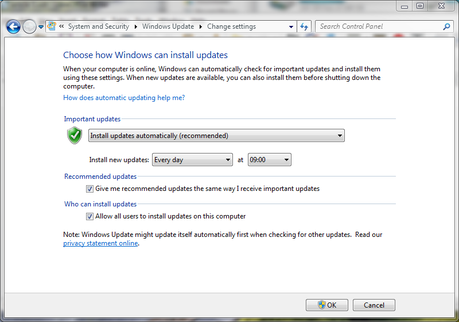
With that done, we should get a host of updates. After those are done, we’ll be greeted by this tiny windows icon in the lower right corner of our screen.
Click on it!
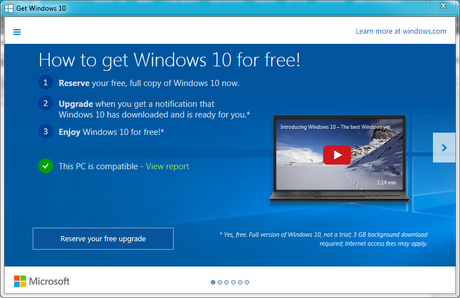
After a few moments the reserve your free upgrade screen appears. Just click on it and you’re done! Microsoft will download and install the new OS as soon as possible. Be aware though, the download is quite large at around 3GB.
Once the installer has finished downloading, you can accept the license terms. Windows 10 will then begin scanning your PC for compatibility and also download any additional updates
Manual Update to Windows 10
Step 1 Download the Windows 10 ISO image from Microsoft’s web site. You could also download the web installer from there and choose to upgrade your PC, which would be the easiest option. Most of you would like to go for the 64-bit option because of obvious reasons, but Microsoft provides users with both 32 bit and 64-bit options.
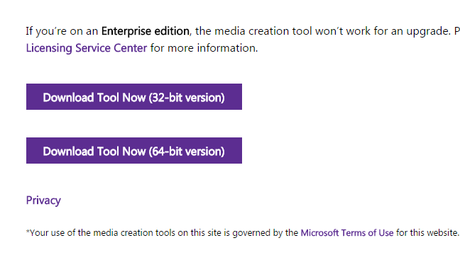
Step 2: Once the download is done, if you are installing on a regular PC, which has a pre-installed copy of Windows, you’ll be prompted immediately to start the upgrade process. Alternatively, you can burn it to an optical disk or create a bootable USB flash drive.
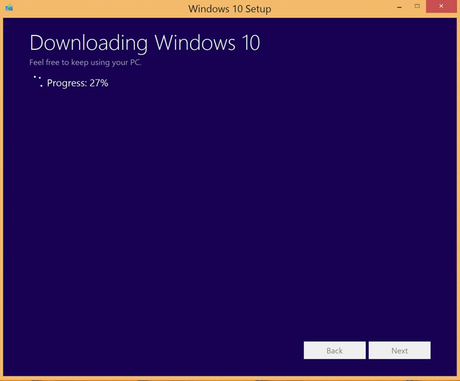
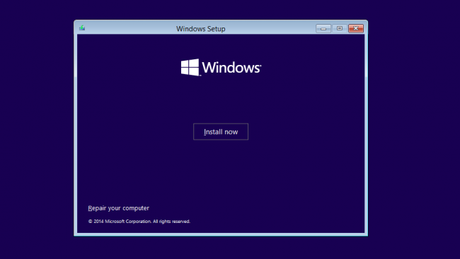
Step 3: With this done, you’ll be prompted to install Windows 10. Go ahead and do this and once your PC has automatically rebooted, begin the Windows 10 installation.
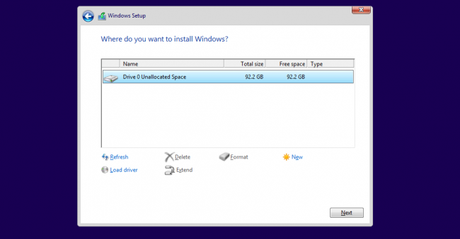
Step 4: From here on, you’ll have to read on-screen instructions and check the appropriate settings. At this point in the setup process, you’ll need to pick where to install Windows 10. You might have to delete or create a partition, however, if you are using a virtual machine, you could just click Next.
Step 5: With this done, just sit back relax and let the installer do it a job!
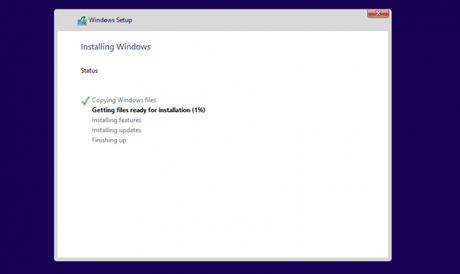
Step 6: Once the PC reboots again, you’ll have to choose settings like the status of Windows Updates or shared password of WiFi networks among your friends. You can also set up your Microsoft account for One Drive integration.
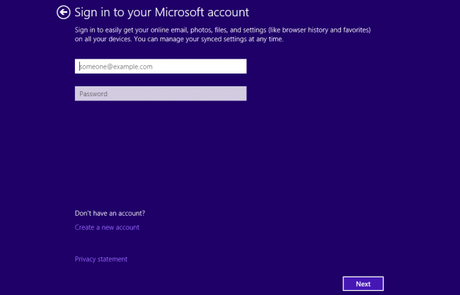
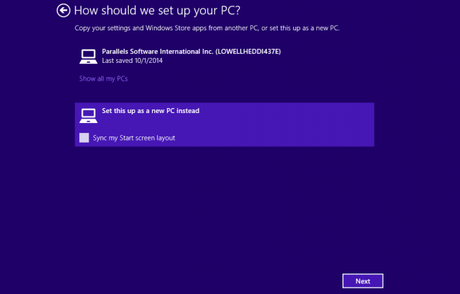
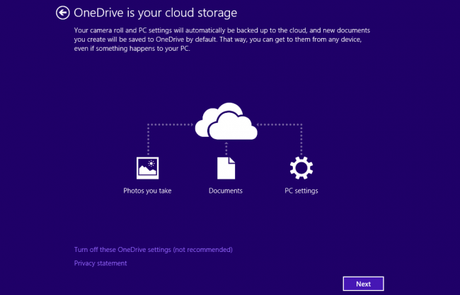
Once done, your Windows 10 installation is complete!
Congratulations! If you have any more questions on this feel free to drop a line below. Would you like to see a top 10 new features in Windows 10 article? Then leave a comment and leave us a like or a plus one and share this post!

