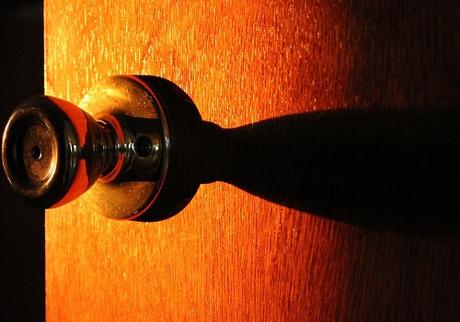
There is an object in every room of your house that is used, maybe, more than any other object. Eventually, this object can get used so often that it comes out of alignment. It’s loose, doesn’t work properly all the time, and you may never even notice until it’s too obvious. Chances are you’re not thinking about a loose doorknob or door handle but that’s exactly what it is–your door’s handle.
This doorknob is the most used object in your house. You use it to leave, enter, get the mail, go to the bathroom, head to bed, and much more. After repeated use, day after day, the handle gets becomes loose. Do you reach for the phone book and give a call to a residential or commercial locksmith or do you hit the internet and fix it yourself? Well, obviously since you’re here we know what your choice is, do it yourself. That’s a great choice by the way.

Tighten a Doorknob or Handle
There could be any number of reasons as to why your knob or handle is loose, now’s not the time for diagnostics, we just want to learn how to fix it. Let’s take a look at the steps.
Step 1: Door Knob or Handle Style
Identifying the style and design of your doorknob or handle is an important first step to fixing the problem. Typically, standard door knobs or handles come in two different styles–screws visible or screws hidden.
In order to keep a door nice and tight to the handle, it uses screws. Some manufacturers of doorknobs leave the screws visible for easy install and removal. Other manufacturers go for a more aesthetic look and hide the screws. Due to this manufacturing difference, removing the handle is a little more complicated in handles where the screws are hidden.
So, the first step is to look at your door handle and check for visible screws. Once you have your answer, you are free to move on to Step 2.
Step 2a: Remove the Handle with Visible Screws
Common in a lot of older doorknobs or less expensive modern handles, exposed screws are easier to work on than those with hidden screws. Locate the set screw on your door. This is usually located near the side of the door. This set screw allows the handle to stay in place when rotated to open the door.
Using a screwdriver, or Allen key if required, simply remove the handle to display the shaft. Look at the shaft to see if it’s threaded or not. If threaded, twist on the handle on the shaft until its neatly up against the door. Give yourself a little room to spin properly and tighten the set screw. If unthreaded, pop the knob onto the shaft and snug to the door. From there tighten the set screw back into place.
That’s it, you’re done, the handle has been removed and placed back on your door nice and snug. Now you know how to tighten a loose doorknob anytime you want.
Step 2: Remove the Handle with Hidden Screws
While a little more complicated, it’s nothing to worry about–you have a beautiful handle. These doorknobs have a faceplate that is pleasing to the eye but also hides the hardware.
To expose the screws, look at your doorknob for an access hole. This access hole is very similar to the set screw in those doorknobs with visible screws. This access hole is called a detent and is basically a pin, that is spring activated, that sticks out to prevent the handle from rotating when opening.
Once you’ve found the detent, use a paper clip or flathead screwdriver to push the pin back through the hole. Once depressed, you can pull the handle from the shaft.
Step 3: Remove the Base
Our journey with the doorknob with hidden screws continues. Now that the doorknob has been removed we can remove the decorative base plate.
This base plate hides a backing plate with the screws holding the unit together. A flathead screwdriver can be used to carefully pry the base plate ring from the door. Be careful with this process as years of use could have dug the plate into the door itself and if you try too hard, you risk damage to the backing plate or the door itself.
Step 4: Find and Tighten the Screws
Now that the doorknob and decorative base plate have been removed, we should finally have access to the backing plate attached with screws. These screws attach the interior backing plate to the exterior backing plate creating a complete unit.
To tighten these screws, hold the exterior backing plate in place with your hand while tightening the interior screws. Usually, the tool necessary for this job will be a Phillips head screwdriver. It’s important to remember not to tighten too hard as you don’t want to dig into the door and/or damage the backing plate. This should be done manually and not through the use of an electric screwdriver.
Step 5: Reassemble Doorknob Unit
Once the backing plate is securely screwed into place, you are free to complete the final step of the process. Now we just have to work backward. Place the decorative base plate onto the backing plate until it pops into place. Now you can place the door handle back onto the shaft. With the doorknob in place, turn the unit so that the detent pushes itself back out through the hole locking the unit in place.
Fixing a loose doorknob or handle is a pretty simple process. Following these steps will provide you an effortless path to solving your problem. If you do consistently run into this problem even after fixing, it might be a good idea to call a residential or commercial locksmith to check out your situation. They will properly assess if there are any outlying issues that need to be corrected in a professional and efficient way.
