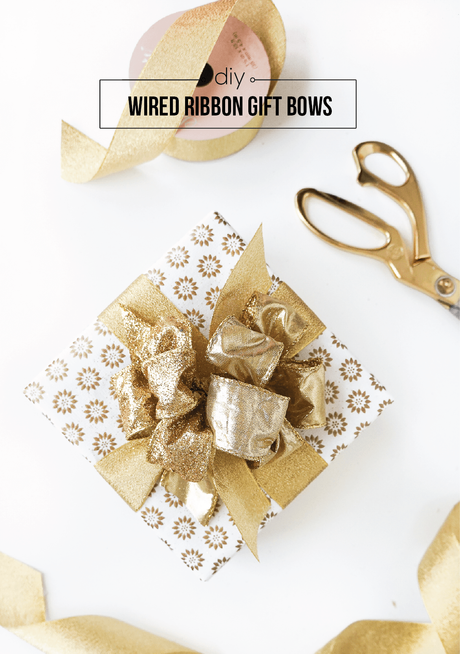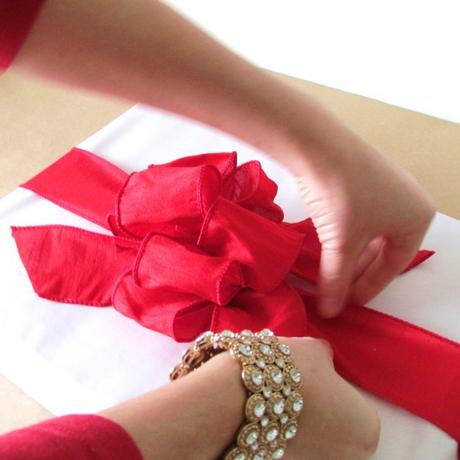
In case you guys are wrapping up gifts this week, I wanted to share this fancy, but deceptively easy bow trick I picked up as a 16-year-old while working at a candy shop making gift baskets around the Holidays. (My second job ever!) I still remember the day I learned this. It was such an a-ha! moment, and I thought to myself 'OHHHH so that's how they do it! Weird thoughts for a teenager? Probably. What can I say though except: different strokes.
While step-by-step photos do get the point across, I think it's always easier to see a video of someone actually making it happen. So here's a little hyperlapse video of how to create the bow. I'm hoping to start creating more quick and easy videos like these, so if you like the video, please hop over to YouTube and subscribe to My Channel.
Materials:
1. Cut a long piece of ribbon and place the midpoint on the top of your gift. The length of this piece will greatly depend on the size of your gift. Wrap the ribbon around the gift and hook the two ends around one another until they quarter turn and extend opposite directions (essentially creating a "+") across the bottom of the gift.
2. Continue by wrapping the ribbon back up around the other two sides, and secure with a knot on the top center of the gift. (Sometimes I hold off actually cutting the ribbon until I get to this point, so as not to be short on ribbon or cut too much to begin with.)
3. Then cut another long piece of ribbon. (The piece shown in the video is about 60″ long.) And fold it up accordion style in roughly 6″ increments. Make your bow larger, if you wish, by using a longer length of ribbon with bigger accordion folds.
4. Place the folded ribbon on top of the ribbon knot, created in step 2, and secure in place by tying the tails around the folded ribbon.
5. Pouf up the ribbon folds and splay them left and right to form the shape of a bow.
6. Last but not least, trim all ribbon ends with a 45 degree angle.

Like this video? Share the love!
