 I've had a bunch of people asking the same question lately: "What do you use to edit your photos on the blog and instagram?"
98% of my photos are edited with my iPhone. Even the ones I may take with my regular camera are edited with apps on my phone. This hasn't always been the case, but once I got an iPhone 5s I rarely have the need to use a different camera. The best thing about using your phone for photos is that you usually have your phone on you. This has allowed me to take plenty of pictures or videos of Rilynn that I probably would have missed if I didn't have the ability to use my iPhone for this.
Over the past few months I have discovered my favorite apps and now I use the same handful every day. Anything that I need to do on my computer, I do through iPhoto and Pixelmator. Pixelmator is the Mac version of Photoshop, but is a fraction of the cost. I have been able to do anything I previously did on Photoshop and I think it is a much better investment than paying yearly for an upgraded version of PicMonkey. PicMonkey is wonderful if you can get away with the features offered in the free version, but I could never justify paying yearly for the site when they don't offer a lot of other features I need. I have been very happy with Pixelmator and highly suggest it for any of you who have Macs!
As far as phone apps, the must haves for professional looking photos are Afterlight, Whitagram, and Rhonna Designs. I'm not sure which are still free, but they are worth every penny if you have to purchase one. Afterlight is what I use to edit and crop all of my photos, Whitagram allows me to break outside the typical "square" instagram photos and Rhonna Designs let's me add stamps, words and other fun extras to pictures. Here are a couple of my favorite photos I have created with these apps:


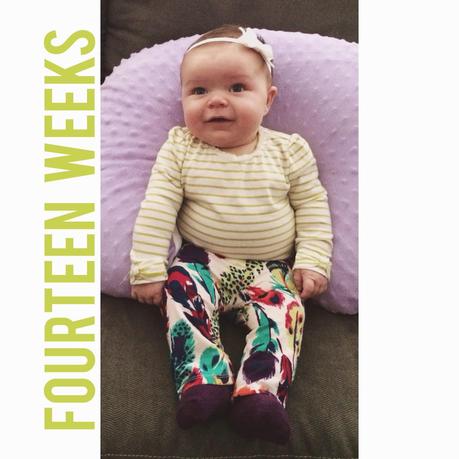
The top two are more recent photos, using Afterlight and Whitagram when I posted them on instagram. The bottom one is a little older and used Rhonna Designs. So let me show you a side by side comparison of the difference these apps make on your photos.
Here is a photo I snapped of some items we love to keep in Rilynn's diaper bag. I placed them on a wood table in our living room where there was decent natural lighting.
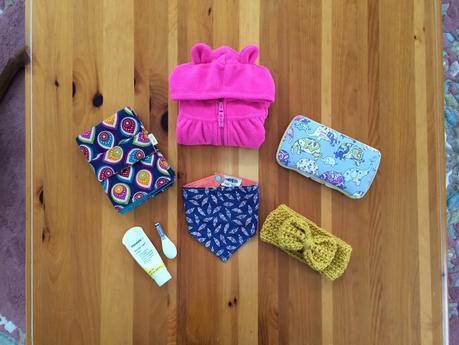

changing pad // bandana bib // wipes case // headband
The picture above is edited with Afterlight. I cropped the photo using the 6:4 Ratio and applied the "Goldfinch" filter, which can be found under the "Original" category. I liked that this filter made all of the bright colors pop and you can't tell from looking at the second one that Marcy would not move her leg out of the photo.
Now here is a really good example of how I get my clean, bright photos that I typically post a lot of on my instagram feed:
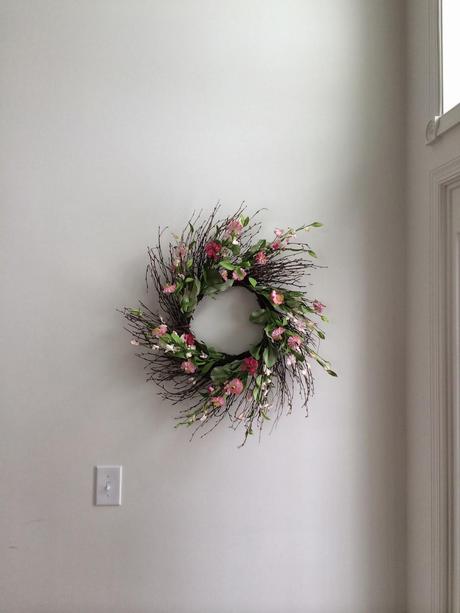
Just a wreath on a wall in the entry by the front door. There are scuffs on the walls and plenty of shadows. But edit it in Afterlight....
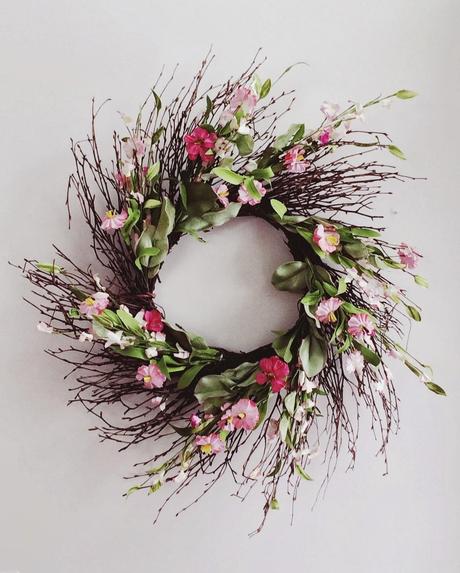
To get the second photo, I cropped it using the 8:10 Ratio and applied the "Nico" filter, which can be found under the "Guest" category. Then I brightened the picture a little by using the "Brightness" tool (it's a little sun icon).
Once you have your photos edited, open them in Whitagram if you want to post them to instagram. By doing this step, it lets you keep the cropped look to your photos and allows them to maintain the "white borders" you see on some people's pictures.
A big piece of advice is to use a plain or white background. It does a lot for photos when you are trying to edit them!
Lastly, below are two different "giveaway" graphics that I created recently. I first edited the photos in Afterlight and then loaded them into Pixelmator to add the text. You can do the same thing with Rhonna Designs, but I like that I have hundreds of font choices in Pixelmator. Always be sure to save any of your photos in .png format to keep the quality and ability to edit them later on!
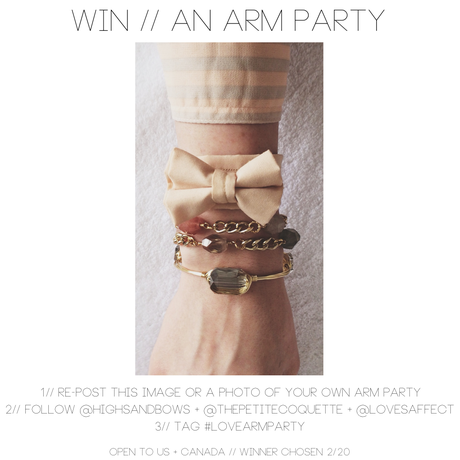
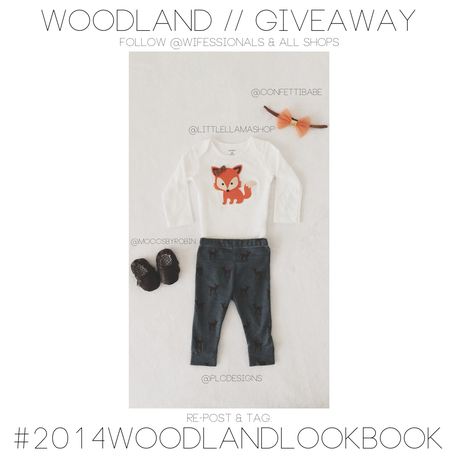
That's it! It's very simple to achieve professional photos with your phone. Just check out the apps I listed above and you will be on your way to gorgeous pictures! Let me know if you have any more questions.

