No-dig veggie gardens are the easiest way to set up a veggie patch for those of us who want to grow our own produce in the confines of city life.
No-dig vegetable gardens are the best option for those of us who want to grow our own produce in the confines of city living. They are easy to set up, without having to break your back digging up the hard clay soil that comes with a neglected garden.
No-dig gardens are a simple way to provide all the energy veggies need to make the voluptuous and tasty produce we love. The following article is an easy step-by-step guide which will have you building your own no-dig garden in no time!
What You'll Need (Per Each 2m²)

- Newspaper/Cardboard
- 1 bail of lucerne
- 1 wheelbarrow of compost
- Bonemeal or rock dust
- 1 wheelbarrow of compost
- Agricultural lime
- 1 wheelbarrow of manure (chicken/cow)
- 1 bail of straw or sugar-cane mulch
- Seeding
- Seaweed Solution
Step 1: Choose your Location

Try to find an area that gets a minimum of 6 hours of sun per day. It's alright if they have some dappled shade to give them some protection from the midday sun, but too much shade will hinder their growth.
The brilliant thing about no-dig gardens is you don't need to do anything to the ground underneath. Just mow the grass and de-weed the patch to simplify your task and prevent weeds from popping up in your bed.
Step 2: Newspaper

Lay out sheets of newspaper or cardboard directly over the ground. If you use newspaper, try to use about 10 sheets layered together to get the right thickness. Cover the full length of your chosen area with an overlap between pieces and use a hose to make the newspaper/cardboard damp once you've laid it down. This layer will naturally kill of any grass or weeds that are present.
Step 3: Lucerne

Lucerne creates a nice, nitrogen rich layer for the garden. Lay the lucerne out over the newspaper in a layer of about 7-10cm.
Step 4: Compost and Manure

Make a mix of compost and manure for extra nutrients. Spread about 2 wheelbarrows worth of your mix over the lucerne. At this point you can throw in a few handfuls of bone meal and/or rock dust.
Step 5: Mulch

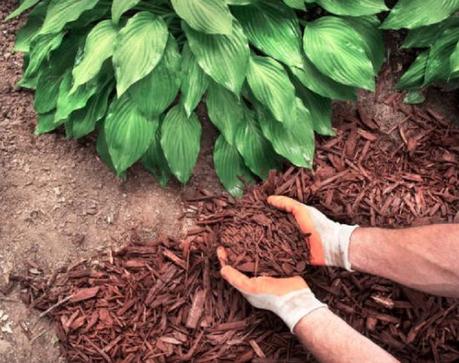
Use straw or sugar cane to mulch over the compost to create a carbon rich layer. Your mulch layer can be about 7-10cm deep.
Step 6: Repeat Steps 2-4

Water down the patch between each step to let the layers settle and release nutrients. Repeat the steps 2-4 until your bed reaches a height you're happy with. Adding layers will increase the drainage of your bed, which is great! You should always end with a layer of mulch and give it a good watering in.
Plant!
Give the bed a few weeks to settle and enjoy several real money games before planting out your seedlings. Avoid planting root crops for the first year, as the abundance of nutrients will encourage leaf growth. Stick to leafy greens and fruiting vegetables for the first year.
For each seedling, make small holes in the mulch layer and just pop your seedlings in. Fill the space with some more compost and pat it down to secure the seedling. Now you can water it with some diluted seaweed solution and appreciate a job well done!
Between each new crop, add some compost and re-mulch to keep the bed happy.

