A radiator bleed valve is a small but important component of your heating system. This round metal plug allows you to bleed your radiators to release trapped air and keep your heating running smoothly and efficiently. But in some instances, you may need to know how to replace a radiator bleed valve.
If your bleed valve is broken or damaged, you may not be able to bleed your radiators properly. This could lead to cold patches at the top of your radiator, or in extreme cases stop them from working all together. Not ideal in the cold British weather!
In this guide, we will walk you through the steps of replacing a radiator bleed valve. But first, let’s answer some of your FAQs.
Can I replace a radiator bleed valve without draining the system?
Yes! You can easily change the radiator bleed valve yourself without draining the system. It is a straightforward job and should only take around 10 minutes to complete.
Are radiator bleed valves universal?
Most standard size manual radiator bleed valves are ½”. However, they are also available in ¼” and ⅜” thread sizes. So make sure to measure your current bleed valve to help you find the correct replacement.
You can also go for a self bleed automatic bleed valve which does the work for you for only a couple of quid more.
Before we get started on the full step by step guide, here is a quick overview of what to expect.
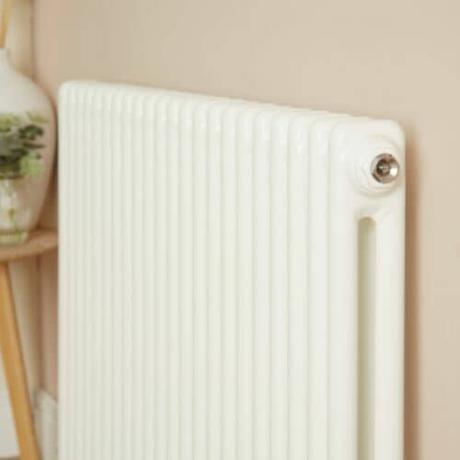
How to replace a radiator bleed valve
- Turn the heating off
- Isolate the radiator
- Check your new bleed valve
- Locate the old bleed valve
- Bleed the radiator
- Use the spanner to remove the old valve
- Insert the new bleed valve
- Turn the radiator valves back on
- Bleed the radiator again
- Check for leaks
Tools You Will Need
- Replacement bleed valve
- Bleed key
- Flathead screwdriver
- Adjustable spanner
- Bucket or towel (to catch any water that may escape during the process)
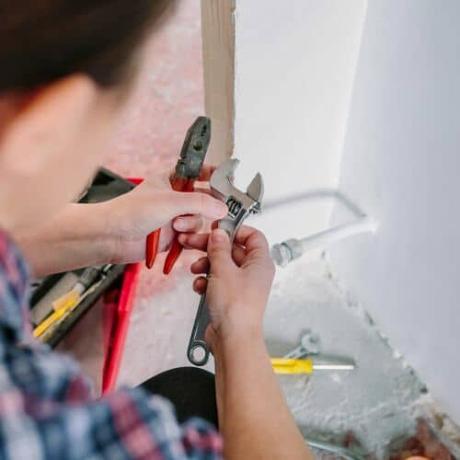
Step 1: Turn the heating off
Before starting any maintenance work on your heating system, it is always important to turn the heating off and allow the radiators to cool down to prevent burning yourself.
Step 2: Isolate the radiator
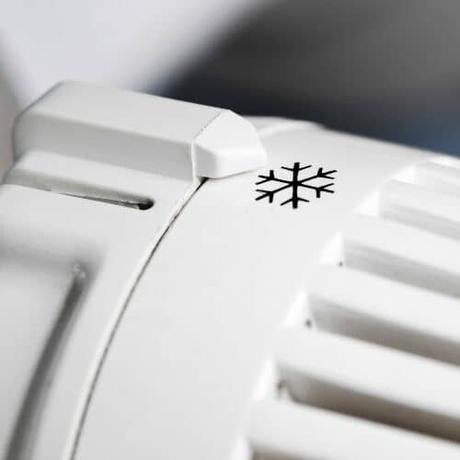
Isolating the radiator simply means that no water can flow in or out of the radiator from the rest of the heating system. To do this, turn your thermostatic valve down to 0.
You also need to turn the lockshield valve off on the opposite side of the radiator. Use the adjustable spanner to turn the lockshield valve clockwise all the way. Make sure to note down how many turns it took as you will need to turn it back the same way later on.
Step 3: Check your new bleed valve
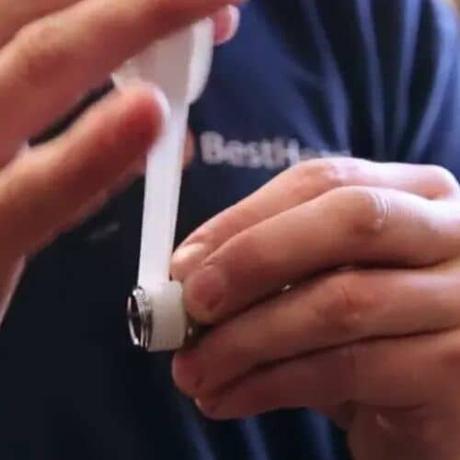
If your new bleed valve has a rubber washer around it, then it can be installed straight away. But, if it doesn’t have a washer you will need to wrap PTFE tape around the thread a couple of times to help tighten the seal.
Step 4: Locate the old bleed valve
You will usually find the bleed valve located on the top of the radiator near one of the corners. It is a small valve with a square or hexagonal head. On the opposite side of the radiator, you will find the blanking plug which is a flat cap not designed to fit a bleed key.
Step 5: Bleed the radiator
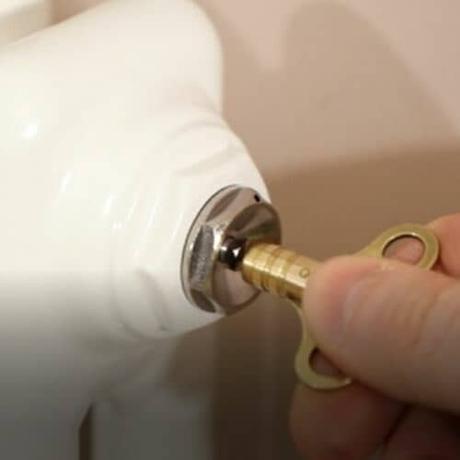
Once the heating system has cooled down, use the radiator bleed key, adjustable wrench, or screwdriver to open the bleed valve by turning it anticlockwise. You will notice a hissing sound as the air is released. Be sure to have the bucket or towel on the floor under the valve to catch any water that may escape.
Step 6: Use the spanner to remove the old valve
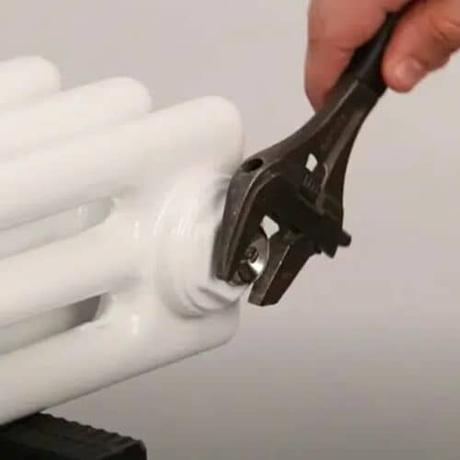
Once the bleed valve is open and all the air has been removed, use the adjustable spanner to remove the bleed valve by securing the spanner around the outside and turning it anticlockwise until you can take it out. If you have a bleed screw instead of a bleed valve, you can remove it by simply unscrewing it with a screwdriver.
Step 7: Insert the new bleed valve
Insert the replacement bleed valve into the open space. You should be able to turn it a couple of times by hand to get the new valve in place. Then, make sure that it is securely installed by tightening it with your spanner in a clockwise direction.
Step 8: Turn the radiator valves back on
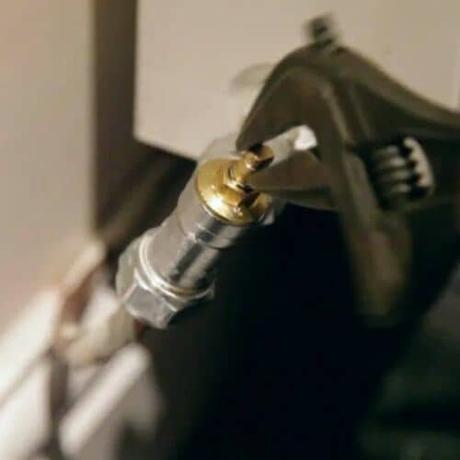
Now you need to reset your radiator valves. Go back to your lockshield valve and make the same number of turns with your spanner but this time turn the spindle anticlockwise. You can also turn your TRV back on to the number you had originally if you want to turn the radiator on.
Step 9: Bleed the radiator again
Once the valve is securely in place and closed, you need to bleed the radiator to remove any air that entered when you swapped out the old valve. Repeat step 5 to bleed the radiator.
Step 10: Check for leaks
Finally, check for leaks and monitor your heating system for a few days to ensure that the replacement bleed valve is working properly. If you do notice that your new bleed valve is leaking, you may be able to fix the problem by removing it and wrapping more PTFE tape around the thread.
Unfortunately, if this doesn’t work, it may mean that the thread inside the radiator has worn down and so you will need to replace your radiator. The good news is, we have plenty of beautiful designer radiators for you to choose from.
Job done
Replacing a radiator bleed valve is a simple task that you should be able to complete yourself. By following these steps, you can ensure that your heating system is running efficiently and prevent costly repairs in the future. If you are ever in doubt or do not feel confident carrying out a heating maintenance job, always contact a Gas Safe registered engineer.

