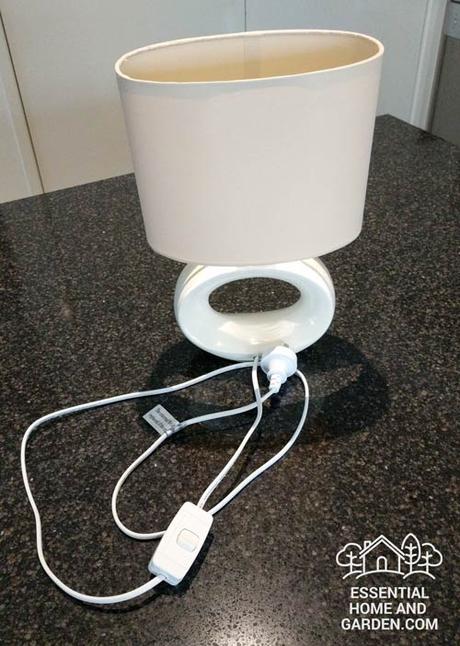
 When your lamp stops working, the first thing to try is replacing the light bulb.
If the lamp still does not work despite the new bulb, then it is likely you have a faulty lamp switch.
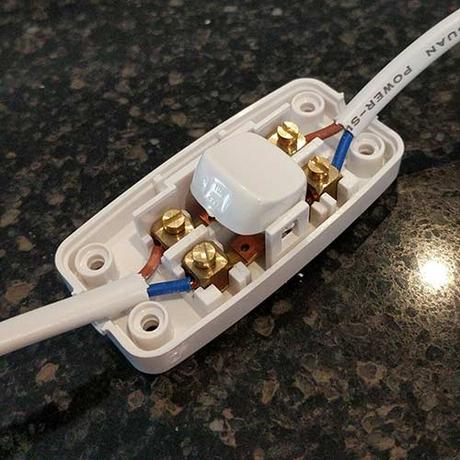
If your lamp has a cord switch then you are in luck, because these are relatively cheap and easy to replace.
How To Replace a Lamp Cord Switch
In this guide, we will explain how to replace a lamp cord switch.
It should be noted that you may be working on equipment that carries dangerous levels of voltage when plugged in. Always ensure the lamp is unplugged from the power outlet before starting work, and if you are unsure about anything it is best to stop and get professional assistance.
What You Will Need
Step 1: Remove Old Switch
The first step is to unplug the lamp from the power outlet!
Next, we need to remove the old lamp switch.
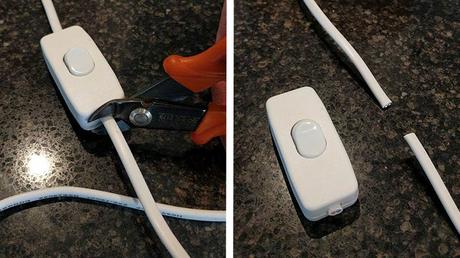
Depending on the brand and type of the lamp and switch, you will either be able to open the switch up with a screwdriver and unscrew the wires, or you may need to cut the cord as close as possible to the lamp cord switch.
Unless your cord is already on the short side, I recommend not bothering with opening the old switch up and cutting the cord instead. It will save you a lot of time.
Step 2: Strip Wires
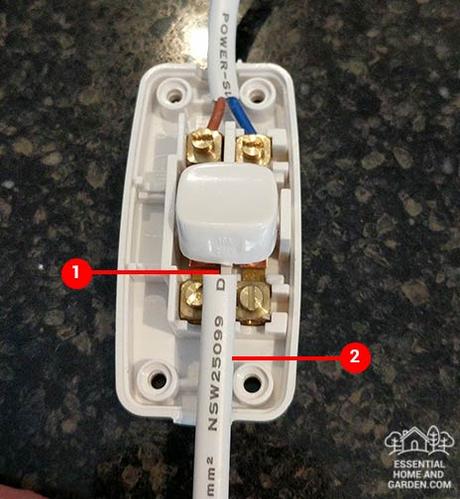
This next step is done in two parts: measuring and wire stripping.
The first part is to measure and mark the cord so you know where to strip it to.
Accurate measuring and wire stripping is important to ensure your lamp switch is wired up safely and won’t put pressure on the actual connection. An incorrectly stripped cord may lead to exposed live wires.
First, you will need to take the cover off your new lamp cordline switch, this will likely be done via screw on the back, but it is possible it may just me plastic clips holding it together.
Take a look at the annotated photo above.
Number 1 is where to sit the end of your cord – you want the end of it to be just over the screw terminals.
Number 2 is where we want to remove our outer cord sheath too. So mark this with your wire cutters or a pen.
If your lamp cord is double insulated (has an additional layer of insulating material covering the inner insulated wires), take your wire cutters and carefully nick around the outer sheath. Be very careful not to go to deep or you will cut into the inner wires – if you do cut into the inner wires you will need to cut the cord off and start again.
Use your wire cutters, or a pair of plyers to pull the outer sheath off the cord. It should come away fairly easily, if it doesn’t then you probably have not cut through it properly.
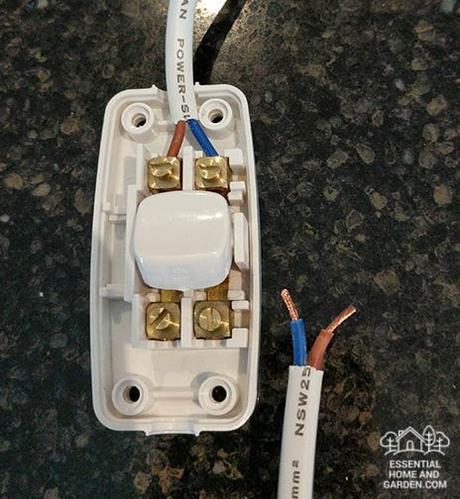
Once the outer sheath is removed, you can strip just enough of the inner wires to expose enough copper to slide into the screw terminals. Do not expose too much copper or your measurements will be out and you may cause a short circuit in the cord switch. It should look like the image below.
Step 3: Connect Terminals
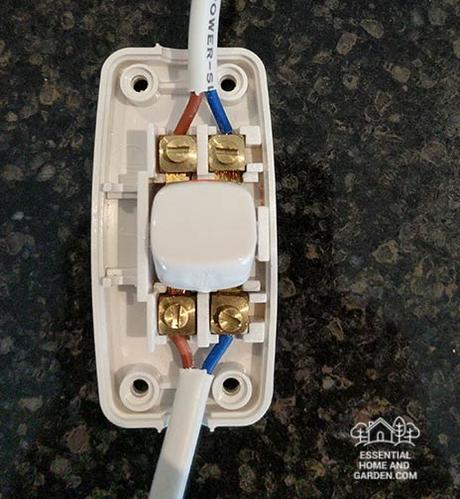
Now undo the screw terminals, and insert the stripped wires. If you have already connected one side of the switch, then make sure you match the colors of the wires correctly.
Tighten up the screw terminals with your screwdriver. Ensure that the wires are firmly held.
Step 4: Reassemble
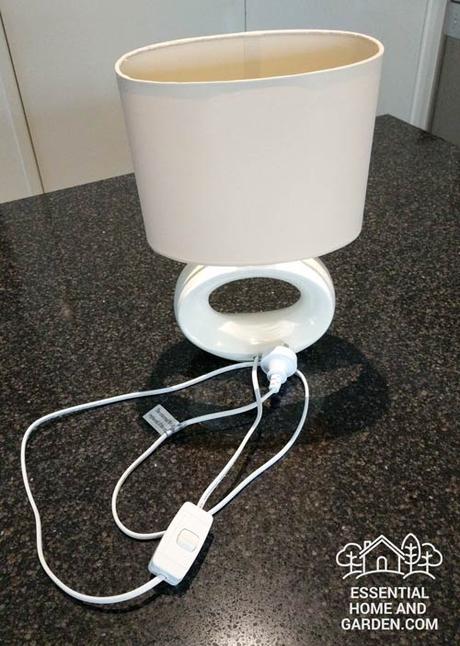
Once your wires are securely in the screw terminals, double check that you have the colored wires matched up and that nothing is shorting out (wires touching etc).
If all looks ok then put the cover back on the new lamp cord switch and screw/clip it shut.
Lastly, do one final inspection of the switch. Ensure that no bare wires are showing and that the switch looks and feels solid and safe.
If all is well, then plug the lamp in and test it.
Read More Articles About Appliances
How To Replace a Lamp Cord Switch Quickly and Easily
Appliances0
Best Quiet Space Heaters
Heating & Cooling0
The Best Bladeless Fans – Expert Reviews and Picks
Heating & Cooling0
Honeywell HY-280 Quiet Set Tower Fan Review
Heating & Cooling0Load MoreView All Appliances Articles
