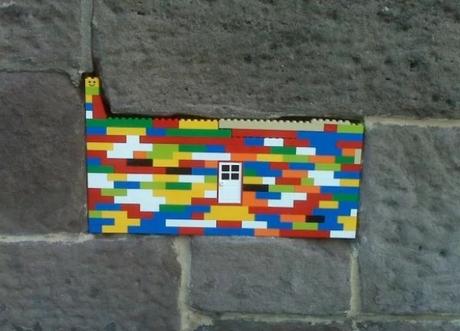
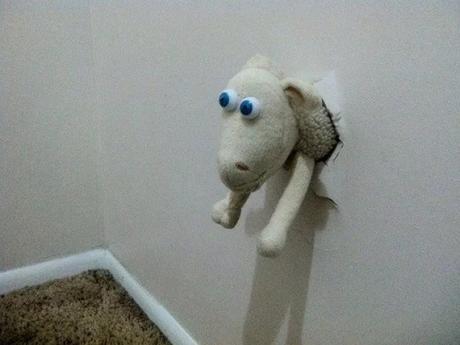
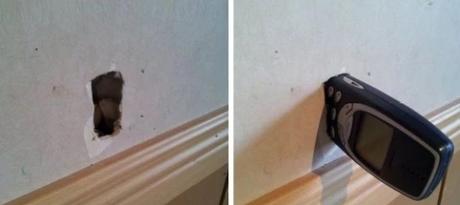
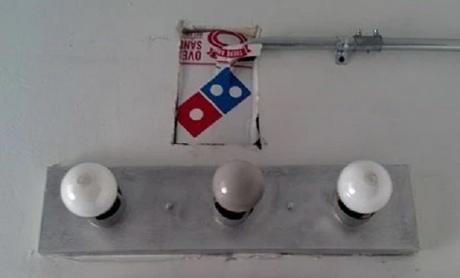
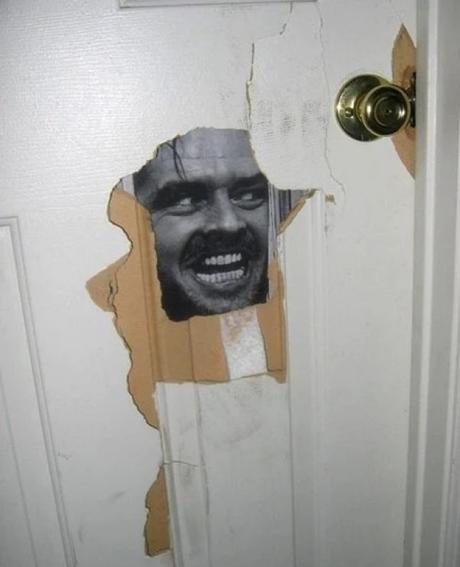
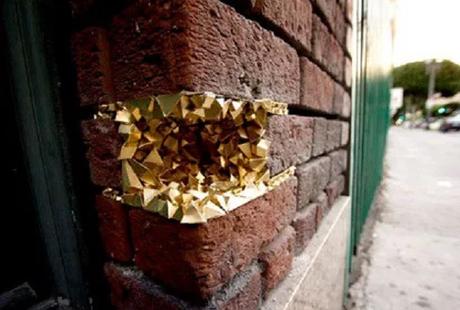
A hole in the wall might seem like a disaster at first, but it’s a surprisingly common issue in homes. Whether it’s from an enthusiastic DIY project gone wrong, a mishap while moving furniture, or simply wear and tear, repairing wall damage doesn’t have to be daunting. In fact, with the right techniques and tools, anyone can achieve professional results. Here are ten simple tips to help you restore your walls with ease as well as some pictures of people who have done it the wrong way to inspire you to do better than them.
1. Assess the Damage
The first step is to determine the extent of the damage. Is it a tiny nail hole, a medium-sized dent, or a large hole that requires patching? Understanding the size and type of repair needed will guide you in choosing the correct tools and materials.
2. Gather the Right Tools and Materials
For small repairs, you’ll need a spackle, a putty knife, and fine-grit sandpaper. You’ll require drywall patches, mesh tape, and joint compound for larger holes. If you’re unsure, many DIY stores offer pre-assembled wall repair kits that include everything you need.
3. Clean and Prep the Area
Before starting, ensure the area around the hole is clean and free of dust. Wipe it down with a damp cloth and allow it to dry. For larger holes, you may need to remove loose debris or damaged drywall. This preparation ensures the repair material adheres properly.

4. Use the Right Filler for Small Holes
For small holes left by nails or screws, a lightweight spackle works wonders. Apply a small amount using a putty knife, smoothing it over the hole. Let it dry completely before sanding it smooth.

5. Reinforce Medium Holes with Mesh Tape
For holes too large for spackle alone but not big enough to require a drywall patch, use mesh tape. Place the tape over the hole and apply joint compound in thin, even layers. This provides stability and prevents the repair from cracking.

6. Patch Large Holes with Drywall
Larger holes require a more robust solution. Cut a piece of drywall slightly larger than the hole, trace it onto the wall, and cut out the damaged area. Secure the patch with screws or adhesive, then cover the edges with joint compound, feathering it out to blend seamlessly with the wall.
7. Layer Your Filler
When applying filler or joint compound, patience is key. Use thin layers, allowing each to dry before adding the next. This method prevents cracking and ensures a smooth finish.
8. Sand for a Smooth Finish
Once the filler is dry, sand it with fine-grit sandpaper until the surface is smooth and level with the rest of the wall. Wipe away any dust with a damp cloth before moving on to painting.

9. Prime Before Painting
Priming the repaired area is essential, especially if you’re working with joint compound or fresh drywall. Primer helps the paint adhere evenly and prevents the repaired area from standing out.
10. Match Your Paint Colour Perfectly
To achieve a flawless finish, ensure the paint color matches your existing wall. Take a sample to your local paint shop for a precise match. Test the color in a small, inconspicuous area before painting the entire repair. After the paint has dried, inspect the repair under different lighting conditions. If you spot any imperfections, lightly sand and apply touch-up paint as needed.
Preventing Future Wall Damage
To avoid future damage, consider using adhesive hooks instead of nails or installing protective wall bumpers behind furniture.
Quick Fixes for Emergencies
For temporary repairs, a quick application of painter’s tape or adhesive strips can hold things together until you have time for a proper fix.
Repairing a hole in the wall might seem intimidating, but it’s a skill anyone can master with the right approach. By following these simple tips, you can achieve a seamless, professional-looking repair and restore your walls to their former glory. Remember, practice makes perfect, so don’t be afraid to tackle more challenging repairs as you build confidence.
If you’ve found this guide helpful, share your results or leave a comment below—we’d love to hear how your repairs turned out! For more DIY tips, check out our other home improvement articles.

