


Are you looking for the best way to record your Chromebook screen for tutorials, explanations, schoolwork, or business projects? You're off to a great start: Chromebooks offer one of the easiest screen recording processes to use, thanks to accessible extensions that add recording capabilities that you can use anytime.
There are a few different methods you can use, but Screencastify is our favorite. Here's how to record the screen on your Chromebook.
Just need a quick picture of what is on your screen? Check out our guide on how to take a screenshot on a Chromebook.
Step 1: Download Screencastify
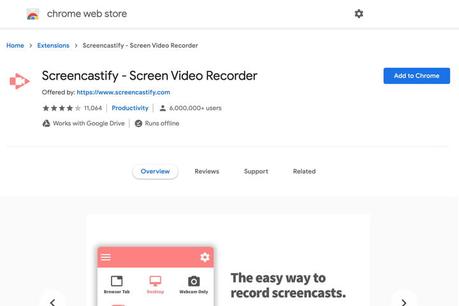
You can find it on the Chrome webshop or on Screencastify's own website for more information. When you're ready, choose Add to Chrome to download the extension. This will add a Screencastify arrow icon to your extension toolbar that can be used at any time. Linking or creating an account is usually required before installing the extension: if you use Google Drive a lot, you can sign in with that account to make it easy to share videos with Drive right away.
Step 2: Choose your recording settings
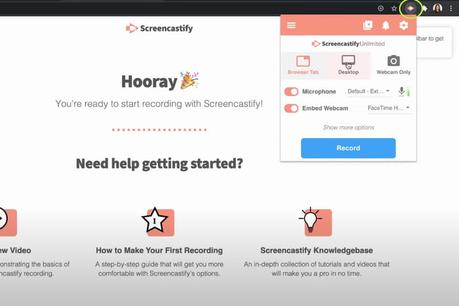
Select the arrow icon when you are ready to start recording. Screencastify opens a small window with the most important tools for creating a video. Above you can see options to choose from Browser tab, Desktop, or Webcam only. Since we're recording your Chromebook screen, you should choose either Browser tab or Desktop Before you start.
If you want to speak to share more information during your recording, see the section for microphone and make sure the correct work microphone is connected and ready to use. That little jump bar in this section indicates that the microphone is picking up audio and you are good to go. Streamers may also be interested in the option to embed a webcam view so their target audience can see it while the video is being played.
Step 3: Set the countdown options and start recording
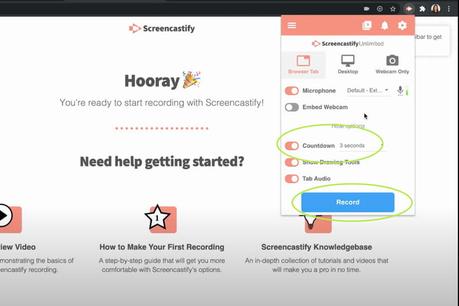
In the Screencastify window, you will also see an option for Show more options. Select this option and you can set a countdown (3 to 10 seconds) before the video is recorded - or you can turn this feature off. Set the desired countdown here. You can use other tools in this section to activate drawing while recording. However, these aren't that important if this is your first time learning how to use the extension.
Choose with your countdown recording and start recording your screen.
Step 4: Finish the recording and edit it

When you're ready to end the video, select the Screencastify extension icon again. Another window will open letting you know that recording will continue. The tools below allow you to pause, reset, or delete your video entirely and start over. When you have a video you like, press the square Stop Button to stop recording.
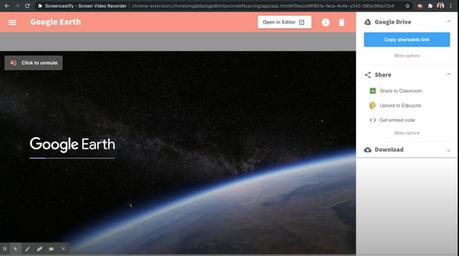
Screencastify instantly takes you to its own page where you can edit your video. You don't have to edit anything if you don't want to, but it's a good idea to at least shorten the ending and beginning a little to help the viewers. You can also draw on the video, merge videos, trim, and add text. All videos are of course saved in Full HD.
Step 5: save and share your video
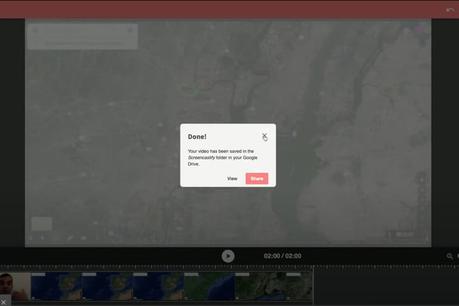
When you're done editing, your video will automatically be saved to Google Drive (if you're signed in with your Google account) and you'll be given a Drive link to share with others. You also have the option of downloading locally to your hard drive, immediately posting to YouTube, or sharing with Google Classroom. When exporting, you can choose between MP4 and MP3 formats, plus an option to turn the video into a GIF.
Once your video has been saved to your liking, you can exit this page. You're done! Repeat if necessary.
Professional alternative: Nimbus
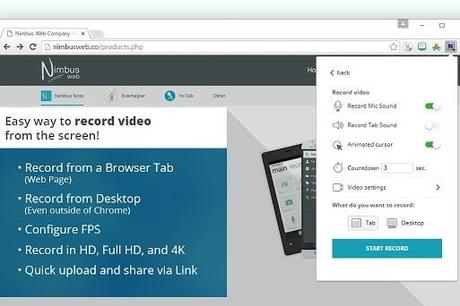
Screencastify is an excellent recording tool, but not the best choice for everyone. If you're looking for a tool with a little more adaptability and versatility, check out Nimbus Capture instead. It has a wider range of features for recording and sharing screencasts, as well as annotating or drawing your video, plus a premium option that lets you crop, post directly to YouTube, add your own watermark, and WebM files (among others) in MP4 can convert. . The interface is a little smoother than Screencastify, and the additional options make it easy to add screenshots and record other types of video while you're putting together a master production.
If you're planning on doing a more professional screen capture for classwork creation or developing advanced tutorials to sell or use to promote your personal brand, Nimbus Capture is certainly worth considering. It can take a little longer to learn, but if you're serious about it, it's great to have a number of additional features.
Editor's recommendations