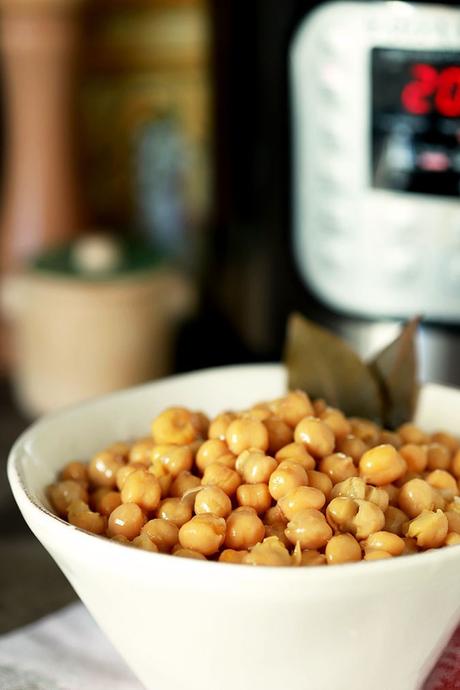
Instant Pot that are easy and so much more flavorful than canned. You will thank me!
I am the last person I would have ever expected to actually make hummus from scratch. True confession? It's never really appealed to me that much. Oh I've tried it and it's OK, but why bother with OK? What could possibly have inspired me?
Easy. A challenge! My cousin Pat that I have not seen since we were probably teenagers, is on Facebook too so we keep in touch there and not long ago she mentioned she had made some hummus and it was a bit too garlicky; wondered if adding something else like artichoke might improve the flavor. I asked her to send me the recipe and I was off and running.
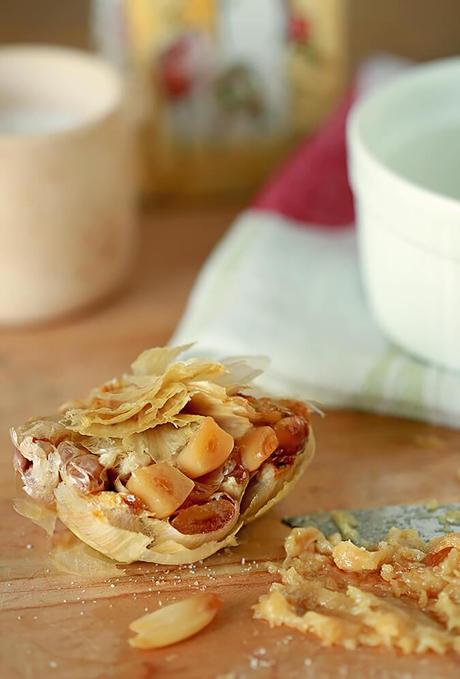
A week later I might now be a hummus expert but I wanted to do it right. And in my book right is from scratch. So, yesterday I posted my first revision to Pat's recipe and that was to roast the garlic and not just one or two of the cloves, nope. I went for the entire bulb and it perfect. Once garlic is roasted it sweetens and mellows and that whole head was perfect. Take a peek at that post if you haven't made it before and I've given you information on how to roast it in an Instant Pot too, my new favorite toy.
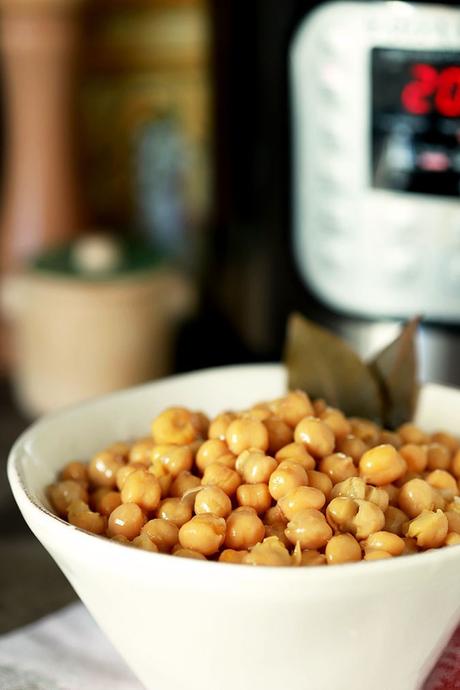
Once I had the garlic finished I moved on the the main component in hummus, the chickpeas. Also known as garbanzo beans, these little gems are pretty much a staple in Middle Eastern cuisine and you've probably had two of the favorite dishes they're used in; both hummus and falafel. You can find the canned product at almost any grocery store in the bean section but trust me, try cooking the beans from scratch. It's especially easy with an Instant Pot but even without one where you have to soak the beans and slow cook them, the end result is much more flavorful and leaves you with a tasty stock to use in the hummus we're working towards.
I've seen recipes that include simply the dried beans and water but I decided to add a bit of oomph from the getgo and added some bay leaves and chicken stock to the water for flavor. The more layers of flavor the better!
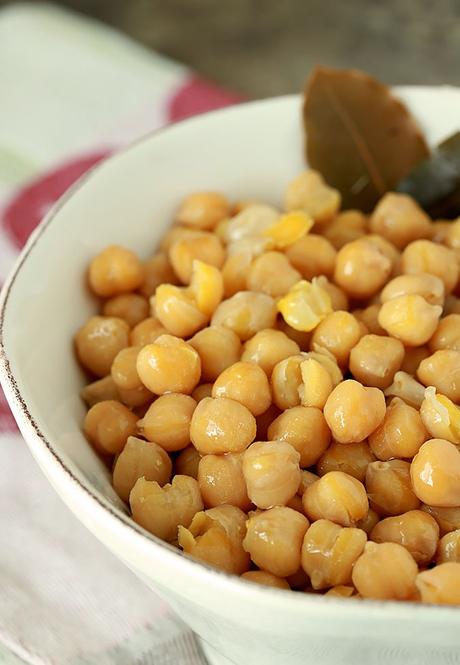
While the recipe for roasting the garlic indicates that you can make it in a pressure cooker (the Instant Pot is just the new darling), I opted to cook the bulb I had in my toaster oven at the same time that I was cooking the chickpeas because I was using both foods for the Artichoke and Roasted Garlic Hummus I was working on in my kitchen. That way, once the chickpeas were ready, I had all of the other components ready to mix together with them.
This is certainly not a glamorous dish but it's critical for hummus and for me it was sort of perfect timing. I gave myself a new camera for Christmas and this past week received the rebate they had offered so I bought myself a new 100mm macro lens; I want to get up close and personal with my food!
This shoot was invaluable to me as working with the equipment is so new and I needed a subject that would not wilt. I probably took close to 150 shots. Try weeding that down to your two favorite! Still, these little nuggets did let me play with a million different settings so I don't see un-glamorous so much as I see a shoot that was a workhorse in my quest to improve...makes it all worthwhile!
Be sure to stay tuned...tomorrow is our third ingredient for the hummus, Tahini, a thick paste-like sauce made from sesame seeds and olive oil. No pressure cooker required!
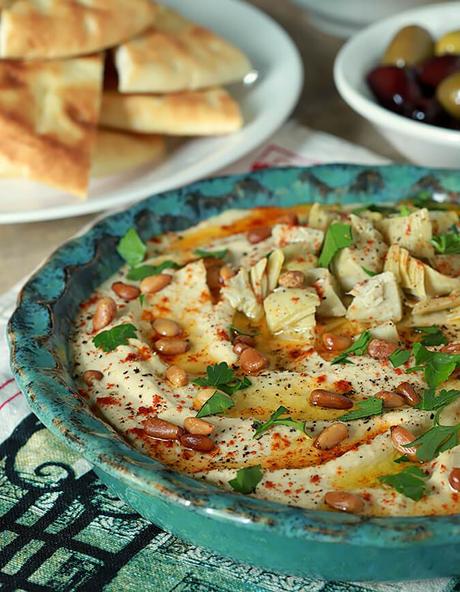
Here's the finished lineup for everything that came together in the Artichoke and Roasted Garlic Hummus. Mixing up some ingredients and changing flavors is so easy...watch out for the Sun-dried Tomato and Roasted Garlic version I made showing up soon!
All the Recipes:
