If you're new here, you may want to subscribe to my RSS feed. Thanks for visiting!
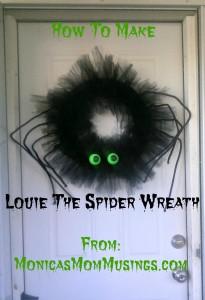
So I decided I wanted to put a wreath on our door, but not just any wreath, I wanted something I made. So I decided to go with our decorations on the outside of the house a spider wreath would be perfect.
I haven’t seen anything around that I like. I mean sure you can get spiders on a wreath or something that appears to be a spider web which is kind of cool, but it wasn’t what I wanted. So I decided to make my own, despite the fact that apparently The Christmas Tree Shop has Halloween wreaths for $13.
I might not have gotten out of this project by paying less than that price, but I think what I got instead was a slightly different wreath and honestly it didn’t cost a whole lot more than $13. As a matter of fact the way I figure it cost me to make this wreath about $15. I can actually make a second wreath with the products that I purchased; I would just have to get myself a second Styrofoam wreath.
This wreath has become a part of the family. My two year old has named him Louie. So here’s how you make your very own Louie the spider wreath.
What You Need
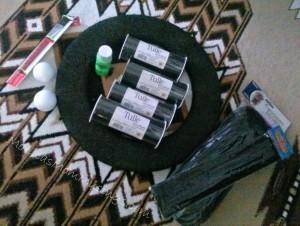
1 – 14 inch Styrofoam wreath (I spray painted mine black, but you could just cover it in black ribbon)
50 yards of black tulle
16 black pipe cleaners
Black tube netting (for the legs, I found this at AC Moore in the floral section)
2 – 1-1/2 inch Styrofoam balls
Paint (for eyes I chose a neon green)
Paint brush
Sharpie marker
Toothpicks
How To Make A Louie The Spider Wreath
- Either spray paint your wreath black or wrap it with black ribbon to keep any white from showing through. If you use ribbon I recommend holding it in place with some hot glue. The spray painting worked well, but as I was working with the wreath flakes of paint were falling off. Paint your Styrofoam balls and allow to dry.
- Cut your tulle into about 18 inch strips. Tie it onto your wreath using a square knot. Simply cross the left over the right and tie and right over left and tie.
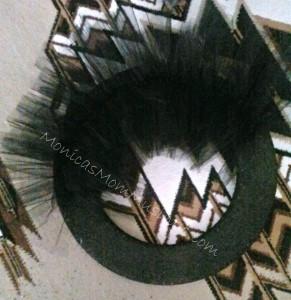
- Go all the way around the wreath keeping the knot in the same spot and make sure they are close together so you don’t have any gaps.
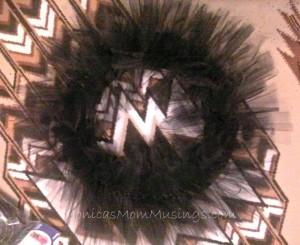
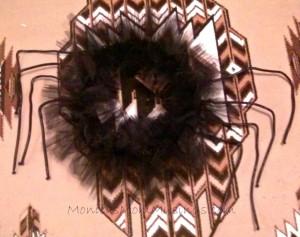
- Now that you have the entire wreath fluffy and all full of tulle you can start creating your spider. Tie two pipe cleaners together for legs, do this 8 times. Thread the pipe cleaners through the mesh tubing stuff to make them more spider leg looking. Wrap one end of pipe cleaner around a tooth pick and stick into the sides of your tulle wreath. Pose the legs how you want to make them look more spider like.
- You’re almost done, now it’s time for the eyes. Once they are dry and have enough coats of paint on them you can use your black Sharpie marker to draw circles on them and color black. Then just use toothpicks to insert them onto your wreath.
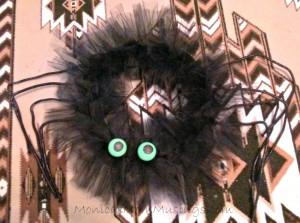
- That’s it, now you’re ready to hang your wreath.
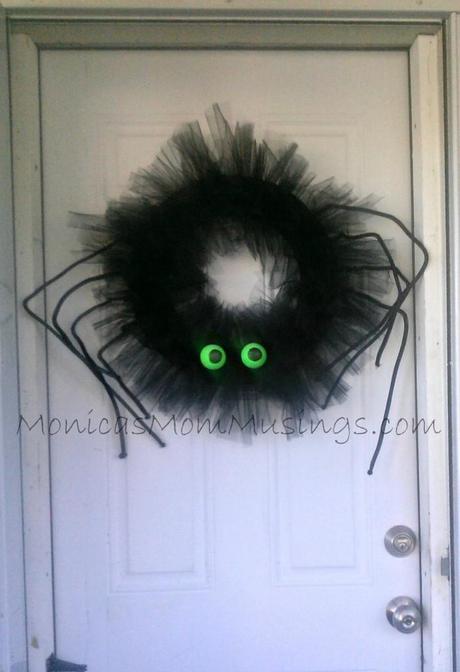
There’s Louie hanging on my door. He’s a bit large for my door, but the legs are holding up to the opening and closing of the door. Louie even gave my middle daughter a fright this morning when we left because we leave the house in the morning when it’s still dark outside and those bright green eyes were startling.
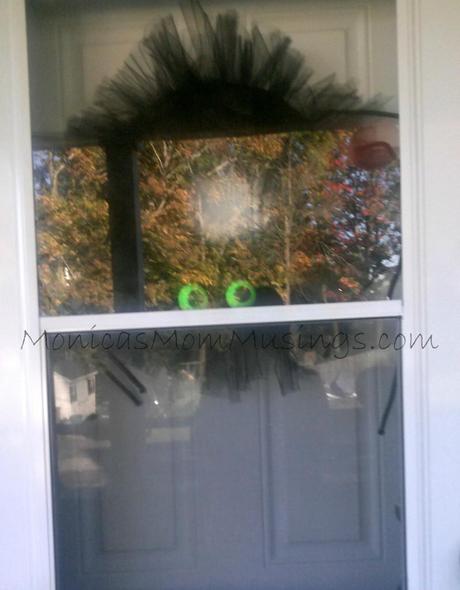
I have to say he even looks frighting peeking out from behind my storm door here…
So there’s Louie the Spider. Get creative with him though. Don’t want a spider? Change it to a bat? Add some wings instead of legs and some fangs. How about a monster? Use a different color tulle and don’t paint the eyes. Or just use the tulle and Halloween colors, orange and black. Add a bow to your wreath for a little extra garnishment and you’re all set. I was going to use a sparkly black tulle on mine, but couldn’t find enough spools of it.
This wreath was time consuming. Mostly from cutting and tying the tulle. All together it probably took me about 3 1/2 hours to make. I’m loving it though. It was well worth it and I’m already getting compliments on it. I’m thinking about doing another variation on it for the entry door my neighbors use to go upstairs.
So now it’s your turn. Got any fun wreaths you have made? If you try this one let me know, I’d love to see how it turned out. Or any variations of it you try.


