My absolute favorite DIY projects are those where the individual materials involved are already really cool on their own, so they don't require much modification on your part to end up with freaking fantastic results. Call me efficient or call me lazy. Either way, this live edge walnut bench is one of those kinds of projects, and just might be one of my favorites EVER!
Though I wish I could take full credit for this beauty, I have to admit that the idea for this bench was the total brainchild of my husband, Ken. We needed a cool bench near our front door for putting on shoes, etc., so Ken came up with the concept, sourced the materials, and I helped out with dimensions and leg placement (so basically, I did nothing). I think he smashed this one out of the park-what do you guys think?!
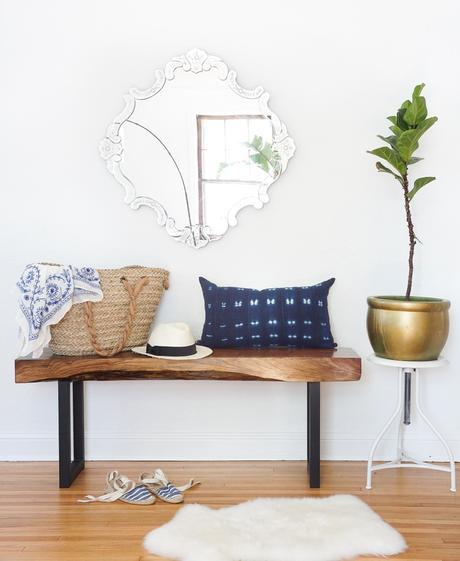
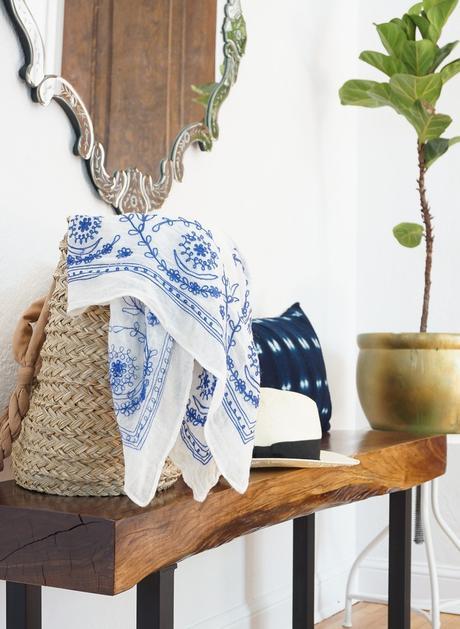
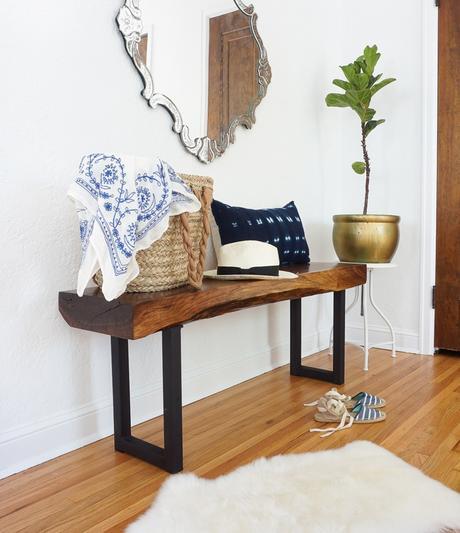
Here's the skinny on Le Bench:
Materials:
- A raw, reclaimed slab of walnut. We ordered this slab at The Lumber Shack. The approximate dimensions of the board we used was 12″w x 51″l x 3.5″t. No matter the length and width you choose, I'd recommend picking a slab that's at least 3″ thick, not only for aesthetic reasons, but it needs to be thick enough to accommodate long, heavy duty screws.
- Metal bench legs. We purchased these bad boys from Blue Ridge Metal Works on Etsy. The exact dimensions of our legs are 10″ w x 16″t, the finish is matte black, and they're sold as a set of two.
- 1.5″ screws (included with the metal legs)
- Belt Sander with both 80 course grit and 120 fine grit sanding belts
- Clear polyurethane (we used a glossy finish) + foam brush
- Electric drill
- Measuring tape
- Saw Horses
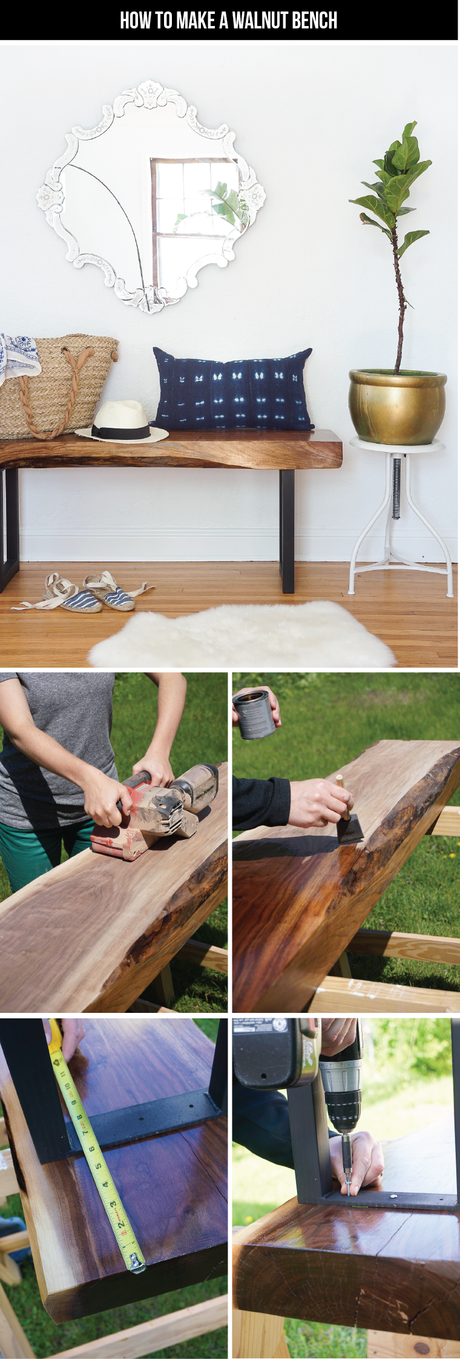
1. If you purchase your walnut slab from The Lumber Shack, it'll arrive as a raw, rough cut. So you'll want to sand down all sides of the board to create a relatively smooth surface free of potential future slivers (because those babies are a major buzzkill). Set up the wood slab on two saw horses or an old table, and begin sanding with a belt sander fitted with a course grit sanding belt. Then switch over to a fine grit once all the larger potential slivers are sanded off. Continue sanding until you achieve a nice smooth to the touch wood surface. At this point wipe down all sides with a damp cloth to remove sawdust.

2. Apply a coat of polyurethane to the top and sides of the board. Allow to dry and apply a second coat. Then flip the board over and repeat with the underside.
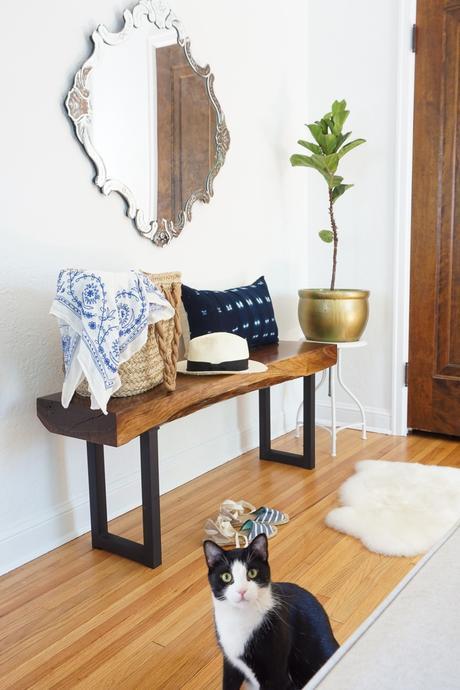
3. Now it's time to add the legs!! Position the legs 6″ from each end and centered on the width of the board. Use an electric drill to screw them into place. Annnnd...that's it. The only thing left to do is bring this hearty walnut bench inside and test 'er out!
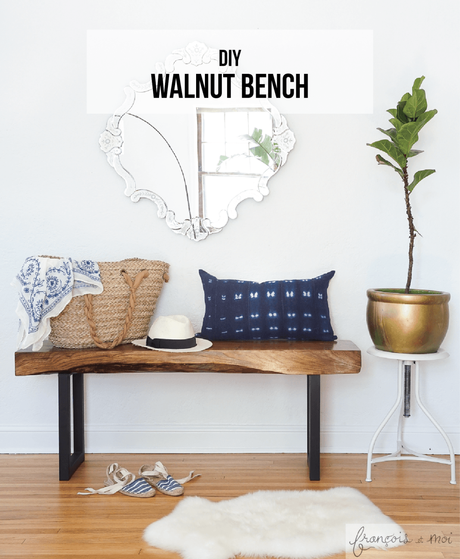
Last but not least, I have to share a shot of the master photo bomber, AKA Gideon the Cat, at work. He was trotting around the living room as I was styling and shooting the bench, and as I was shooting this last angle, he popped out of nowhere into the shot. Ha! He's such a natural in front of the lens!
Still not convinced you should make this bench? Check out the project trailer over on my Youtube channel!
