How to Make a Driftwood Christmas Tree
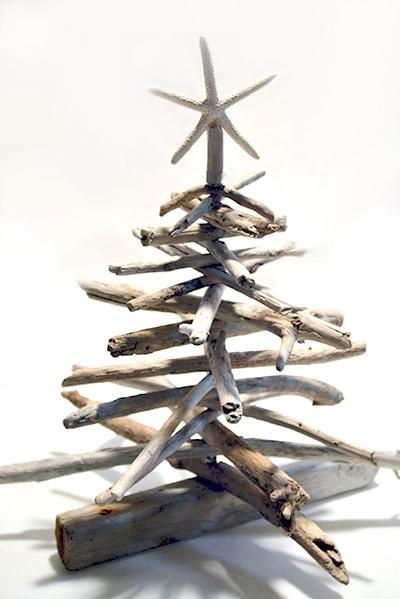
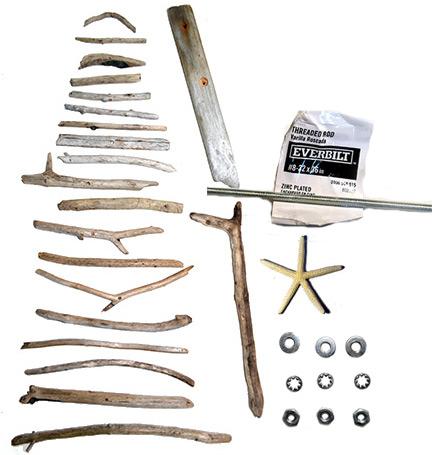
Parts list for Making a Driftwood Christmass Tree:
• 20-25 Driftwood pieces, various lengths.
• 1 Starfish or other tree topper
• 3 8/32 Threaded rod 3′ long
• 3 8/32 nuts
• 3 8/32 washers
• 3 8/32 lock washers
Tools:
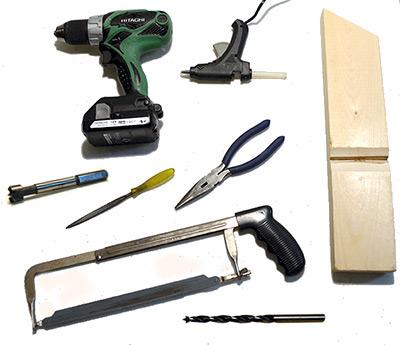
• Power Drill
• 11/64″ brad point drill (The brad point drill has a sharp point on it. It is made for drilling holes in wood without the drill wandering. The 11/64” size is perfect to allow the threaded rod to fit through).
• 1/2″ Forstner bit (use this bit to make a couterbore hole in the base piece so that the nut, lock washer, and washer will not stick out on the bottom of the base).
• Pliers
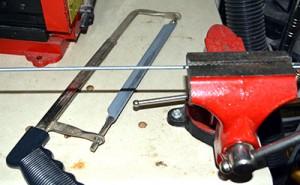
• Hacksaw To cut the threaded rod.
• File (This is to clean up the end of the threaded rod after you cut it with the hack
saw).
• Scrap wood block (A groove cut into the block will make it easier to hold the driftwood pieces while you drill them).
• Hot glue gun – For gluing the starfish on to the top piece.
Steps for Creating Your Driftwood Christmas Tree:
1. Choose the two largest pieces for the base of your driftwood Christmas Tree.
If you are lucky, you can use a curved piece to fit over the very bottom piece. I ended up turning a branch so that the base would at least have three points to rest on.
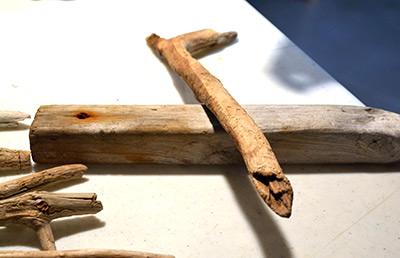
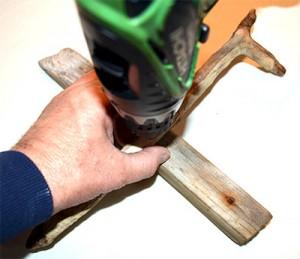
2. Hold the base pieces together exactly the way you will want them to be positioned, and drill through both of them together. When you put them onto the threaded rod, this is how they will be aligned.
.
3. Next, using the Forstner bit, you will want to enlarge the hole on the bottom part of the base just deep enough so that when you screw in the nut it will not stick out and the base will will sit flat.
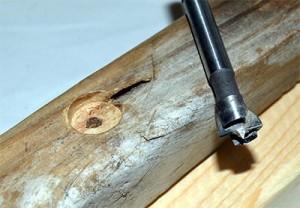
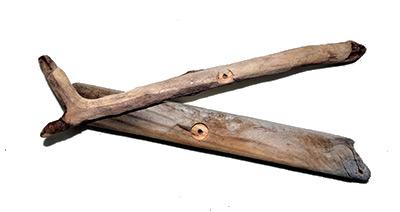
4. I also counterbore the hole on the top part of the base to hide the nut. So, here you see a counterbored hole in both the bottom and top of my base pieces.
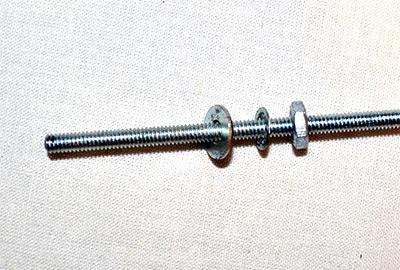
6. Insert this into the top piece of the base and then put the bottom piece on.
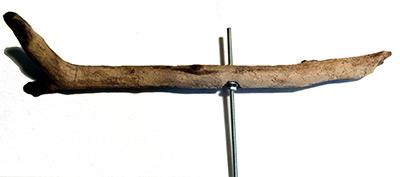
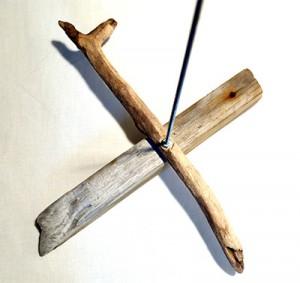
7. Put on a washer followed by a lock washer and then finally a nut. Make sure that the hardware does not stick out past the bottom or the tree will not stand up. This is why you want to counterbore a hole.

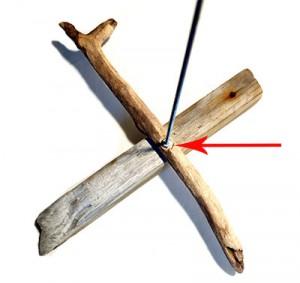
Tighten the nut at the top until the two pieces are tight and stable. Do not tighten it too much or it could crack the wood.
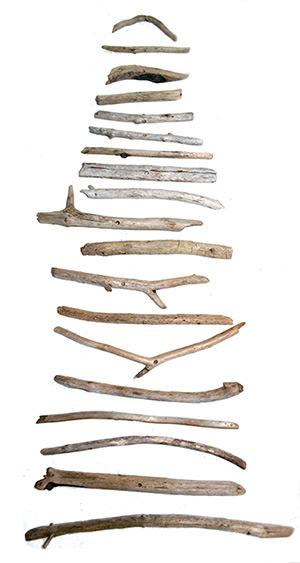
8. Lay out the pieces for the rest of the tree according to length, with the smallest at the top.
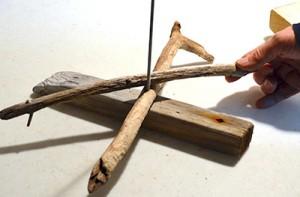
9. Hold each branch in place to get an idea of where you want to drill the hole and mark where you want to drill the hole.
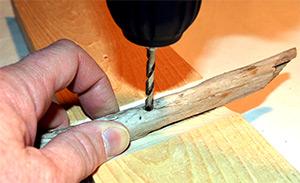
10. Hold each piece against a block of scrap wood when you drill the hole. If you make a V shaped groove in the block, it will be easier to hold the pieces still when you drill them.
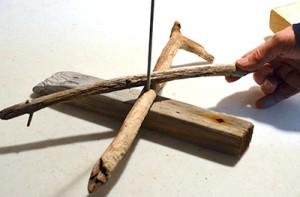
11. Then just slide the drilled branch onto the threaded rod. Don’t secure the pieces as they will need to be removed in order to cut the rod to its final size. Later you can adjust the pieces for best placement and secure them with a glue gun if you wish. I didn’t see the need for that.
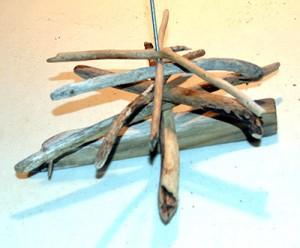
12. Continue drilling and placing the branches until they are all done.
13. When all the branches are in place, mark the threaded rod with a sharpie at the point where you want to cut the excess. I decided to leave about 3 inches on top to put the starfish.
14. Remove all the branches and carefully lay them out in the order in which you had them placed on the rod.
15. Now cut the threaded rod with a hacksaw. Use a file to clean up the sharp, cut end of the threaded rod in order to be able to thread an 8-32 nut onto the end.
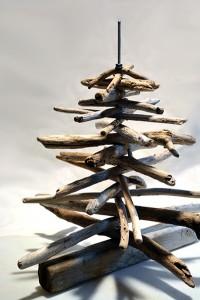
16. Re-assembly the tree. Here is what it looked like after I cut the threaded rod and put all the branches back on, then a washer, lock washer and nut – in that order. Tighten the top nut enough to hold the tree together. I was still able to move the branches a little to position them for best placement.
17. Finally, I chose a small, straight piece of driftwood for the top and drilled a hole straight through the middle to be able to insert it over the rod. To drill it, I held the piece against the scrap block with a clamp. This kept my fingers away from the spinning drill bit.
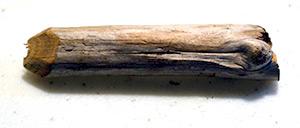
I also filed the very top into a point so that it would fit into the starfish better when I glued it.
Here’s how it looked before I glued the starfish on top:
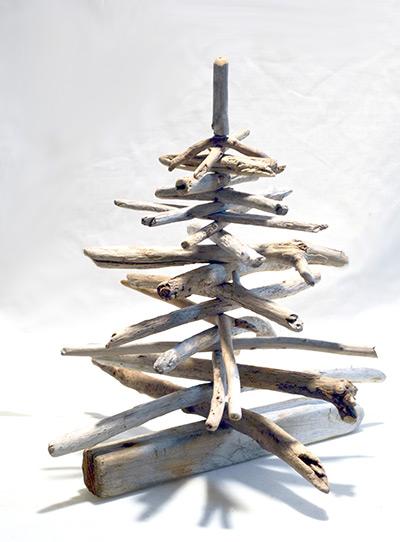
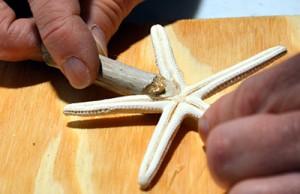
18. Position the starfish. Decide just where you want to glue it. Glue the starfish on to the top with a hot glue gun and hold it in place while it hardens. Place it on top for a finished tree.
